Last updated November 17, 2026
Free written scope consultation - allowances, timeline, and change-order rules on paper before a single trade is scheduled
Home Additions & ADU Troubleshooting: Common Problems and How to Fix Them
A hairline crack in a new addition’s stem wall is not automatically structural. But deciding whether it is requires the original soil compaction report, and most residential contractors never commission one. That missing sheet of paper is the whole story of home addition troubleshooting: the problems that surface after move-in were almost always predictable from the construction-phase record, or from its absence. In this guide we walk through the failure modes we see most often in Homestead additions and ADUs, name the document that should have caught each one, and put a real dollar range on the fix.
Quick Answer
Most home addition and ADU problems fall into five buckets: moisture at the old-to-new roof transition, HVAC that can’t keep up with the added square footage, floor level mismatch between the two structures, electrical circuits pushed past their load, and foundation cracks that need an engineer to read. Each has a diagnostic record (flashing photos, a Manual J calculation, a floor elevation survey, a panel schedule, a soil compaction report) that should have been produced during construction. Fixes range from a $200 transition strip to a $15,000 slab correction, which is why the paperwork matters more than the repair.
Styles & brands we work with
- Kitchen remodeling
- Bathroom remodeling
- Home additions & ADU
- Roofing
- Windows & doors
- Driveway & pavers
- Fence
Table of Contents
- Moisture Intrusion at the Old-to-New Roof Transition
- HVAC Under-Performance in New Additions
- Floor Level Mismatch Between Original Structure and Addition
- Electrical Circuit Overload After an Addition
- Foundation Cracks: When a Hairline Is Just a Hairline
- Filing a Complaint with the Florida DBPR
- Permits, Inspections, and What Homestead Requires
- Common Mistakes to Avoid
Moisture Intrusion at the Old-to-New Roof Transition
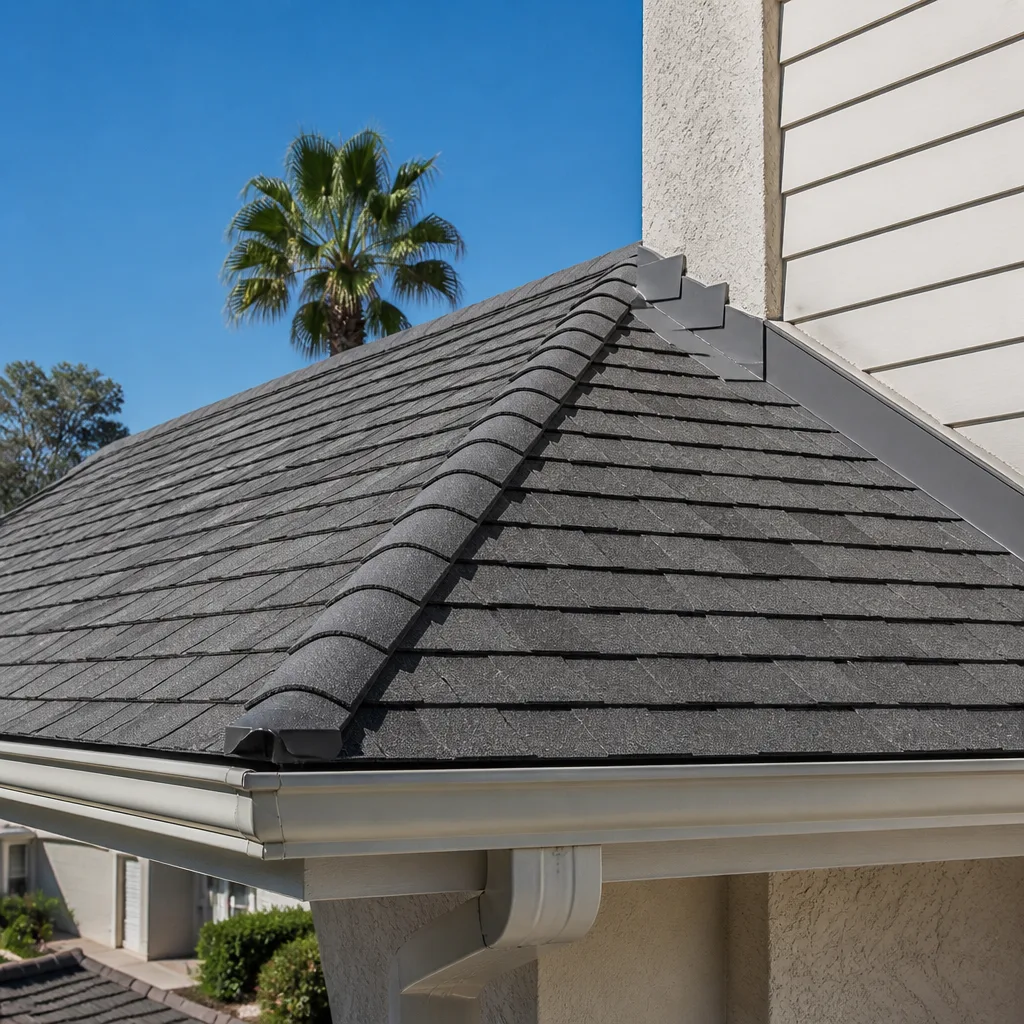
The single most common call we get about a Homestead addition is a water stain on the ceiling of the new room, usually within 18 months of completion, and almost always at the flashing line where the new roof dies into the old one. That intersection is the hardest detail in the whole build. Two roof planes meet at a valley, one wall steps out, and the flashing has to shed South Florida’s summer rain (Homestead averages around 60 inches a year, with most of it arriving in afternoon downpours between June and September). If the step flashing was lapped the wrong direction, or the housewrap behind it was cut short, water finds the gap.
How to Tell Cosmetic From Structural Water Damage
Cosmetic damage is a stain with no softness. Press a screwdriver handle into the drywall around the stain: if it’s firm and dry, you likely have a one-time intrusion from a wind-driven storm. Structural damage shows as soft drywall, bubbling paint, a musty smell, or visible mold at the base of the wall. Pull the trim and probe the framing. If the wood is spongy or the OSB has swelled, the sheathing is compromised and the repair is bigger.
What a Remediation Quote Should Include
- Flashing tear-off and rebuild, not a caulk-and-pray patch. Any roofer who proposes to seal the leak without removing the flashing and re-lapping is selling you a call-back.
- Housewrap inspection and repair behind the siding at the transition.
- Decking replacement for any soft spots found, priced per sheet.
- Interior repair (drywall, insulation, paint) as a separate line item so you can see what the water damage actually cost.
A flashing rebuild with light interior repair in South Florida typically runs $1,800 to $4,500. Heavy rot and sheathing replacement pushes it past $7,000. What a quote should exclude, and say so, is any structural framing repair – that gets its own change order after the roofer opens the roof and sees what’s underneath.
HVAC Under-Performance in New Additions
An addition that’s always three degrees warmer than the rest of the house is not a thermostat problem. It’s a sizing problem. The equipment was probably selected for the original square footage and then tapped to serve the new room with a single extended duct. In Homestead, where the cooling load runs high nearly year-round, the shortfall shows up fast.
How to Check Whether the System Was Sized Correctly
Ask for the Manual J calculation. Manual J is the industry-standard method for calculating heating and cooling loads from square footage, window area, insulation values, and orientation. A contractor who did the addition correctly will have one on file. Compare the total tonnage it calls for against the tonnage on your outdoor condenser’s data plate. If the addition added 400 square feet to a 1,800-square-foot house, the load went up roughly 20 percent, and a system sized for the original house is now undersized.
Duct Extension vs. Mini-Split
- Duct extension from the existing system: $1,200 to $2,800 installed, depending on run length and whether the attic can take another trunk. Cheapest option, but only works if the equipment has spare capacity.
- Dedicated mini-split for the addition: $3,500 to $6,500 installed for a single-zone system, and it sidesteps the undersized-equipment problem entirely.
- Full system replacement with a properly sized unit: $8,000 to $14,000, the right answer when the existing equipment is already near the end of its life.
Our technicians have up to 19 years of experience, and the pattern holds: a homeowner pays twice when the original installer extended a duct into a room the system was never sized to cool. Get the Manual J on the front end and you avoid the second bill.
Floor Level Mismatch Between Original Structure and Addition
A step at the doorway between old house and new addition is one of the most common finish complaints we troubleshoot. Sometimes it’s cosmetic, sometimes the addition’s slab settled against the original foundation. The causes are usually one of three: the new slab was poured at a different elevation, the original structure’s floor has its own slope from age, or the soil under the addition compacted after the pour because the fill was never compacted in lifts during construction.
Acceptable Tolerances Under the Florida Building Code
Floor flatness under the Florida Building Code has a limit on deviation over a given distance, typically a quarter-inch in 10 feet for finish floors, and a transition between the two structures can be expected to show a small step if the elevations were designed that way. What you should not accept is a step that grows wider over time, which points to settlement rather than a design choice. Watch the joint for 6 to 12 months. If the gap widens, get a foundation contractor to check compaction.
Repair Options Ranked by Cost
- Transition strip or reducer: $150 to $400 installed. Cosmetic, hides a step up to about three-quarters of an inch.
- Self-leveling underlayment on the addition floor: $800 to $2,200. Fixes an uneven but stable slab.
- Reframe the doorway and reset the threshold: $1,500 to $3,500. Corrects a badly set door that now sticks or swings on its own.
- Mudjacking or polyurethane foam injection under the slab: $2,500 to $6,000. Lifts a settled slab back to grade without demolition.
- Full slab correction: $10,000 to $15,000. Only when the settlement is ongoing and the soil underneath has to be stabilized first.
Electrical Circuit Overload After an Addition
New rooms bring new loads: a mini-fridge, a space heater, a window AC, a hair dryer. If the addition’s outlets were tied into an existing circuit instead of getting their own, the breaker will trip under load. In older Homestead homes, the original panel may have been close to capacity before the addition was even framed.
How to Read a Panel Schedule
Every panel should have a printed schedule on the inside of the door listing what each breaker controls. If yours is missing or handwritten and illegible, that’s your first sign the electrical work wasn’t documented. Add up the amperage ratings of every breaker. If the total exceeds roughly 80 percent of the panel’s main breaker rating, the panel is at or over its practical capacity and several of the new circuits should not have been added.
New Circuits vs. Load Redistribution
Redistribution means moving an existing outlet run to a less-loaded breaker. It’s cheap and worth doing when one circuit is carrying the fridge, the microwave, and three outlets. New circuits are the answer when the added square footage introduced loads the panel never accounted for. A licensed electrician in Miami-Dade typically charges $350 to $850 per new 20-amp circuit, including the wire run, the breaker, and the outlet. Adding a subpanel runs $1,800 to $3,500 installed. Any electrical work should be done by a licensed electrician and permitted – panel work is genuinely dangerous, and we say that plainly to every homeowner who asks about doing it themselves.
Foundation Cracks: When a Hairline Is Just a Hairline
Not every crack in a stem wall is a problem. Shrinkage cracks, common in the first year of a new concrete pour, are typically vertical, hairline narrow, and appear in the middle third of a wall. What should worry you is any crack wider than about a quarter-inch, any horizontal crack (which can indicate lateral soil pressure), any crack that steps diagonally along a mortar joint, and any crack that’s actively widening.
The Document That Should Have Caught It
Before any foundation is poured, the soil under it should be compacted in lifts and tested, and a compaction report should be on file with the building department. In South Florida, where the soil profile shifts between sandy and mucky depending on where you are in Homestead, compaction matters more than most homeowners realize. A missing report turns a $200 cosmetic crack repair into a $3,000 to $5,000 engineering question, because the engineer has to commission new soil testing before anyone can say whether the crack is stable.
If you’re still in the planning stage, ask the contractor for the compaction report before you sign. Read more about Home Additions & ADU in Homestead and what the documentation package should look like.
Filing a Complaint with the Florida DBPR
If defects appear within the statutory warranty period and the contractor won’t make them right, Florida gives you a formal path. The Department of Business and Professional Regulation (DBPR) handles contractor complaints through its Division of Regulation, and the process is more document-driven than most homeowners expect.
Step-by-Step: Filing a Complaint
- Gather your contract, scope, change orders, and payment records. The DBPR will ask for proof of the agreement and what was actually paid.
- Get an inspection report from a licensed inspector or engineer documenting the defect. A photo of a crack doesn’t move a case; an engineer’s letter stating the crack is caused by improper compaction does.
- Send the contractor a written demand for correction with a deadline. Florida’s notice-and-cure statute generally requires you to give the contractor a chance to fix the defect before a legal claim proceeds.
- Complete the DBPR complaint form (the Division of Regulation’s consumer complaint form, available on the DBPR website) and attach your documentation.
- Log the response timeline. The DBPR will acknowledge your complaint, open an investigation, and notify you of the outcome. Timelines vary, but expect weeks, not days, before an investigator is assigned.
What makes a complaint actionable is the paper trail: dated photos, an engineer’s opinion, and a written record of your request that the contractor correct the work. A written contract with a flat price and a signed scope is the strongest starting document you can have – which is why we put the price in writing before any work begins and never move on a change until the change order is signed.
Permits, Inspections, and What Homestead Requires
A home addition or ADU in Homestead requires a building permit, and the permit requires plans, a site plan, and inspections at defined stages: foundation, framing, mechanical, electrical, plumbing, and final. The inspections are your protection. If the final was never passed, the addition may not be legally occupiable, and a resale can stall.
In our experience, the most common permit problem is the change made on site that never made it onto the approved plan – a window moved six inches, a wall framed differently than drawn. Every one of those needs a revised plan and a reinspection. That’s a paperwork cost, not a safety concern, but it delays the final and sometimes forces rework. Pull the permit, keep the inspection results, and file the final certificate with your closing documents. The Rowan Construction Group Homestead home page lists what we include in every project package.
Common Mistakes to Avoid
- Skipping the soil compaction report. In Homestead’s sandy-to-mucky soil, a foundation poured over uncompacted fill will settle, and no cosmetic fix stops it. Pay for the compaction test up front.
- Extending an existing HVAC duct without a Manual J. A ducted extension into an undersized system gives you a room that never cools. Calculate the load first.
- Accepting a verbal promise on the flashing detail. Ask to see photos of the step flashing and housewrap at the transition before the roofer closes it up. If they didn’t photograph it, it wasn’t done to spec.
- Letting electrical work ride on an existing circuit. A new room needs its own circuits. Check the panel schedule.
- Signing a contract with no written scope. A price without a scope is not a price. The scope is what protects you when the final walkthrough happens.
- Waiting past the notice period before raising a defect. The statutory warranty clock is real. Report problems in writing, with photos, as soon as you see them.
- Assuming an inspection report is optional. A single engineer’s letter turns a dispute from a he-said into a documented claim.
See the difference
 Before
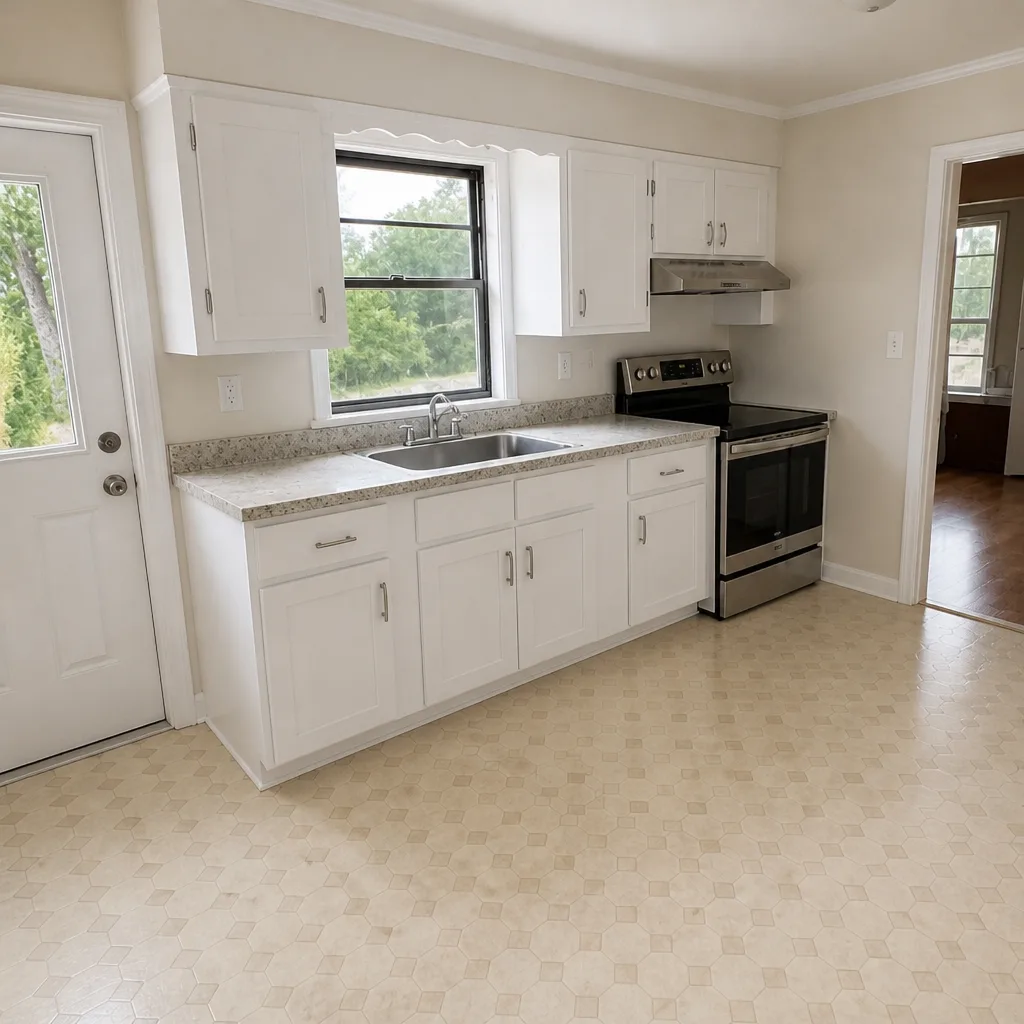 After
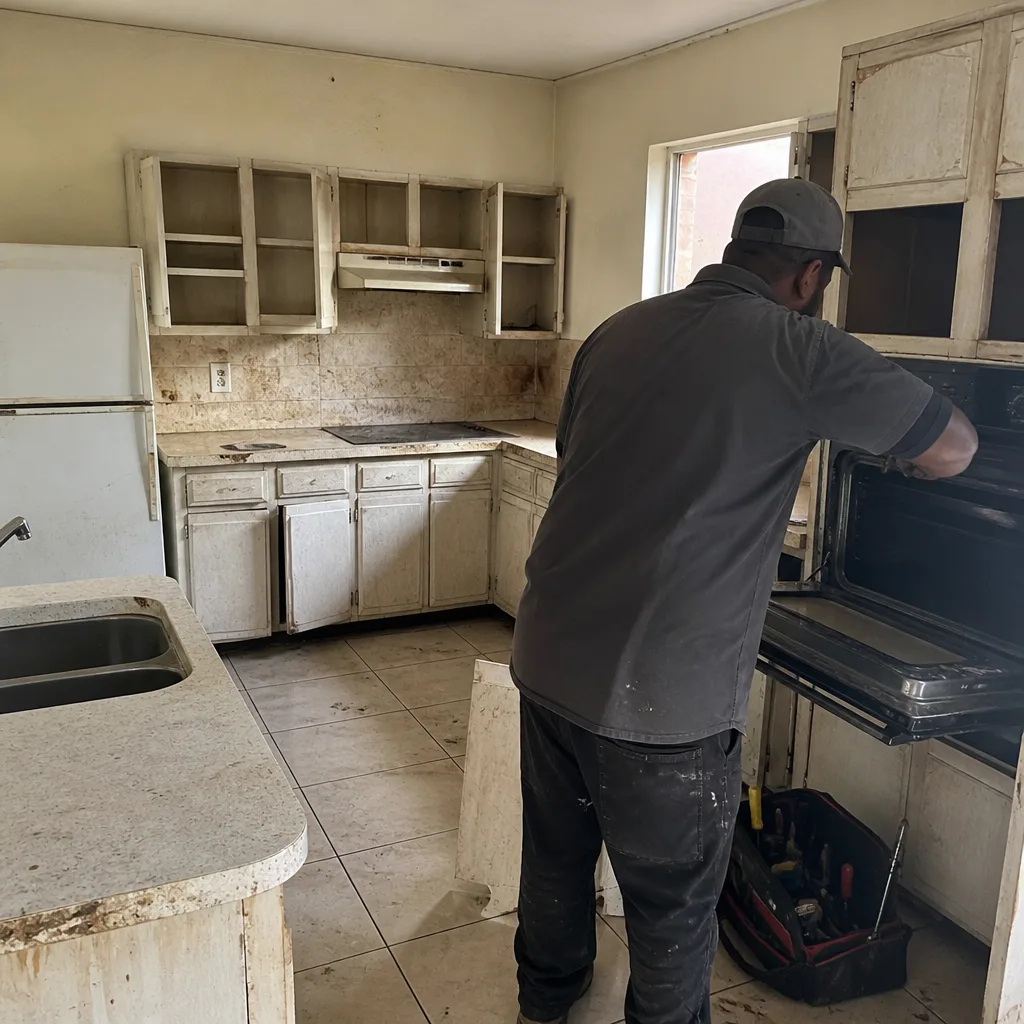 Before
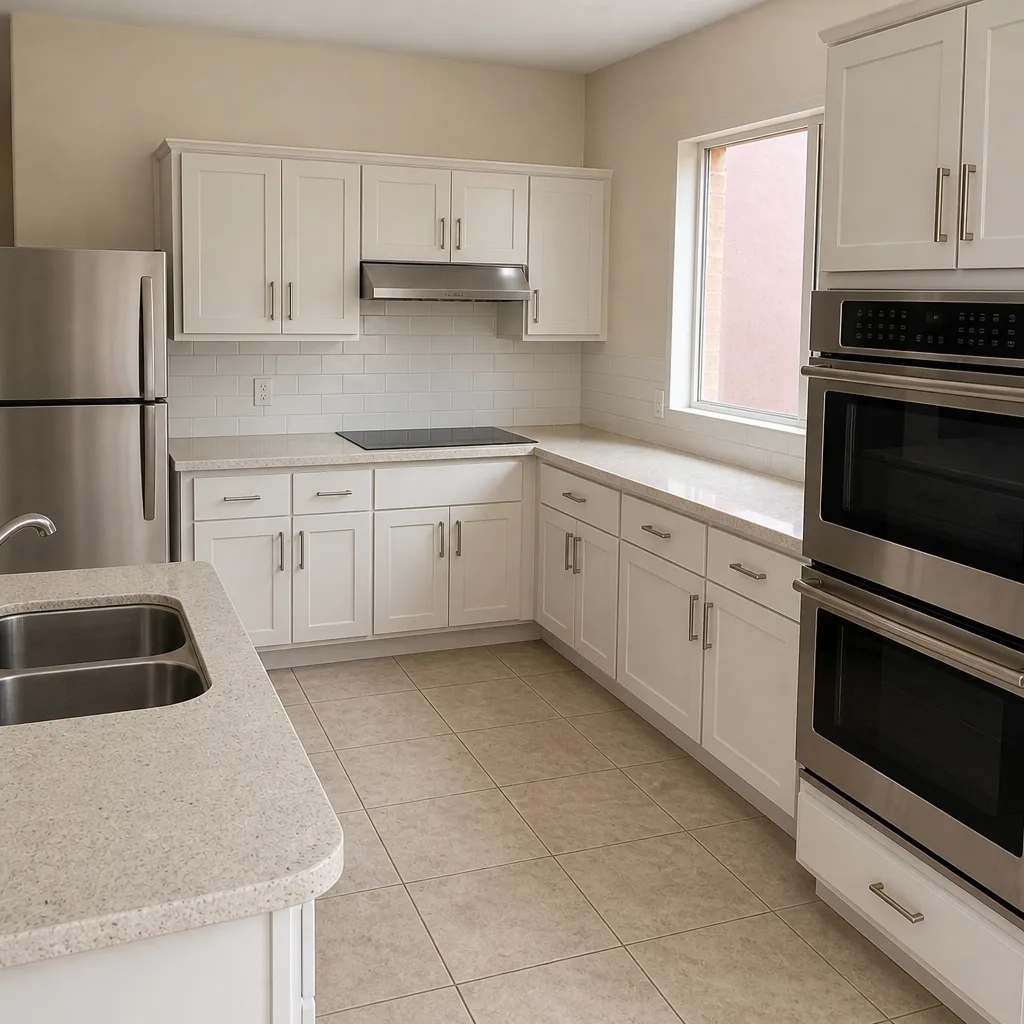 After
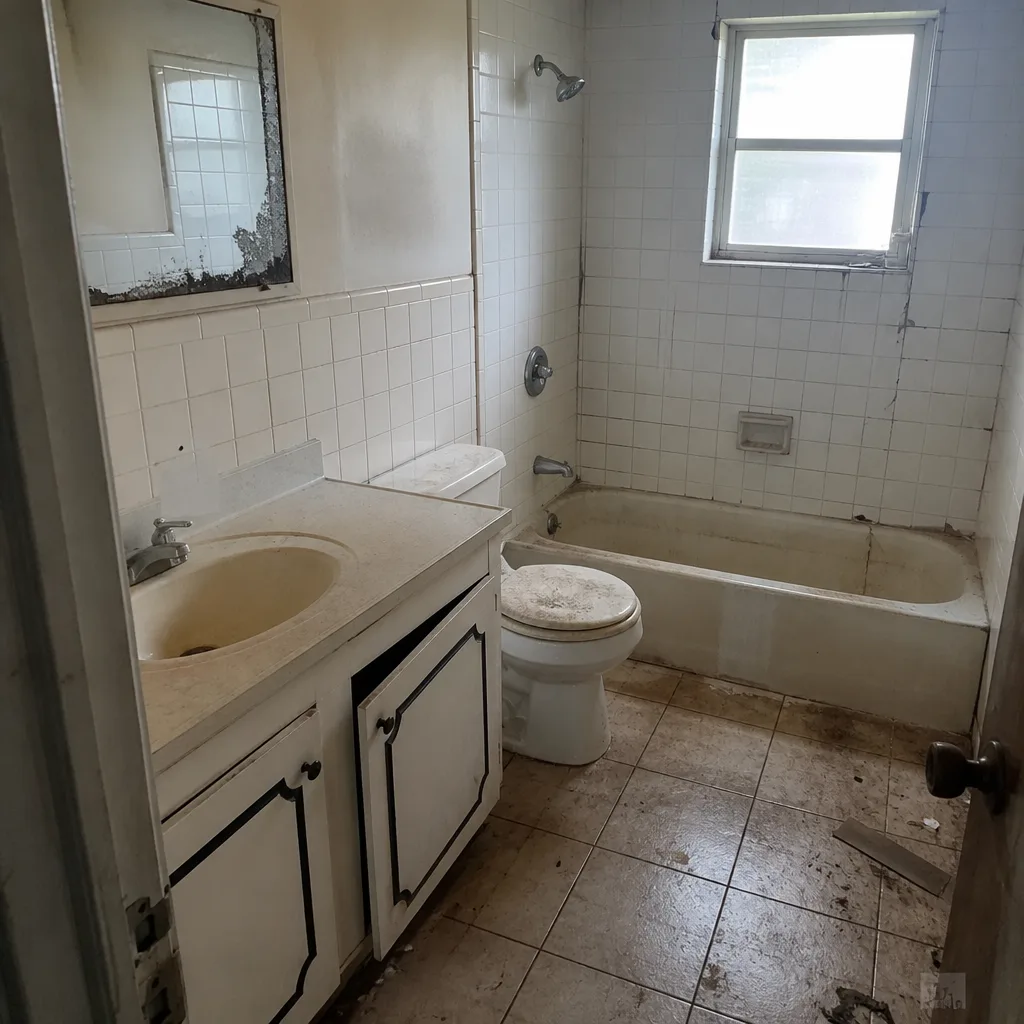 Before
 After
When to Call a Professional
Call a professional when you see any of these: a foundation crack wider than a quarter-inch or actively widening, water staining at the roof transition that returns after rain, a new room that can’t hold temperature, a breaker that trips more than once a month, or a floor step between old and new that grows over time. Those six signs each point to a specific diagnostic record, and each is cheaper to fix the earlier it’s caught. Foundation, electrical, and roofing work at these scales should be done by licensed trades; a cracked stem wall or an overloaded panel is not a do-it-yourself job. Rowan Construction Group Homestead offers free estimates in Homestead – call (844) 834-4248 to schedule a walkthrough, and bring any written estimate from another contractor for a free second opinion reviewed line by line.
Frequently Asked Questions
A flashing rebuild with light interior repair typically runs $1,800 to $4,500 in Homestead, and heavy rot or sheathing replacement pushes past $7,000. The number depends on how much sheathing the roofer finds when the flashing is opened, which is why we quote the flashing repair first and the framing repair as a separate signed change order. Call (844) 834-4248 for an exact quote – estimates are free.
Not without your signature. Under Clause 1 of the Haven Standard, the price is written before anyone starts, and no change proceeds until the change order is signed. That discipline is why a written scope matters more than a handshake, and why we ask for the scope in writing before the first tool comes off the truck. Call (844) 834-4248 to review your written quote with us.
Yes. Every addition and ADU we build is permitted and inspected at each stage – foundation, framing, mechanical, electrical, plumbing, and final – and we file the final certificate with your project records. The permit is the protection that keeps the addition legally occupiable at resale, and we don’t build without one. Call (844) 834-4248 to schedule a free permit review.
Structural problems typically appear within the first two years, and the flashing or HVAC failures we see most often surface within 18 months. Cosmetic issues like shrinkage cracks and paint bubbling show up in the first six months. If you’re past the two-year mark with no water intrusion and stable floor levels, the build is likely sound. Call (844) 834-4248 for a free walkthrough if you’re inside that window and concerned.
A duct extension costs $1,200 to $2,800 and only works if the existing equipment has spare capacity. A mini-split costs $3,500 to $6,500 and sidesteps the undersized-equipment problem entirely. The right answer depends on the Manual J calculation, which we’ll review with you at no charge. Call (844) 834-4248 to schedule your free estimate.
You can file, but the complaint moves much further with a licensed inspector’s or engineer’s letter attached. The DBPR responds to documented defects – dated photos, a professional opinion, and a written demand for correction – rather than a general description. Get the report, then file. Call (844) 834-4248 if you need help understanding what documentation your contractor should have on file.
The Bottom Line
Home addition and ADU problems in Homestead almost always trace back to a document that should have existed: a soil compaction report, a Manual J calculation, a photo of the step flashing, a signed scope. The repair is never cheaper than the record. If you’re still planning, ask for the paperwork before you sign. If you’re troubleshooting, know that the fixes range from a $150 transition strip to a $15,000 slab correction, and the diagnostic record decides which one you’re facing. Our crews are background-checked and uniformed, every visit includes a documented photo record, and we put the price in writing before anyone starts. See what a documented addition looks like – read our Driveway & Pavers in Homestead and Fence Installation in Homestead pages for the same paperwork discipline applied across our other trades.
Call (844) 834-4248 to schedule your free estimate. Estimates are free, the price is written before any work starts, and the 365-Day Done Right Promise backs it in writing.
Written by the team at Rowan Construction Group Homestead.