Last updated November 17, 2026
Free written scope consultation - allowances, timeline, and change-order rules on paper before a single trade is scheduled
Home Additions & ADU Maintenance Schedule: What to Do and When
Most homeowners treat their addition like the rest of the house. That’s the mistake. A 2019 addition tied into a 1970s block home creates a seam where two different wall systems, two foundation schedules, and two roof planes meet, and in South Florida that seam is exposed to a humidity cycle the original house never carried on its own. In our experience across Homestead, the roof-to-wall flashing between an original structure and a newer addition is the single highest-failure joint in residential construction here, and it wants an inspection every 12 months, not the five-year look most owners give their roof. This guide lays out what to check, when to check it, and how to document it, organized around the junction points rather than a generic to-do list.
Quick Answer
A home addition and any ADU need a seasonal maintenance schedule, not an annual spring-cleaning: inspect the roof-to-wall flashing and structural connection in May before hurricane season and again in November after the rainy season, reserve December through April for caulk and paint work, flush the water heater every 6 to 12 months, test smoke and CO detectors monthly on a rental unit, and log every task with photos. The joints where old construction meets new fail first, so those get the most attention.
Styles & brands we work with
- Kitchen remodeling
- Bathroom remodeling
- Home additions & ADU
- Roofing
- Windows & doors
- Driveway & pavers
- Fence
Table of Contents
- The South Florida Seasonal Calendar for Addition Maintenance
- How to Inspect the Structural Connection Between Addition and Original Building
- Roof-to-Wall Flashing: The 12-Month Rule
- Flat Roof Maintenance: TPO Inspection and When Patching Becomes Replacement
- ADU-Specific Maintenance and Your Habitability Obligations Under Florida Statute 83.51
- Caulk, Sealant, and Waterproofing Reapplication Intervals
- Building a Maintenance Log That Survives an Insurance Claim
- Common Mistakes to Avoid
The South Florida Seasonal Calendar for Addition Maintenance
Homestead runs on two seasons that matter to a building: the wet season roughly from May through October, and the dry season from November through April. Additions and ADUs fail on the wet side and get repaired on the dry side. Here’s how the year breaks down, with the tasks that fit each window.
- March and April (dry window, last of it): Re-caulk expansion joints, touch up elastomeric paint on the addition’s exterior walls, and re-seal any window and door perimeters. Moisture-cure sealants need a dry substrate, so this is the best two-week stretch of the year for it.
- May (pre-hurricane season): Full roof-to-wall flashing inspection, fastener check on flat-roof edge metal, gutter and scupper clearing, and a hurricane-shutter or impact-window hardware check. Do this before the first named storm forms, not after.
- June through October (wet season): Watch-and-record mode. Check for standing water on flat roof sections after heavy rain, photograph any interior ceiling staining, test ADU detectors monthly. No major exterior sealant work unless there’s an active leak.
- November (post-rainy season): The most important inspection of the year. Walk the flashing, the ledger or bond beam, the rim joist, the foundation transition, and every interior corner where the addition meets the old wall. Document what you find.
- December and January (dry window): Repairs and re-waterproofing. This is when sealant cures reliably and roofers can open a membrane without chasing rain.
- February (low-humidity build window): Interior touch-ups, HVAC filter and condensate line service, water heater flush, paint on interior addition walls.
If you’re still in the planning stage rather than maintaining an existing structure, our Home Additions & ADU in Homestead service page walks through how we sequence new construction around this same calendar, so the build closes up before the wet season and the finish work happens dry.
How to Inspect the Structural Connection Between Addition and Original Building
The structural tie between new and old is where differential movement shows up first. Concrete block homes in Homestead often attach a stick-framed addition through a ledger board bolted to the block; older homes may use a bond beam connection; some additions tie through a rim joist. Whichever you have, you’re looking for the same three things: movement, moisture, and corrosion.
What to check at each connection type:
- Ledger board connections: Look for gaps opening at the top edge of the ledger where it meets the block, rust staining around lag bolts or anchors, and any soft wood at the ledger’s lower edge. A flashlight held flat against the wall reveals gaps that a straight-on look misses.
- Bond beam connections: Watch for hairline cracks that have widened since last year, efflorescence (the white powdery salt staining) along the beam, and any spalling of the block face where the tie is embedded.
- Rim joist connections: Check for rot at the rim’s end grain, separation between rim and subfloor, and any daylight visible from inside a crawlspace or attic looking toward the seam.
Take a dated photograph of every connection point once a year. In our experience, the comparison between year one and year three is more useful than any single inspection, because you’re measuring a rate of change rather than a static condition. If a gap has opened more than about 1/8 inch since the last photo, that’s a call-a-professional moment, not a caulk-over moment. Caulk will hide the gap and hide the evidence at the same time.
Roof-to-Wall Flashing: The 12-Month Rule
Here’s the counterintuitive part. Roofers will tell you to inspect the roof every three to five years, and for the original roof, that’s often fine. The flashing where a newer addition’s roof dies into the original wall is different. It sheds more water per linear foot than almost any other detail on the house, it has a shorter service life because it’s usually tucked under two different material systems, and in Homestead it faces consistent wind-driven rain from the east and southeast through the wet season. That’s why we put it on a 12-month cycle.
What a proper annual flashing inspection covers:
- Lift the lower edge of the counter-flashing by hand to check for sealant failure and trapped debris. Debris that collects behind flashing holds moisture against the wall sheathing or block.
- Look for lifted or cracked sealant along the full run, not just at the ends. Failure typically starts in the middle where thermal expansion is greatest.
- Check that fasteners are present and not backed out. Backed-out fasteners are the single most common thing we find behind a leak that “came out of nowhere.”
- Photograph the flashing and surrounding roof field in the same frame, dated, for the log.
If you’re seeing staining on the ceiling inside the addition’s interior corner within a few feet of the flashing line, that’s not a “monitor it” condition. Water is already past the building envelope. It gets inspected and repaired before another wet season loads it.
Flat Roof Maintenance: TPO Inspection and When Patching Becomes Replacement
Many Homestead additions and detached ADUs are built with low-slope roofs, and TPO (thermoplastic polyolefin) membrane is the common single-ply choice. A TPO roof performs well when it’s inspected and poorly when it isn’t, and the failure mode is ponding water, seam separation, and UV degradation that looks fine from the ladder and isn’t.
Inspection criteria to apply each November and after any named storm:
- Ponding: Standing water is tolerable during and immediately after rain. Water still present 48 hours after rain has stopped is a drainage problem that shortens membrane life. Fix the drain or scupper before you patch the membrane.
- Seams: Run a hand along every heat-welded seam looking for lifting, peeling, or a “zipper” pattern. Any seam that lifts along more than a few linear inches needs a professional look.
- Punctures and blisters: Small punctures are patchable with a compatible TPO patch and primer. Blisters, where the membrane has lifted from the insulation, indicate trapped moisture and require assessment, not a patch.
- Edge metal and terminations: Fasteners backed out, edge metal lifting, termination bar sealant cracked. This is where wind gets under the membrane in a storm.
The patching-to-replacement threshold is roughly this: if you’re patching the same section more than once a year, or if more than about 25 percent of the roof area has been patched, replacement generally costs less over a five-year horizon than continuing to patch. Replacement is a planned project, not an emergency, so schedule it in the dry window and quote it properly. Our Rowan Construction Group Homestead home page lists the trades we cover, and low-slope and flat roof sections on additions are among them.
ADU-Specific Maintenance and Your Habitability Obligations Under Florida Statute 83.51
An ADU that you rent is a regulated dwelling, and maintenance on it isn’t optional. Florida Statute 83.51 requires a landlord to maintain the premises in compliance with applicable building, housing, and health codes, keep structural components in good repair, and maintain working smoke detection. The practical consequence for an ADU owner is that the maintenance schedule becomes a legal record, not just a homeowner habit.
The tasks that carry the most weight:
- Smoke and CO detectors: Test monthly, replace batteries at least annually, and replace the units themselves on the manufacturer’s schedule (typically 10 years). Log each test with a date. CO detectors matter here because an ADU with a gas water heater or an attached garage needs one, and tenants rarely test them.
- Water heater sediment flush: Every 6 to 12 months in Homestead, given the mineral content in the local water supply. Sediment buildup shortens heater life, raises energy bills, and is a common cause of the “no hot water” call that turns into a replacement. A flush is an hour of plumbing; a replacement is a day and several hundred dollars more.
- HVAC filter replacement: Every 60 to 90 days in a rental, more often if the tenant has pets. A clogged filter drives up the electric bill, freezes the coil, and creates a habitability complaint. Handing the tenant a stack of filters and a written replacement schedule is the simplest fix.
- Condensate line clearing: Once a year, in the dry season. A clogged condensate line overflows and damages the ceiling, and it’s the most common interior water-damage call we see in Homestead ADUs during the first month of wet season.
- Documentation: Every task above gets a date, a photo, and a note. If a tenant ever files a complaint, a maintenance log is what you show.
If you’re adding an ADU and want it built to withstand this schedule rather than fight it, the design matters more than the maintenance. Impact-rated openings (PGT and CGI both make window systems that hold up in Homestead’s wind zone) reduce the storm-prep task list to a shutter-free check.
Caulk, Sealant, and Waterproofing Reapplication Intervals
Sealant is a wear item. It has a service life, and in South Florida that life is shorter than the label promises because the surface gets more UV, more thermal cycling, and more wet-dry movement than an interior product is designed for.
Realistic reapplication intervals for an addition in Homestead:
- Exterior caulk at window and door perimeters: Inspect annually, replace every 3 to 5 years with a high-quality elastomeric or polyurethane sealant. Cheap acrylic caulk in this climate fails in 18 months.
- Expansion joints between addition and original structure: Inspect annually, replace every 3 to 5 years. Use a backer rod behind the sealant so it can move; sealant applied to a two-sided joint will fail.
- Exterior paint on the addition: Recoat every 5 to 7 years with a quality elastomeric product. The paint film is part of the waterproofing system, not just a finish.
- Stucco and weep screed: Check annually. Cracks over 1/8 inch get patched, not caulked. Weep screed must stay clear so moisture can exit the wall assembly.
Do the work in the dry windows: March/April and December/January. Sealant applied over damp substrate or in high humidity doesn’t bond, and it will peel within a season.
Building a Maintenance Log That Survives an Insurance Claim
A maintenance log has two jobs: it helps you catch a problem early, and it proves you did your part when a claim is filed. Insurance adjusters weigh documented maintenance heavily in defect-related claims, and a homeowner who can produce a dated log with photos is in a completely different position than one who says “I think we had it checked in 2022.”
What to put in the log, in practice:
- Date and task: What you did, who did it, and the work performed in one line.
- Photos: Before and after, dated, taken from the same angle so year-over-year comparison works. Save them to cloud storage, not just your phone.
- Receipts and warranty documentation: Any material or contractor warranty gets a copy in the same folder. If a membrane fails under warranty, you need the original purchase record.
- Inspection findings: Note what you found, not just that you looked. “Flashing intact, no gaps” is a record; “checked roof” is not.
- Contractor reports: Keep the written report from any professional inspection. That’s the strongest evidence you have.
Rowan’s crews deliver a documented photo record on every visit as a standard deliverable – it’s a practice we built because it serves exactly this purpose for the homeowner.
Common Mistakes to Avoid
- Applying the original home’s maintenance schedule to the addition. The addition is newer, but it isn’t simpler. The joints are the problem, and they don’t exist on the original structure.
- Caulking over a structural gap instead of investigating it. A gap at the ledger that reappears within a season is movement, not a sealant problem. Caulk hides the evidence and delays the repair.
- Assuming flat roof ponding is normal. Water still on the roof 48 hours after rain isn’t a cosmetic issue; it’s a drainage failure that shortens the TPO membrane’s life.
- Skipping the November inspection because hurricane season is over. The November walk is the most important one in Homestead, because the wet season has just finished doing its work on every joint.
- Skipping ADU detector and water heater tasks because the tenant is “handling it.” Under Florida Statute 83.51, the landlord bears the obligation. Log it yourself or it isn’t done.
- Doing exterior sealant work in the rainy season. Sealant applied over damp substrate or in high humidity fails early, and you’ll be re-doing it next year.
- Keeping the maintenance record in your head. Insurance claims and warranty work both require written evidence. A phone photo and a note takes five seconds.
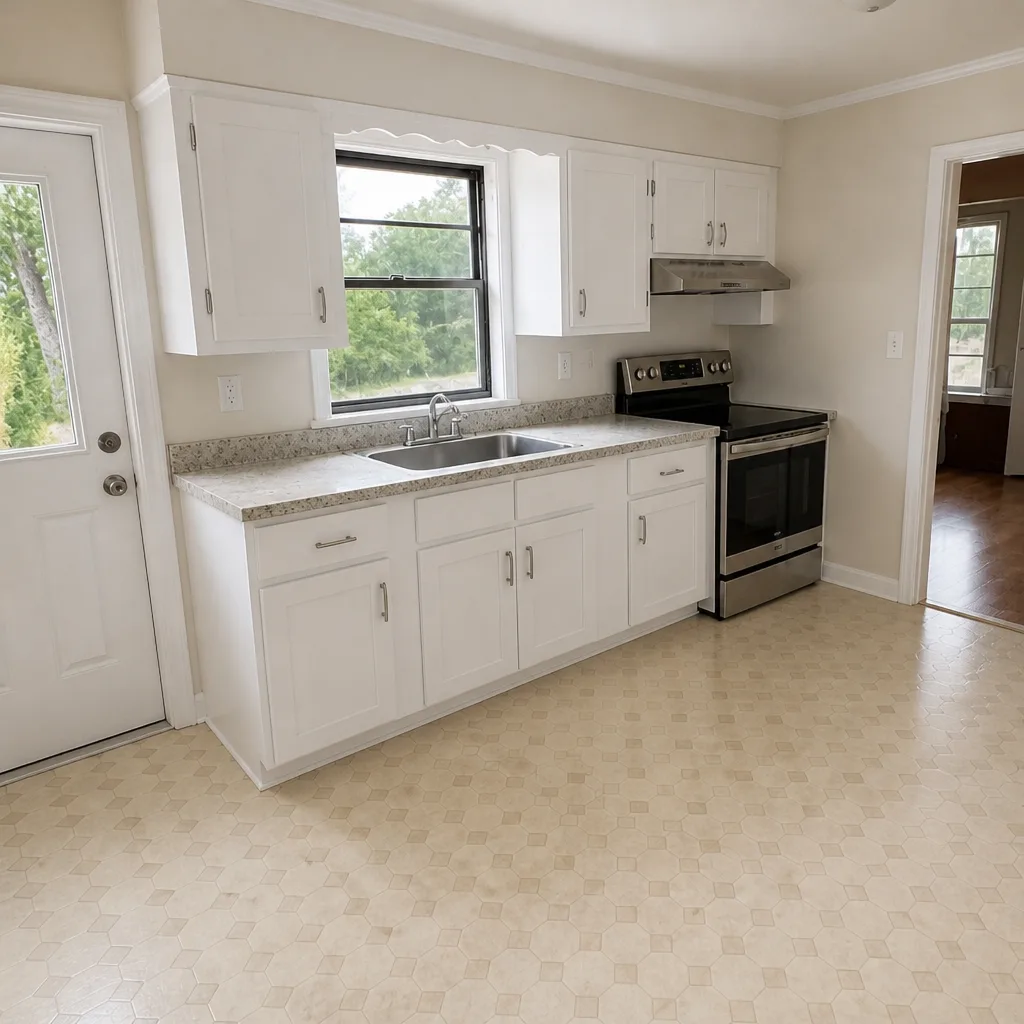
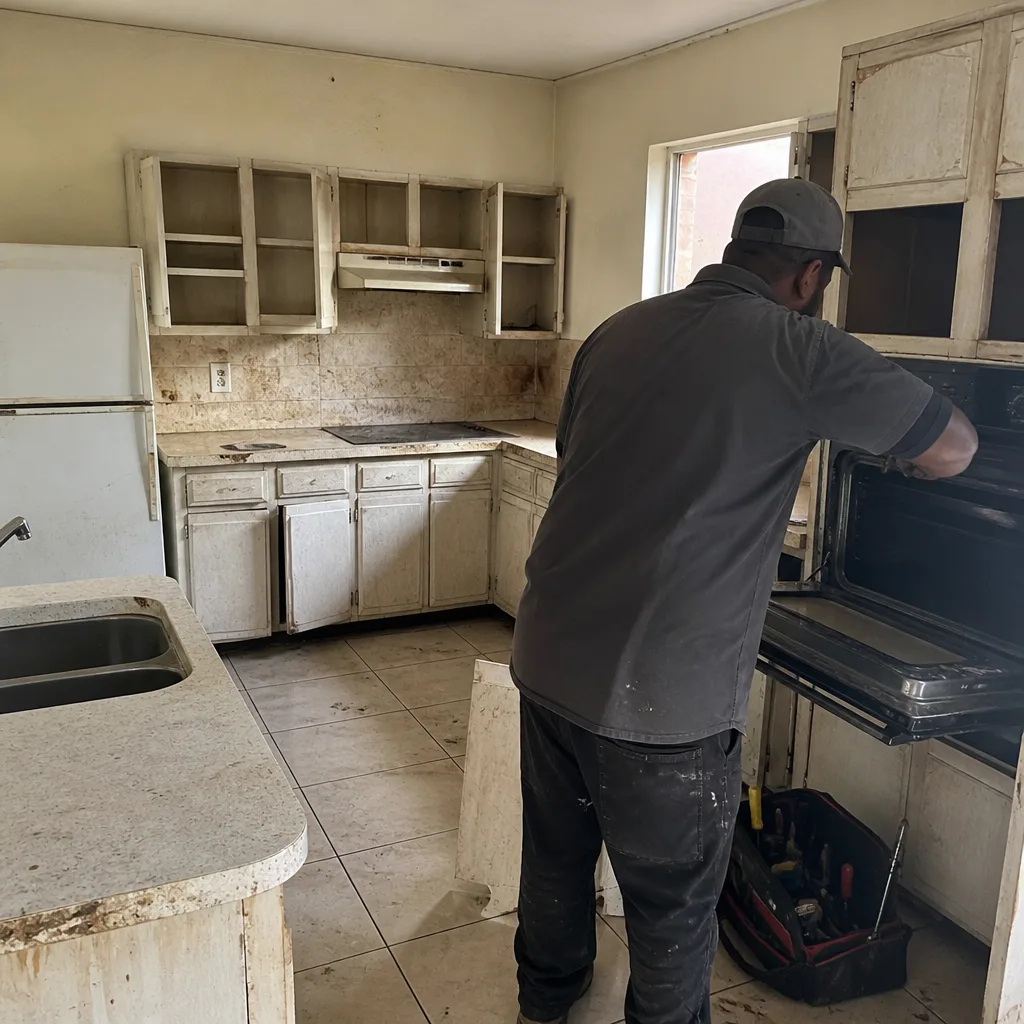
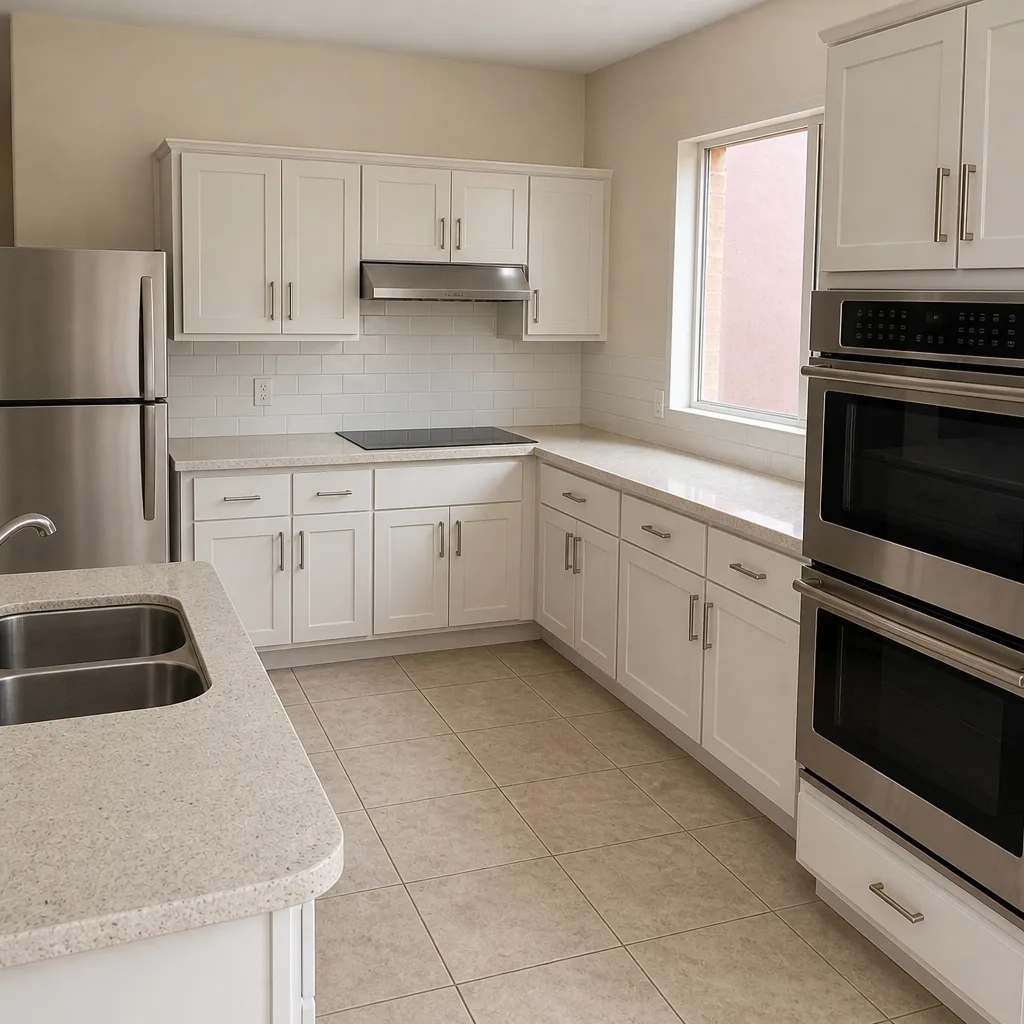
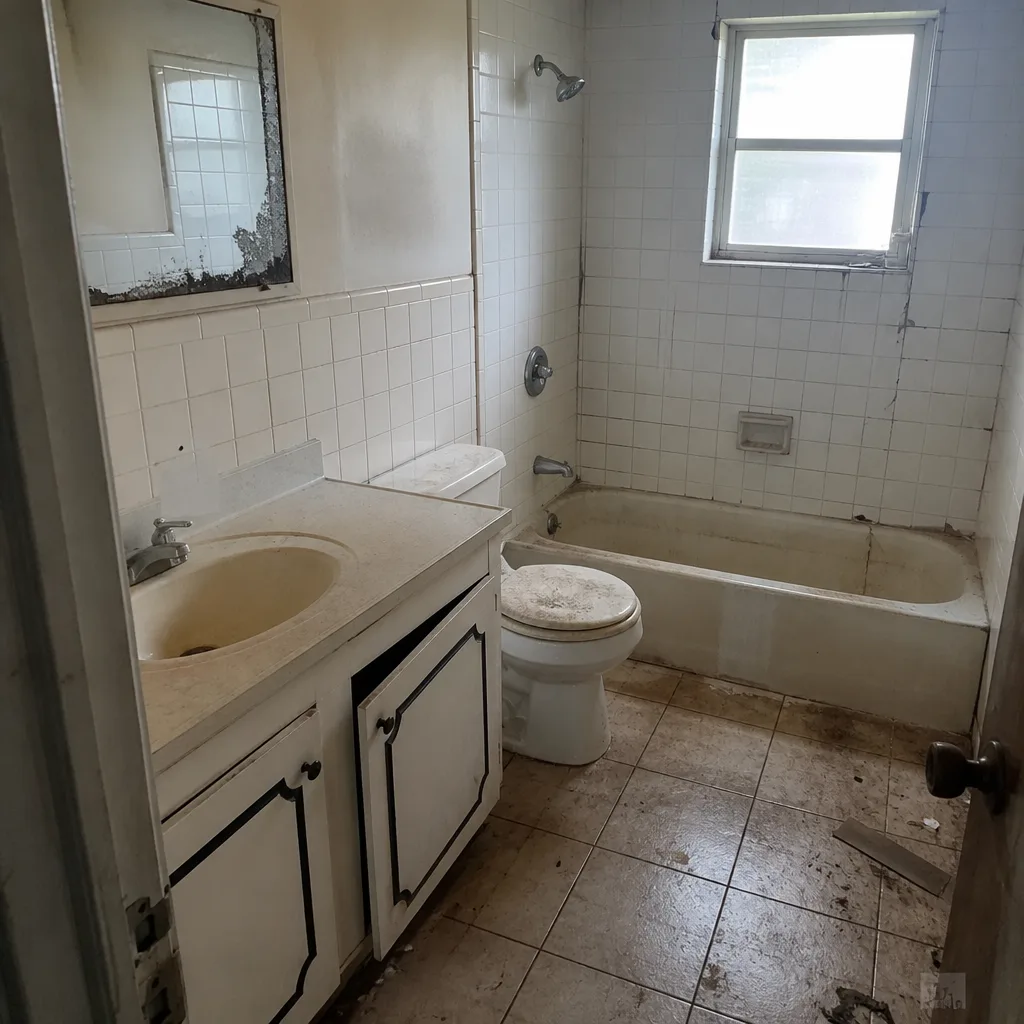
See the difference
 Before
 After
 Before
 After
 Before
 After
When to Call a Professional
Some tasks are homeowner work: testing detectors, changing HVAC filters, clearing condensation lines, flushing a water heater on a serviceable unit. Others need a trained hand. Call a professional if you find a widening gap at the structural connection, if interior ceiling staining appears near the flashing line, if TPO seams are lifting along more than a few inches, if more than a quarter of a flat roof has been patched, or if you’re seeing repeated sealant failure in the same joint within a season. Roof work at height and any repair involving opening the building envelope carry real risk, and a repair done wrong makes the next wet season worse. Rowan Construction Group Homestead offers free estimates in Homestead – call (844) 834-4248, and we’ll put a written price and a written scope in front of you before any work starts.
Frequently Asked Questions
Every 12 months, ideally in May before hurricane season and again in November after the rainy season. The flashing is the highest-failure joint between the original roof and the addition, and the two annual checks catch both pre-season and post-season issues. Call (844) 834-4248 for a professional inspection if you’re not sure what you’re looking at.
If you’re patching the same section more than once a year, or more than about 25 percent of the roof area has been patched, replacement generally costs less over five years than continuing to patch. Persistent ponding more than 48 hours after rain also points to replacement, because it means the drainage and the membrane are both failing. Call us for a written assessment before you commit to either.
Florida Statute 83.51 requires you to maintain the premises in compliance with building, housing, and health codes, keep structural components in good repair, and maintain working smoke detection. In practice, that means documented detector tests, water heater flushes, HVAC filter changes, and a written record. Call us for a written maintenance scope if you want it done to a documented standard.
Every 6 to 12 months, given the mineral content in the local water. Sediment buildup cuts heater life and drives up energy bills, and a flush costs far less than a replacement. Call (844) 834-4248 if you’d like it scheduled as part of your annual maintenance.
No. The dry windows are March through April and December through January, when humidity is lower and the substrate stays dry long enough for sealant to cure. Summer application fails early, and you’ll be redoing it next year. Call us for a written scope on the exterior sealant work before the dry window closes.
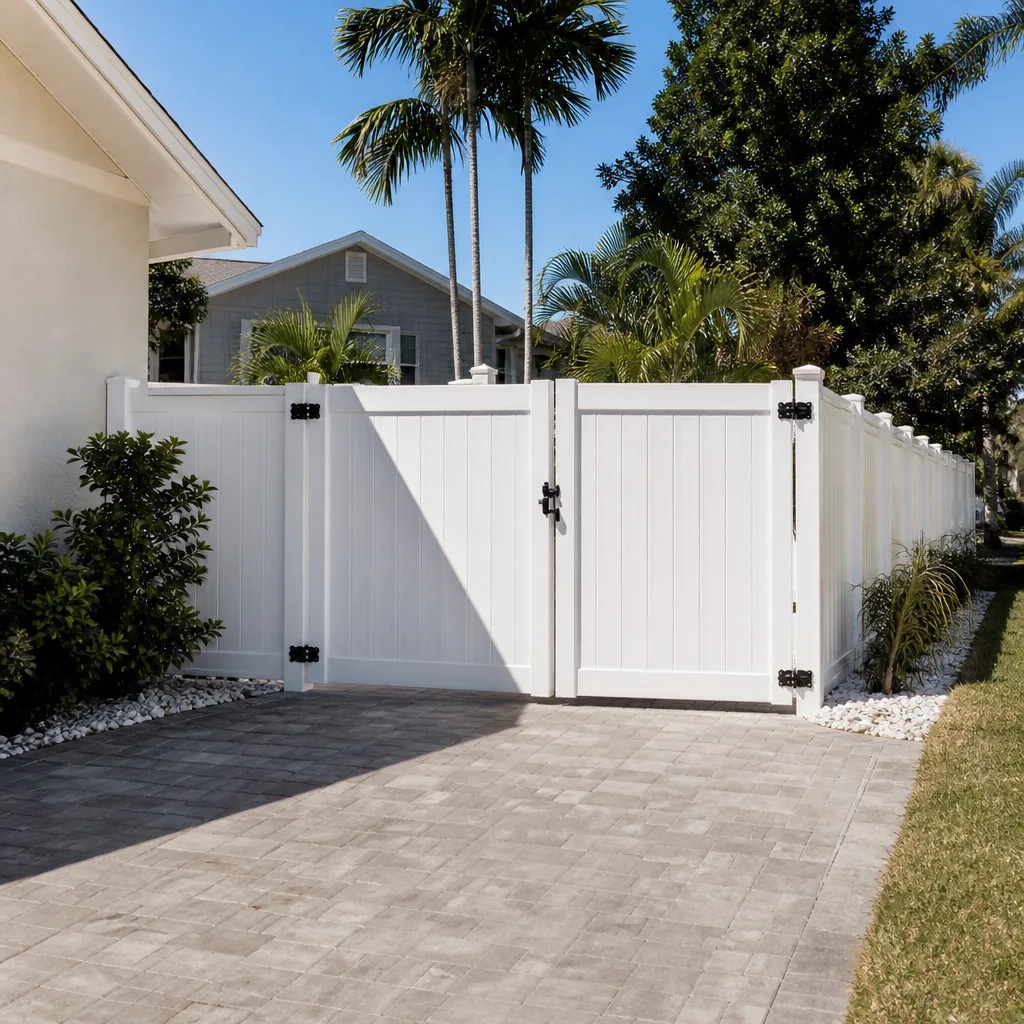
An ADU (accessory dwelling unit) is a separate, self-contained dwelling with its own kitchen, bathroom, and sleeping area, while an in-law suite is typically an interior room or set of rooms without full independence. The ADU carries the rental habitability obligations under Florida Statute 83.51 and needs its own detector tests and water heater service. For a fence or driveway that serves an ADU, our Fence Installation in Homestead and Driveway & Pavers in Homestead pages cover the site work side.
The Bottom Line
An addition and an ADU don’t fail like the original house. They fail at the junctions: the roof-to-wall flashing, the structural tie, the foundation transition, and the flat roof sections that collect Homestead’s wet-season rain. Get those junctions inspected on a 12-month cycle tied to May and November, do your caulk and paint work in the two dry windows, keep ADU habitability tasks on a documented schedule, and keep a written log with dated photos. That combination protects the structure, protects your insurance claim, and keeps a rental unit compliant. For a free estimate or a professional inspection, call (844) 834-4248. Rowan Construction Group quotes every project with a written scope and a flat written price before work begins, and no change proceeds without a signed change order. The 365-Day Done Right Promise is the backstop: if it isn’t done right, we make it right.
Written by the team at Rowan Construction Group Homestead.