Last updated November 17, 2026

Free written scope consultation - allowances, timeline, and change-order rules on paper before a single trade is scheduled
Driveway & Pavers Maintenance Schedule: What to Do and When
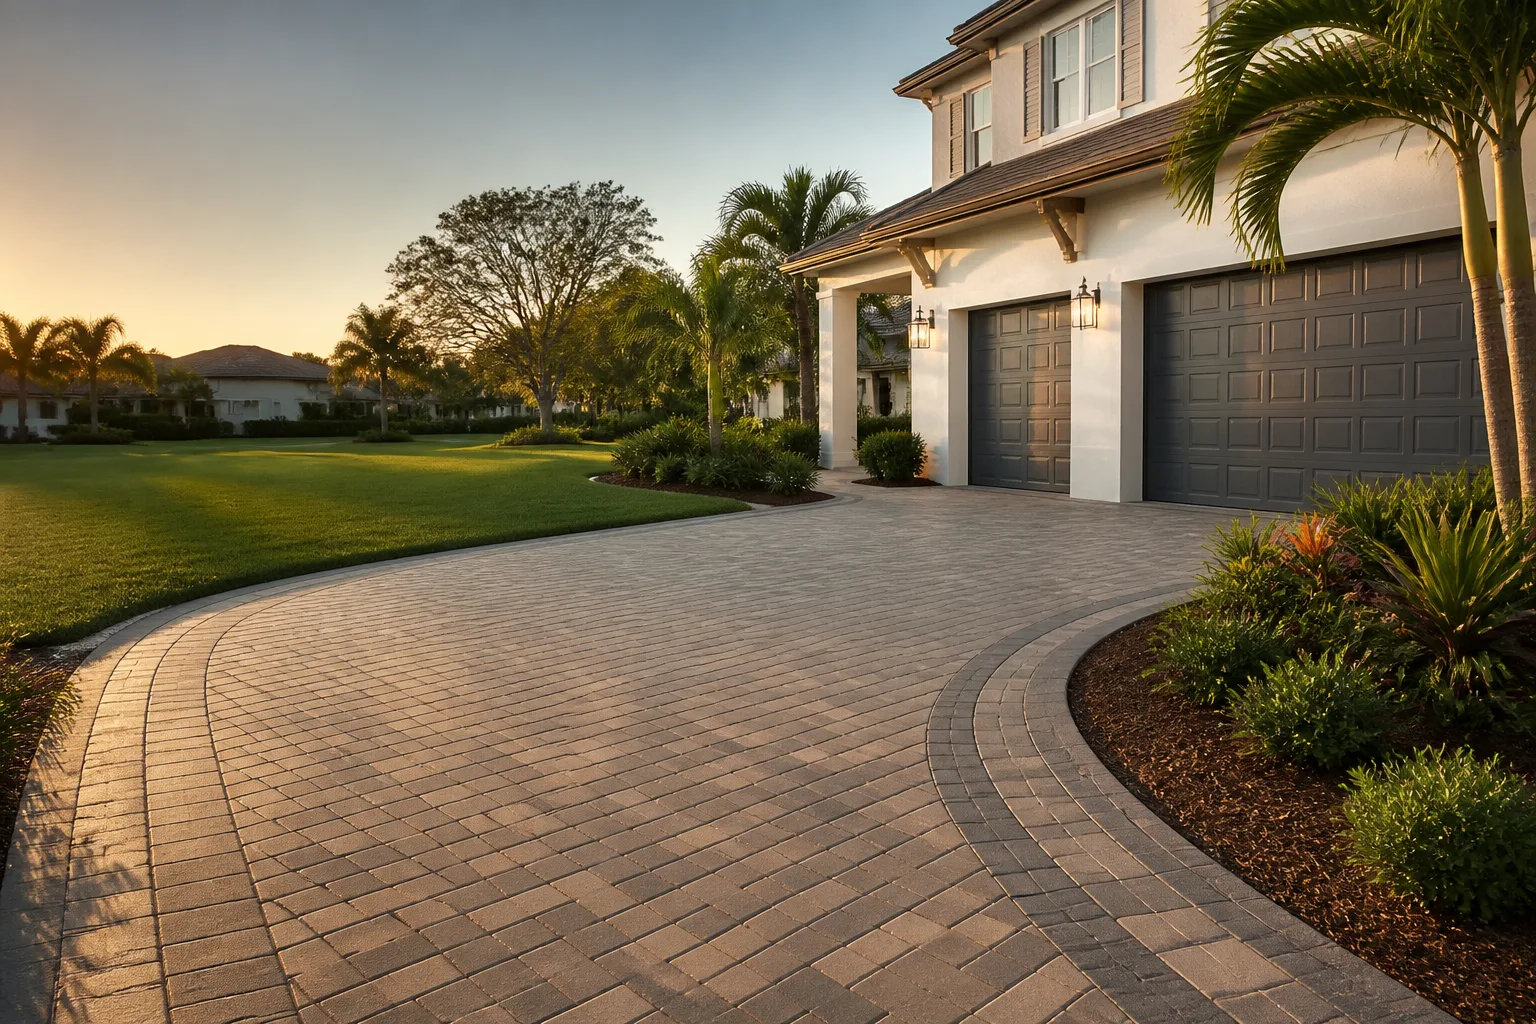
A penetrating sealer rated for a 3-year reapplication cycle in Atlanta lasts closer to 18 months on a southwest-facing Homestead driveway. The difference is UV index, not product quality. South Florida’s sun delivers roughly twice the ultraviolet load of a northern climate, and that single fact reorganizes the entire maintenance calendar: sealer intervals get cut, joint sand fails faster, and hurricane season forces a separate prep-and-assess cycle that no northern guide accounts for. Add Homestead’s wet-season downpours, which push water through failed joints until base material migrates, and you get a paver surface that asks for attention on a rhythm all its own. This guide lays out that rhythm month by month, so you know what to check, when to act, and how to document it for warranty or resale.
Quick Answer
In Homestead, pavers should be inspected twice a year – a dry-season deep check from November through April, and a pre-hurricane joint sand refresh in May or June – with a sealer reapplication every 18 to 24 months instead of the 3 years a northern climate allows. Post-storm damage assessment happens within 72 hours of any named storm, and every action should be logged in writing with photos for warranty and resale documentation.
Styles & brands we work with
- Kitchen remodeling
- Bathroom remodeling
- Home additions & ADU
- Roofing
- Windows & doors
- Driveway & pavers
- Fence
Table of Contents
- The Homestead Paver Maintenance Calendar, Month by Month
- Why Sealer Fails Twice as Fast in Homestead
- How to Test Polymeric Sand Without Disturbing the Joint
- Sealer Selection Matrix for Homestead Driveways
- What Pressure Washing Does to Joints Over Time
- How to Log Maintenance for Warranty and Resale
- When to Call a Professional
- Frequently Asked Questions
The Homestead Paver Maintenance Calendar, Month by Month
Two hard constraints shape the calendar. Hurricane season runs June 1 through November 30, and the Atlantic peak sits from mid-August to late October. The dry season runs roughly November through April, which is also the only stretch when you can reliably perform a deep inspection without a rain delay washing out freshly installed joint sand. Everything else slots into that frame.
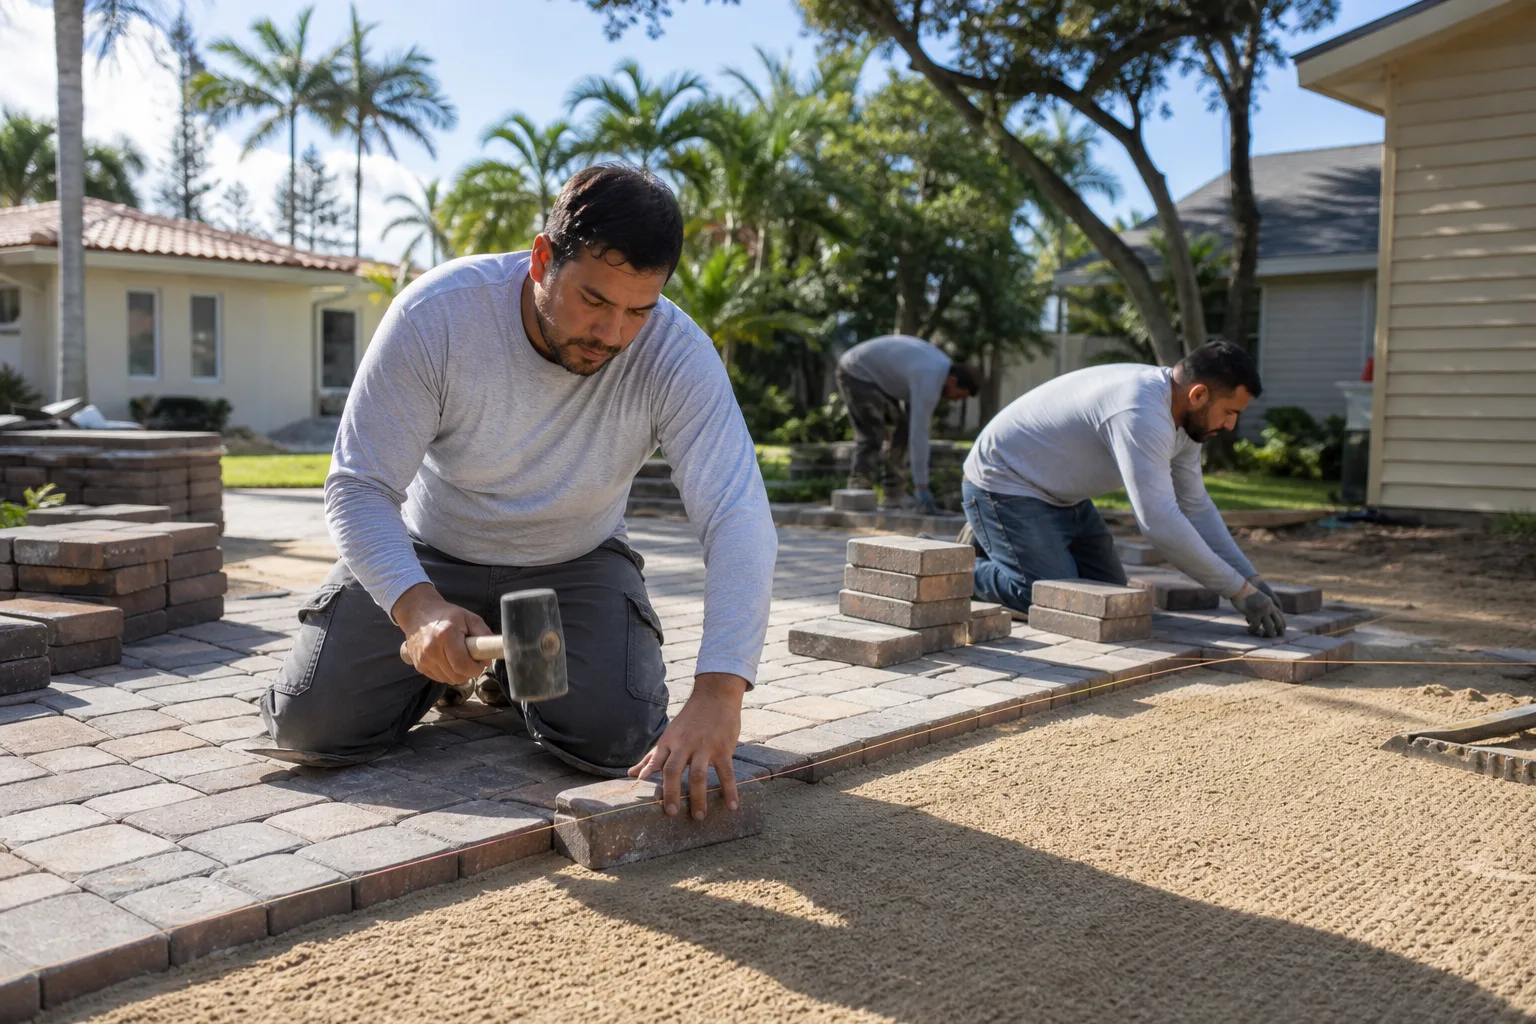
Here is the schedule we recommend for a Homestead driveway, whether it is Belgard or Techo-Bloc pavers on a typical Marco or Coral Gables-style residential layout:
- November: Post-hurricane deep inspection – walk the full surface, tap each paver for a hollow sound, check every joint line for sand loss. Chip out any settled or heaved pavers for a base check.
- December-January: Deep clean. Pressure wash at 1,200-1,500 PSI with a 25-degree tip (see the pressure section below). Let the surface dry 72 hours.
- February-March: Sealer reapplication window – best done with 72 dry hours ahead and surface temps between 55°F and 85°F. Avoid applying in the middle of a weather front.
- April: Joint sand refresh with polymeric sand after the sealer has set. This gives the joints 6-8 weeks to cure before heavy storm loads arrive.
- May-June: Pre-hurricane prep – pre-emptively top up any low joints with fresh polymeric sand, check drainage swales so water doesn’t pond, and confirm the driveway edge restraints are snug against the pavers.
- July-October: Reactive maintenance only. After any named storm, wait 24 hours for drainage, then walk the surface and document any damage with photos within 72 hours.
That is a 12-month cadence. In a northern climate you’d compress the same tasks into a 6-week spring window. In Homestead, the calendar spreads across the year because the weather allows you to work in smaller, more frequent increments.
Why Sealer Fails Twice as Fast in Homestead
Sealer failure is a chemistry story, not a mystery. Two factors accelerate it in Homestead: UV intensity and thermal cycling. The UV load degrades the polymer chain in both penetrating and film-forming sealers, and the daily cycle of afternoon thunderstorms during the wet season (June through September) forces water back into any microscopic cracks the sun opens. Combine those, and you get an accelerated failure curve.
Atlanta’s average UV index peaks around 10 in mid-summer, but the seasonal average is well below that. Homestead’s peaks run to 11-12 and hover near 10 for most of the year. That’s roughly double the annual UV exposure, and sealer degradation tracks UV load almost linearly once you get past the initial 6 months of cure.
What this means in practice:
- Penetrating sealer: rated for 3 years in a northern climate; plan on 18-24 months in Homestead, and 12-15 months on a southwest-facing driveway with no shade.
- Film-forming (topical) sealer: rated for 4-5 years up north; expect 24-30 months here. Watch for the film to start hazing or peeling at the traffic lane – that’s your cue.
- Wet-look sealer: the film is thicker, so it holds longer, but the failure mode is more visible. Check the driveway edge for any uplift in the film after the wet season.
A simple field test: pour a cup of water on the surface. If it beads and rolls for more than 10 seconds, the sealer is still functioning. If it soaks in within 3-4 seconds, the sealer has degraded and it’s time to reapply. We use that test on every driveway and paver project we’re called out to in Homestead.
How to Test Polymeric Sand Without Disturbing the Joint
Polymeric sand is the binding agent that holds the joints tight. Once it cures, it resists water intrusion and keeps the pavers from shifting under tire load. When it fails, water gets underneath, base material erodes, and pavers settle or heave. The problem is that testing the sand by digging into it destroys the joint you’re trying to protect.
The scratch test used by ICPI-certified installers (Interlocking Concrete Pavement Institute) is the non-destructive alternative. It works like this:
- Pick three test points per zone: a high-traffic lane, a corner near a downspout, and an edge against the lawn. These show distinctly different wear patterns.
- Scratch the surface of the joint with a key or a flathead screwdriver, using light pressure. Do not dig; just skim.
- Observe the release: if the sand crumbles or powders off into a loose grain, the polymer has degraded and the joint needs a refresh. If it holds together in a firm, cohesive bit, the binder is still good.
- Wet the joint and re-check: if water pools on the sand before absorbing, the binder is working. If water drains straight through in under 2 seconds, the polymer has broken down.
- Log the result and the date. We recommend photographing each test point. That record matters if you ever file a warranty claim on the joint sand or the sealer.
We’ve seen Homestead driveways that failed the scratch test in as little as 14 months after installation, mostly on the west side of the property where the sun hits hardest and there’s no tree canopy. North-side driveways in the same neighborhood often hold 3-4 years.
Sealer Selection Matrix for Homestead Driveways
Not all sealers are created equal, and the matrix for Homestead looks different from what a Cleveland or Charlotte contractor would recommend. Here’s how to sort them by type, finish, and verifiable UV resistance.
- Solvent-based penetrating sealer: solvent carrier, silane/siloxane active. Deep penetration, invisible finish. UV resistance depends on the manufacturer – Techniseal and SEK Surebond publish UV data; check the tech sheet for the ASTM G154 accelerated weathering result. Preferred for natural-stone and matte paver finishes.
- Water-based penetrating sealer: acrylic or siloxane active. Lower VOC, easier to apply, but generally shorter lifespan in Homestead. 12-18 months typical. Good for a low-sheen finish on Belgard or Techo-Bloc pavers.
- Solvent-based film-forming (wet-look) sealer: acrylic or polyurethane. Produces the darkened “wet” look most popular on Homestead driveways. UV stability is critical – without UV blockers, the film yellows within 12-18 months. Techniseal and Alliance Gator both publish UV resistance data on their wet-look lines.
- Water-based film-forming sealer: lower solvent smell but a thinner film than the solvent version, and faster to fail in direct sun. Not our first recommendation for a full-sun driveway in Homestead.
When you choose, ask three questions: (1) What is the UV resistance per the manufacturer’s ASTM G154 data? (2) How many square feet per gallon? (3) What is the reapplication interval recommended for Zone 10, which includes Homestead? If the label only lists a national interval, halve it for Homestead on a full-sun exposure.
For brand-specific options, Techniseal and Alliance Gator both publish American-made UV resistance data, and SEK Surebond’s silane-siloxane line is widely used on Homestead projects where a natural (non-wet) finish is requested. We don’t recommend a particular brand without seeing the actual paver surface first, because matte versus textured pavers behave differently under the same product.
What Pressure Washing Does to Joints Over Time
Pressure washing is essential for keeping a Homestead driveway looking right – mold, mildew, and the black algae that thrives in humidity build up fast on any shaded face. But pressure washing is also the single biggest cause of premature joint sand failure in Homestead driveways. The reason is simple: polymeric sand is the binding agent, and the same pressure that strips algae will strip the polymer if pushed above its structural limit.
The ceiling we recommend is 1,200-1,500 PSI with a 25-degree tip. Never use a turbo nozzle or a 0-degree tip on a paver surface. Those tools concentrate energy into a single point, and that is how you blow joints out, chip the paver edges, and force water into the base.
A few practical guidelines:
- Hold the wand at a 45-degree angle so you push debris toward the edge rather than driving it down into the joint.
- Move in a consistent pattern – left to right, one pass, then reset. Don’t hover on a single line.
- Pre-treat with a paver-safe cleaner (no muriatic acid on polymeric sand) and let it sit for 5 minutes. That loosens the organic growth so you don’t need to brute-force it with pressure.
- Rinse with low pressure at the end to remove loosened sand. Do not blast the joint lines directly.
- Wait 72 hours for full surface dry if you plan to re-sand or re-seal the joints. The polymeric sand has to bond to a dry surface.
We’ve seen driveways in Homestead where annual pressure washing at 3,000 PSI eroded a quarter inch of joint depth within 3 years. The paver surface itself was fine, but the joints were wide open, and water intrusion was undermining the base. The fix was full re-sanding, which costs more than a decade of proper low-pressure washes.
How to Log Maintenance for Warranty and Resale
By the time you’re selling a Homestead home or filing a warranty claim on pavers, the maintenance record is what matters. Buyers and their inspectors ask three specific questions: When was the driveway last sealed? When was the joint sand last refreshed? Are there records of any settling or base issues? If you can’t answer those with dates and photos, you’re at the mercy of speculation.
A maintenance log should include, for each event:
- Date and weather conditions – surface temp, ambient temp, humidity, and whether it rained within 24 hours.
- What was done – pressure wash (with PSI and nozzle), joint sand refresh (with product and square footage), sealer application (with product name, batch number, and coverage rate).
- Photos before and after – one wide shot of each zone plus one close-up of the joint condition. Take them from the same angle each time so the comparison is honest.
- Any issue observed – settling, heaving, cracking, discoloration, mold recurrence. Photograph it clearly.
- Contractor name and invoice – if a professional did the work, keep the invoice attached. That’s what a warranty claim or buyer’s inspector will want.
Under The Haven Standard, every visit includes a documented photo record as a standard deliverable – not an add-on. We hand that file to the homeowner because it is the same file an inspector or a warranty administrator will ask for later. On a $15,000-$25,000 paver driveway in Homestead, that record is worth keeping.
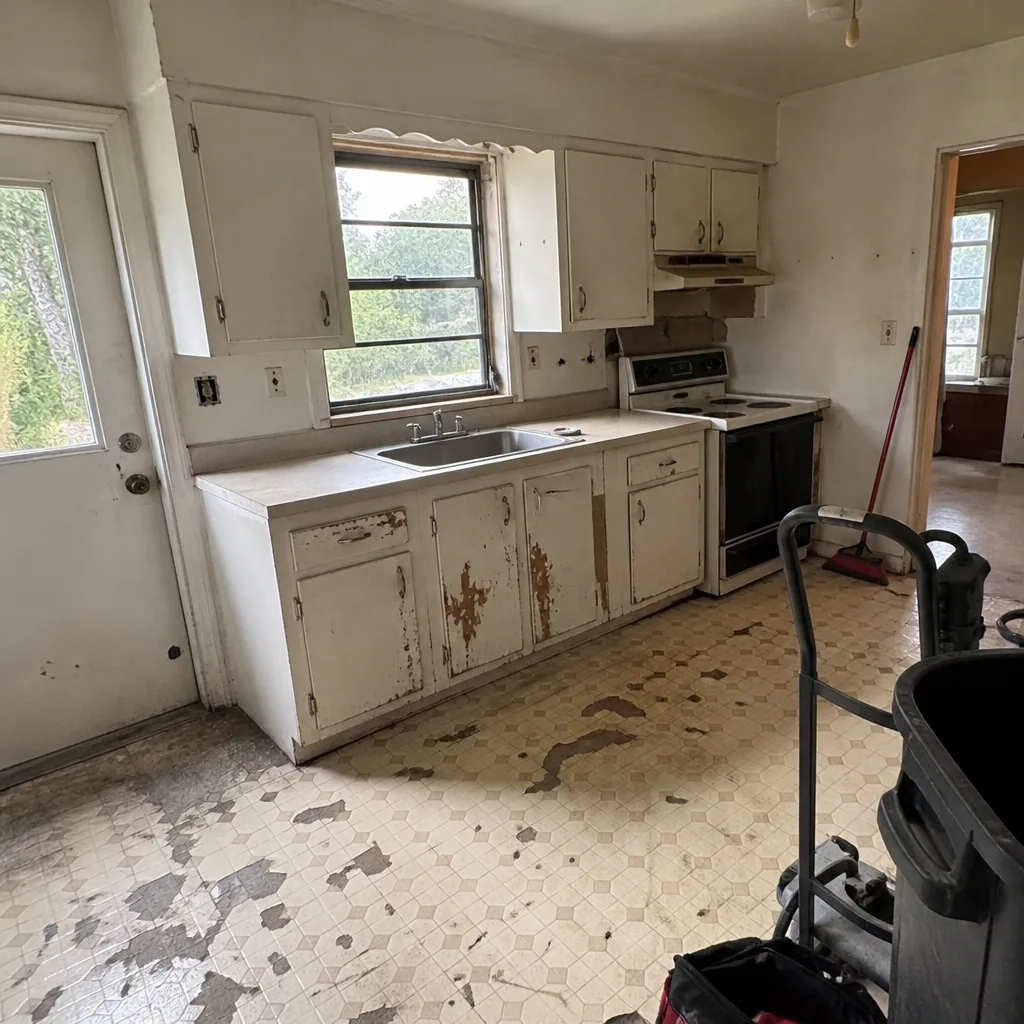
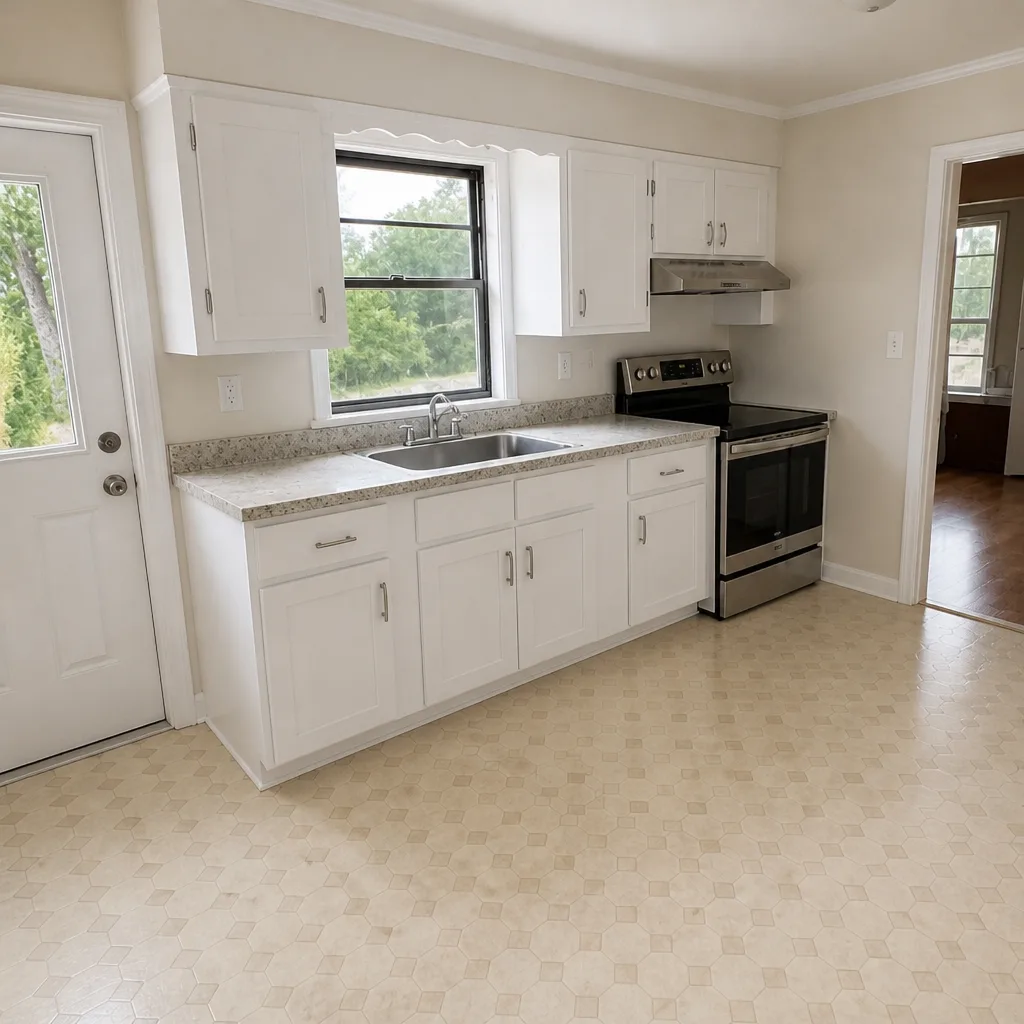
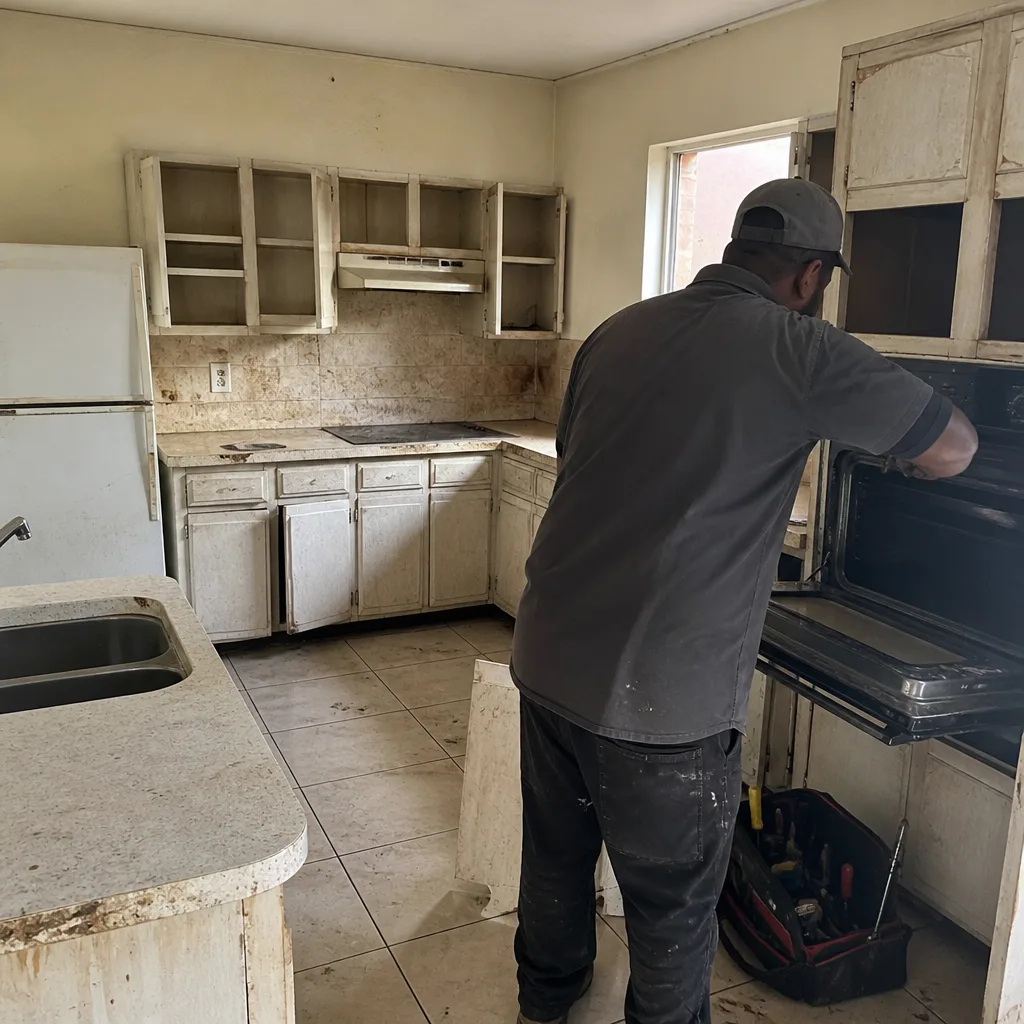
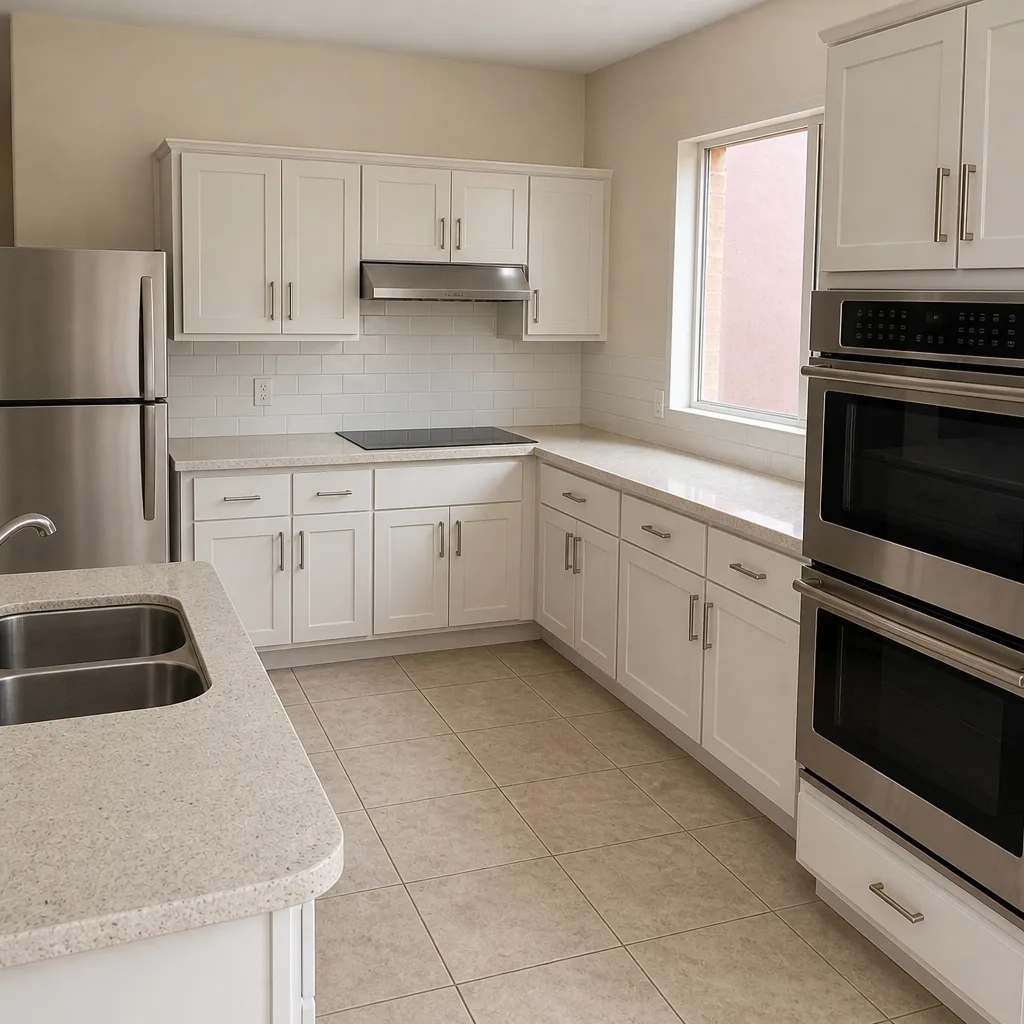
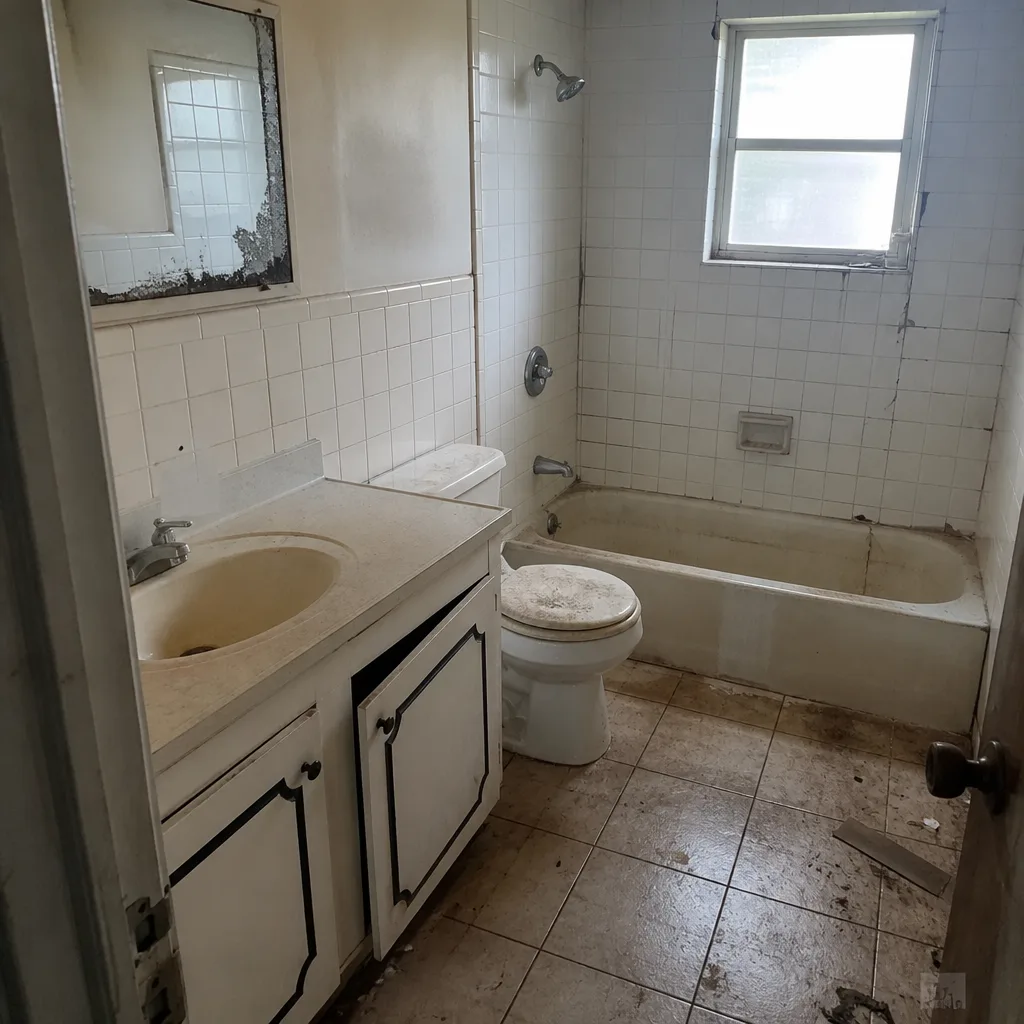
See the difference
 Before
 After
 Before
 After
 Before
 After
Common Mistakes to Avoid
- Applying sealer in the wet season. June through September, afternoon thunderstorms arrive with little warning. A sealer that hasn’t fully cured when the first rain hits will haze or peel. Save the sealer window for February-March.
- Pressure washing above 1,500 PSI on polymeric sand. The joints fail fast, and once they fail, water goes into the base. You’ll spend more on re-sanding than you saved on the pressure washing.
- Re-sanding without prepping the joint depth. Polymeric sand needs about 1/8 inch of clear depth to bond. If the joint is filled with old, compacted sand or debris, the new sand has nothing to grip and it fails within 6 months.
- Using northern-climate intervals in Homestead. A 3-year sealer cycle is a warranty-violating mistake here. Halve it. The sun doesn’t care about the label.
- Ignoring hollow-sounding pavers. A paver that sounds hollow when tapped has lost base support. Left alone, it will move under tire load and take neighbors with it. Chip and re-set immediately.
- Skipping the pre-hurricane joint sand top-up. The May-June refresh is the single most important prep step before storm season. Skipping it leaves joints vulnerable when wind-driven rain hits the surface at 40-plus mph.
- No photo record. If you ever need to file a warranty claim or sell the house, you need before-and-after photos from every maintenance event. Take them on every visit.
When to Call a Professional
Some tasks are homeowner-level: the scratch test, the water-bead test, topping up joint sand in low spots, and keeping the log. Others need help. Call a professional when you see widespread settling (more than 3-4 pavers in a zone), a hollow sound across a large area (which suggests base failure, not just joint sand loss), efflorescence that doesn’t respond to a regular cleaner, or any structural crack in the base. Post-hurricane, if you see shifting or a lift of more than 1/4 inch, that’s a professional call – not a joint-sand fix.
For a full paver assessment or a re-seal on a Homestead driveway, Driveway & Pavers in Homestead is the right starting point. Rowan Construction Group Homestead offers free estimates in Homestead – call (844) 834-4248. Every visit includes a documented photo record, and the written price arrives before any work starts.
Frequently Asked Questions
Every 18 to 24 months for most pavers, and every 12 to 15 months on a full-sun southwest exposure. That is roughly half the interval recommended in a northern climate because Homestead’s UV index is about double, and UV is the main driver of sealer degradation. Call (844) 834-4248 for an exact quote – estimates are free.
Yes, if you stay at 1,200-1,500 PSI with a 25-degree tip and never use a turbo or 0-degree nozzle. Above that ceiling, you’ll strip the polymeric sand out of the joints and force water into the base, which is a much more expensive problem than the algae you were trying to remove. On a full re-sand or post-storm assessment, call a professional.
April, right before the wet season starts. That gives the polymeric sand 6-8 weeks to cure before the first heavy storms. Re-sanding in the middle of the wet season leaves you exposed to rain events during the critical cure window.
Do the scratch test: skim the surface of the joint with a key or flathead screwdriver. If the sand crumbles or powders off, the polymer has degraded. If it holds together in a firm, cohesive bit, it’s still good. Wet the joint as a second check – if water pools on the sand for a moment before absorbing, the binder is intact; if it drains straight through, it’s failed.
No, routine maintenance like re-sealing and joint sand refresh does not require a permit in Homestead. If the work involves replacing pavers, repairing base failure, or any structural change to the driveway footprint, check with the city’s building department first – the rules vary depending on scope.
The date, weather conditions, product names and batch numbers, before-and-after photos from consistent angles, and any contractor invoice. Buyers and their inspectors ask three things: when the driveway was last sealed, when the joint sand was last refreshed, and whether any settling has been documented. A written log with photos answers all three.
The Bottom Line
The Homestead paver maintenance schedule is not a northern schedule stretched south – it is a two-constraint system built around hurricane prep in May-June and doubled sealer degradation on full-sun exposures. Keep the inspection rhythm twice a year, seal every 18-24 months (12-15 on a southwest face), pressure wash at 1,200-1,500 PSI, and log every action with photos. That combination protects the pavers, protects the base, and gives you the documentation you’ll want when warranty or resale arrives. For the rest of the property, see our guides to Rowan Construction Group Homestead home, Fence Installation in Homestead, and Home Additions & ADU in Homestead.
If you’re ready for a free estimate on driveway maintenance, re-sealing, or any paver work in Homestead, call Rowan Construction Group Homestead at (844) 834-4248. You’ll get a written flat price before any work starts, a documented photo record on every visit, and the 365-Day Done Right Promise behind the work.
Written by the team at Rowan Construction Group Homestead.