Last updated November 17, 2026


Free written scope consultation - allowances, timeline, and change-order rules on paper before a single trade is scheduled
Driveway & Pavers Troubleshooting: Common Problems and How to Fix Them
Replacing sunken pavers without fixing the base underneath is the single most common paver repair we see performed in South Florida. It also fails at the same spot within about 18 months roughly 70% of the time. The pavers themselves were never the problem. Something beneath them was, and nobody diagnosed it before the crew started prying units out of the sand.
A paver driveway is a system, not a surface. When one part of that system gives way, you get a symptom at the top and a cause at the bottom, and the two are usually several inches apart. This guide covers how to tell them apart, what each fix actually costs, and where a Homestead driveway tends to break first.
Quick Answer
Most driveway paver problems trace back to one of four root causes: base failure, inadequate edge restraint, the wrong joint sand, or hydrostatic pressure from saturated soil. Diagnosis costs nothing but a 6-foot level and a probe rod. Repair costs run from $150 – $300 for re-leveling a small sunken section to $1,800 – $2,800 for base reconstruction on a 200-square-foot zone. Fixing the symptom without the cause is what produces repeat failures within two seasons.
Styles & brands we work with
- Kitchen remodeling
- Bathroom remodeling
- Home additions & ADU
- Roofing
- Windows & doors
- Driveway & pavers
- Fence
Table of Contents
- The Four Root Causes Behind Almost Every Paver Failure
- How to Tell Surface Settlement From Localized Sinking
- Polymeric Sand Breakdown vs. Bedding Layer Migration
- Why Pavers Rock After Heavy Rain in Homestead
- What Paver Repairs Actually Cost
- Which Repairs Void the Paver Manufacturer Warranty
- Common Mistakes to Avoid
- When to Call a Professional
The Four Root Causes Behind Almost Every Paver Failure
We’ve pulled enough failed sections in Homestead to say this plainly: when pavers heave, sink, shift, or loosen, the cause is almost always one of four things. Every repair decision starts with naming which one you’re looking at.
- Base failure. The compacted aggregate layer under the bedding sand has lost density, settled unevenly, or washed out. Pavers over a failed base move as a unit, not individually. This is the expensive one, and the one most likely to be misdiagnosed as “just loose pavers.”
- Inadequate edge restraint. The perimeter is what holds the whole field in compression. A missing, shallow, or cracked edge restraint lets the outer course creep outward, which opens joints across the entire driveway and lets sand and water pour in. ICPI (Interlocking Concrete Pavement Institute) standards call for an edge restraint that’s mechanically anchored into the base, not just spiked into the soil.
- Wrong joint sand. Polymeric sand that was applied wet to a damp joint, overfilled, or washed in too aggressively can carbonate into a crust that cracks out a season later. Fine mason sand does the opposite: it disappears down the joints within a year and the interlock goes with it.
- Hydrostatic pressure. Water trapped under the base, usually from a failed sub-base, poor grading, or a downspout dumped straight onto the driveway, pushes up as the water table rises. In Homestead this shows up as pavers that heave after a wet summer and settle back in the dry months, then stop settling back.
Here’s the part that matters: the repair for each is different, and the wrong repair usually makes the next failure more expensive. A base reconstruction performed on an edge-restraint problem leaves the same creeping edge and the same open joints. A re-sanding performed on a washout leaves sand draining into a void.
Your Homestead driveway’s most likely first failure point depends on its age and what’s around it. Slab-on-grade homes built in the last decade with tight lots and shallow swales tend to send roof water across the drive. Older properties with mature oaks tend to get root heave at the perimeter. If you’re planning a broader hardscape project, our Driveway & Pavers in Homestead page walks through how we sequence a fresh installation so these four causes don’t come back.
How to Tell Surface Settlement From Localized Sinking
You don’t need to excavate to diagnose this. You need a 6-foot level, a probe rod (a length of rebar or a stiff screwdriver works), and about 15 minutes on a dry day.
Surface settlement looks like a broad, gradual dip across several square feet, usually 8 or more pavers moving together. Set your 6-foot level across the dip and check the gap under each end. If the depression is smooth and the surrounding field is still tight to the next course, you’re looking at edge restraint failure that let the field spread.
Localized sinking looks like a defined bowl, often a foot or two across, with a visible low point and joints that have opened wider right at the center. Push the probe rod into the joint at the low point. If it slides in with almost no resistance past the bedding sand, the base underneath is gone, and you have a washout.
Try this sequence:
- Mark the edges of the damaged area with chalk.
- Set the level across the dip and measure the gap at each end and in the middle. A dip deeper than about 3/8 inch over 6 feet is a repair, not a maintenance item.
- Probe 3 or 4 joints inside the dip and 3 or 4 outside it. Compare resistance. Loose everywhere means base. Loose only at the center means washout.
- Look at the perimeter. If the outer course is creeping out or the edge restraint is cracked, the field has spread and the dip is a symptom.
- Check where water drains. If the dip sits at the low point of the driveway and runoff should be flowing past it, hydrostatic pressure is in play.
That last step matters more in Homestead than in most places. Our water table sits high through the wet season, and a driveway that drains fine in February can pond water for days in August. If the low point on your driveway is also the low point of the lot, base reconstruction should include grading and drainage, not just compaction.
Polymeric Sand Breakdown vs. Bedding Layer Migration
These two look almost identical from standing height. Joints are open, sand is gone, water disappears into the pavers. They need completely different fixes, and that’s why so many repairs come back.
Signs the polymeric sand has failed
Polymeric sand that has carbonated (cured into a crust and then cracked) shows a hard, brittle, gray shell that lifts out in flakes or chunks when you pick at it, often sitting on top of a soft, dark cavity. The pavers themselves are still tight to each other. Joint width is uniform. You might see a chalky film on the surface or a joint that’s been topped off three or four times.
Fix: clean out the failed sand to two-thirds the paver depth, dry the joints fully, and reinstall polymer according to the manufacturer’s activation directions. No base work, no re-leveling. On a 200-square-foot driveway this is typically a half-day job and runs $250 – $550 in this market.
Signs the bedding layer has migrated
Migration shows up as joints that have lost depth, not just surface sand. Push a screwdriver into a joint and it sinks 3 inches before hitting anything solid. The paver surface may be fine and the base could be fine, but the bedding sand has flowed out through a joint in the sub-base, a poorly restrained edge, or a gap in a utility sleeve.
Fix: this is not a re-sand job. Replacing the bedding layer means lifting pavers, rebuilding the bedding to the correct thickness (typically 1 inch, screeded, not just dumped), recompacting, and resetting with a proper edge restraint.
The giveaway: if the driveway rocks or deflects briefly underfoot while the surface looks sound, sand has drained out from under pavers. That’s migration, and no amount of new joint sand will stop it until the escape route is closed.
Why Pavers Rock After Heavy Rain in Homestead
The obvious answer is loose joint sand, and if we’re being honest, we’ve walked up to dozens of driveways where the previous crew’s diagnosis was just that. It’s rarely that simple after a Homestead summer.
When a paver rocks on dry pavement in February, sand migration is a fair bet. When it rocks after a week of rain in August, then settles again by November, hydrostatic pressure from a saturated sub-base is usually involved. The base is fine when dry and only fails when the water table rises into it. Each wet season weakens the base a little more. Around the third or fourth season, the paver stops settling back.
Three things we check for in Homestead:
- Downspout discharge. If any roof leader lands on the driveway instead of the yard or an extension pipe, that’s hundreds of gallons per storm going into the joints and out through the open sub-base.
- Grading at the perimeter. Florida grading requirements generally call for the lot to drain away from the house. If the driveway is the low point, water from the lawn, the neighbor’s lot, or the sidewalk has to cross it to leave.
- Sub-base drainage. A properly built paver base is graded to discharge water, and in areas with high water tables that can mean an open-graded base or drainage channel. Many older installations in this area used a dense, improperly sloped base, which is why the failures show up first near the house or the curb.
If you’re going to be pulling pavers up anyway and the front of the house is in scope, an ADU or addition often changes how the site drains. Our walkthrough of Home Additions & ADU in Homestead covers how drainage and drive alignment get handled when the structure changes.
What Paver Repairs Actually Cost
Ranges vary by paver type, access, and how much substrate repair comes into play. Here’s what we see for typical residential driveways in Homestead. These are ranges, not quotes, and any reputable quote comes in writing before work starts.
- Re-leveling a 10-paver sunken section: $150 – $300. Single removal and reset, no base work. This is your best-case scenario and only applies when the surrounding field is sound.
- Polymeric sand replacement on 200 sq ft: $250 – $550, including joint cleaning and full drying.
- Edge restraint replacement along 30 – 50 linear feet: $400 – $900. Includes lifting the outer two courses, setting an anchored restraint, and recompacting.
- Base reconstruction for a 200-sq-ft zone: $1,800 – $2,800. Involves lifting all pavers in the zone, removing and replacing 4 – 6 inches of base material, recompacting in lifts, resetting pavers, and re-sanding.
- Full driveway re-lay (2,000 sq ft) without new material: $6,500 – $11,000. The pavers come up, the base is rebuilt and regraded, and the same pavers go back down.
- Root damage repair under a mature tree: $600 – $1,400, since the root has to be cut and the base rebuilt in that area, and you may need an arborist’s opinion first.
The cost gap between a re-level and a base reconstruction is the entire reason diagnosis matters. If you re-level a 10-paver section sitting over a washout, it fails again within two seasons and you pay both jobs. If you base-reconstruct an edge restraint problem, the edge keeps creeping and you pay again.
One point on the arithmetic: a 200-square-foot base reconstruction at $2,800 works out to about $14 a square foot, while the same repair on a smaller 100-square-foot area is often closer to $20 a square foot because of mobilization. Doing the full zone while the crew is already on site is almost always cheaper than the second trip.
Whatever path you take, get the number in writing with a line-item scope before work begins. Rowan Construction Group Homestead puts a flat written price in front of the homeowner before any tool comes off the vehicle, on every trade, every job. It’s the reason our projects finish within a few percent of the agreed price.
Which Repairs Void the Paver Manufacturer Warranty
Interlocking concrete pavers from established manufacturers typically carry a limited lifetime structural warranty that covers the unit itself against defects and, on some brands, against settling. That warranty is narrower than most homeowners assume, and a few common repair shortcuts void it outright.
What typically does not void the paver warranty:
- Replacing failed polymeric sand to manufacturer specs.
- Re-leveling individual pavers where the base is sound and compaction is restored correctly.
- Adding a missing edge restraint that meets ICPI standards (mechanically anchored into the compacted base, not just spiked into topsoil).
What does void it, in most product literature:
- Cutting or notching pavers to fit around obstructions without an engineered restraint or a cut end at a proper edge.
- Re-using pavers that were removed and reinstalled over a bedding layer that wasn’t rebuilt to spec.
- Using non-compatible joint sand (fine mason sand, or an asphaltic joint filler that wasn’t evaluated for interlocking pavers).
- Overlaying pavers on top of concrete or an existing paver layer without addressing the bond.
- Exceeding compaction pressures during reinstallation beyond what the manufacturer specifies for the unit’s dimensions.
The reason ICPI references matter here is that the warranty holder can point to reinstallation not meeting ICPI 700-series procedures as a reason to deny. Bringing a drive back to standard is a paperwork question as much as a construction one: keep the specification sheet from the original install, keep the repair scope, and photograph each stage of the rebuild. When we work with Belgard or Techo-Bloc pavers, the reinstall procedure follows ICPI standards line by line, and the customer gets the documentation in writing. That record is what makes the warranty worth something when you actually need it.
If you’re comparing quotes, ask each contractor which pavers are being reinstalled and to what standard. Our overview on Rowan Construction Group Homestead explains how the written scope, change order, and 365-Day Done Right Promise work together across all seven of our trades.
Common Mistakes to Avoid
- Replacing sunken pavers without probing the base. This is the mistake that costs the most money. If the probe rod slides through the bedding sand with no resistance, the pavers should not go back down over that void.
- Topping off failing polymeric sand without removing it. New sand laid over a carbonated crust looks right for one rainy season and then fails at the same joints. The old sand comes out to two-thirds the joint depth, or the new sand has nothing to bond to.
- Using fine mason sand to close open joints. It washes out in one Homestead wet season and it violates most paver manufacturers’ installation specifications. Polymeric sand properly installed is the standard.
- Spiking an edge restraint into soil instead of the base. We see this most on driveways where the install was done fast. The restraint has to be mechanically anchored into the compacted base to hold the field in compression, or the outer course creeps and the joints open.
- Letting downspouts discharge onto the driveway. In Homestead’s rainy season that’s hundreds of gallons per storm pushing into the sub-base. Extensions or a proper drainage channel cost far less than a base reconstruction.
- Assuming a deflect underfoot is a topping-sand problem. If pavers rock after rain and settle back in the dry season, the sub-base is failing. It will look fine in January and cost you $2,800 in August.
- Skipping the written scope on repair work. Paver repair quotes should list square footage, depth of base removal, restraint specification, sand brand, and warranty terms. A verbal quote of “about $2,000” is a change order waiting to happen.
When to Call a Professional
Some paver problems are genuinely DIY territory: re-sanding a small section with the correct polymeric sand, replacing a single cracked unit. Others need a trained crew with proper compaction equipment, and the stakes are higher than the repair cost alone.
Call for help when any of these apply: base failure confirmed with a probe rod (never excavate into a slab-on-grade sub-base without knowing what utility lines are under it and whether there are sleeves or conduits at risk); a rocking field that spans more than 15 or 20 pavers; any edge restraint that needs replacement along 10-plus linear feet; recurring settlement in the same zone across two wet seasons; or any repair that would require disturbing the drainage path around the house. If the driveway slope is a factor in how your lot drains, a repair done wrong can cause water intrusion at the slab, and that’s a much bigger job than a paver fix.
Our technicians have up to 19 years of experience diagnosing and repairing paver failures across Homestead, and their visit includes a documented photo record of what we found and what we did, so you have the evidence whether you hire us or not. Rowan Construction Group Homestead offers free estimates in Homestead and a free second opinion on any written estimate from another contractor. Call (844) 834-4248 to schedule yours. Live person answers, every time.
If the paver job is part of a larger property plan, our teams also handle Fence Installation in Homestead, which shares the same base prep and edge-restraint discipline. Same written price, same photo record, same 365-Day Done Right Promise.
See the difference
 Before
 After
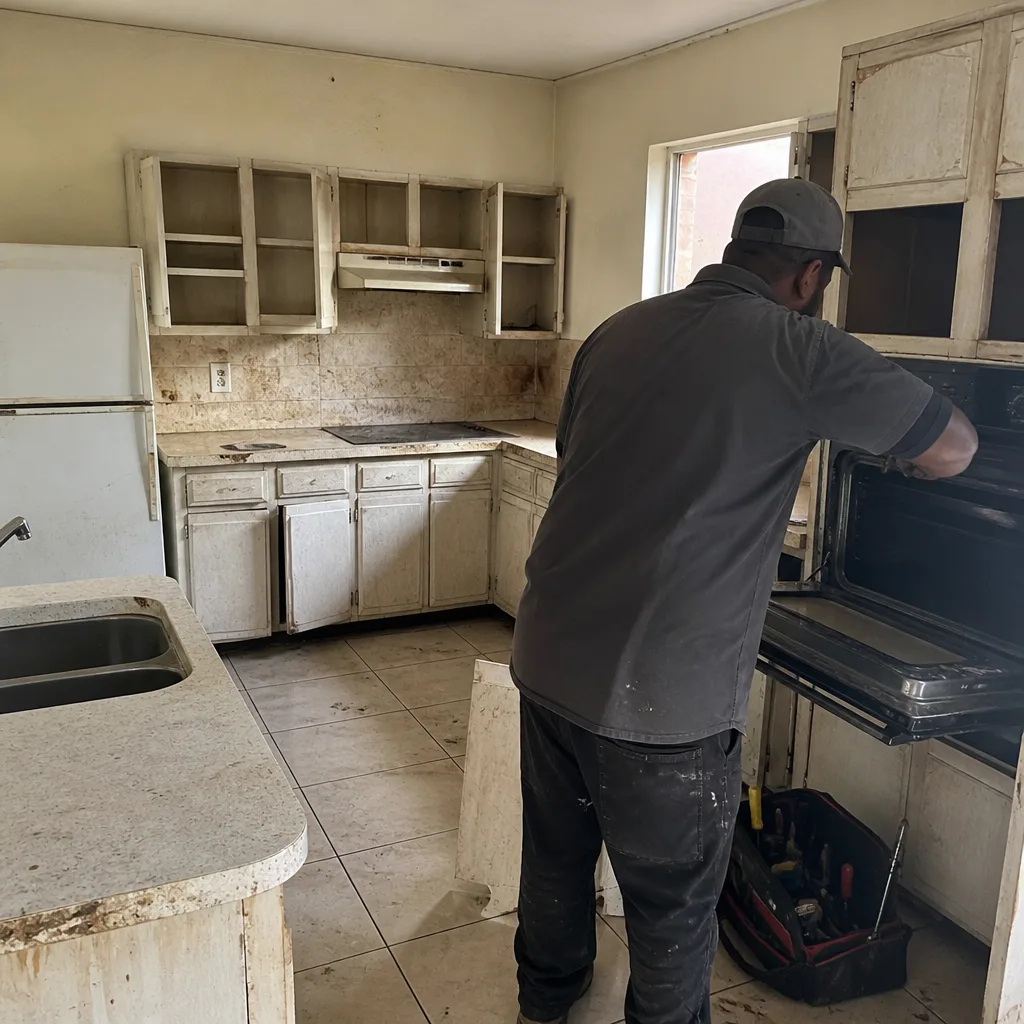 Before
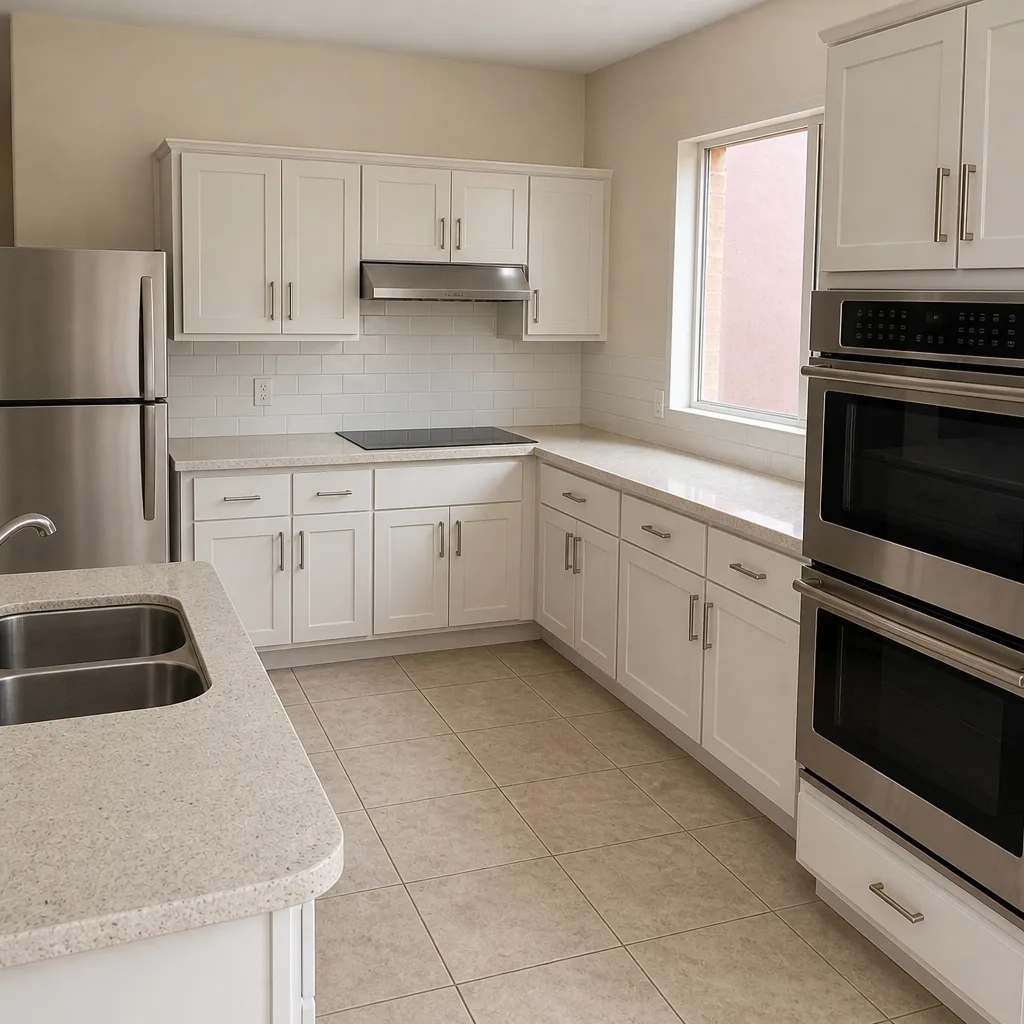 After
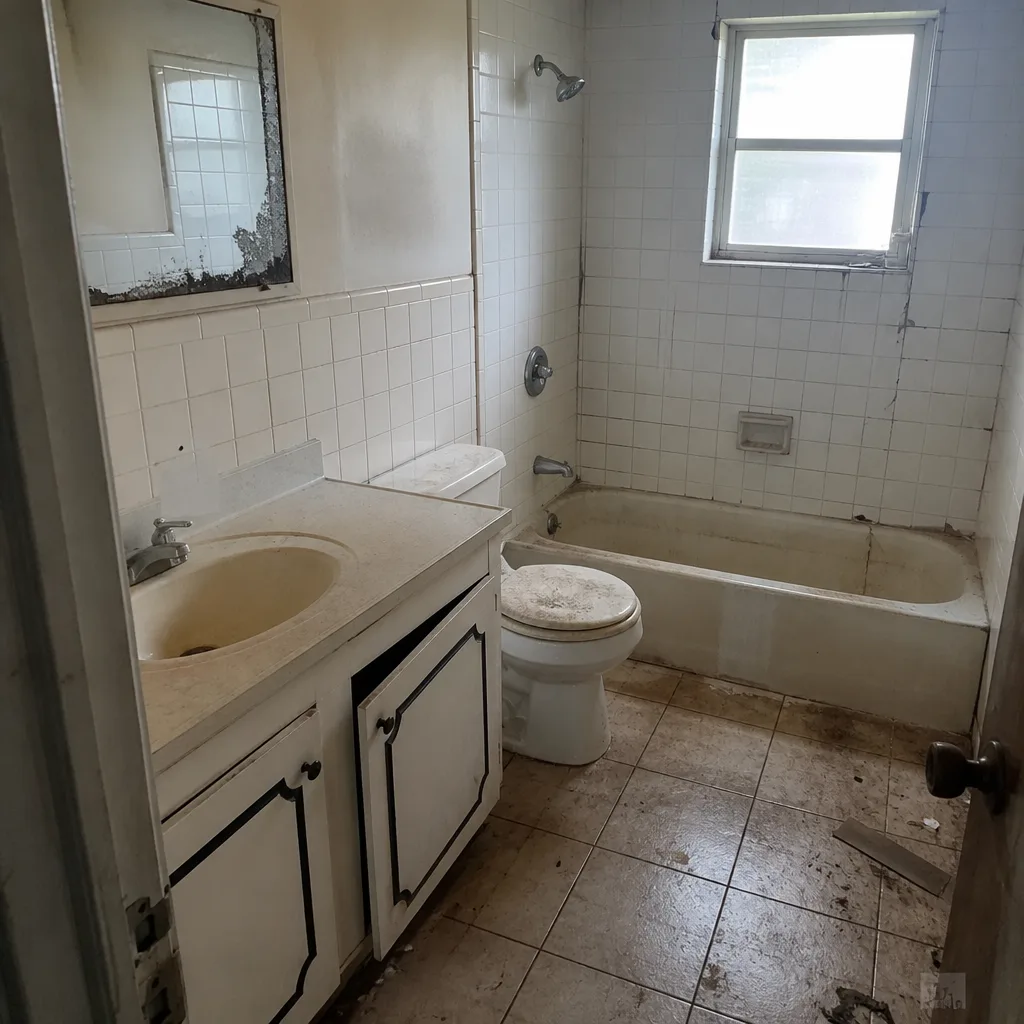 Before
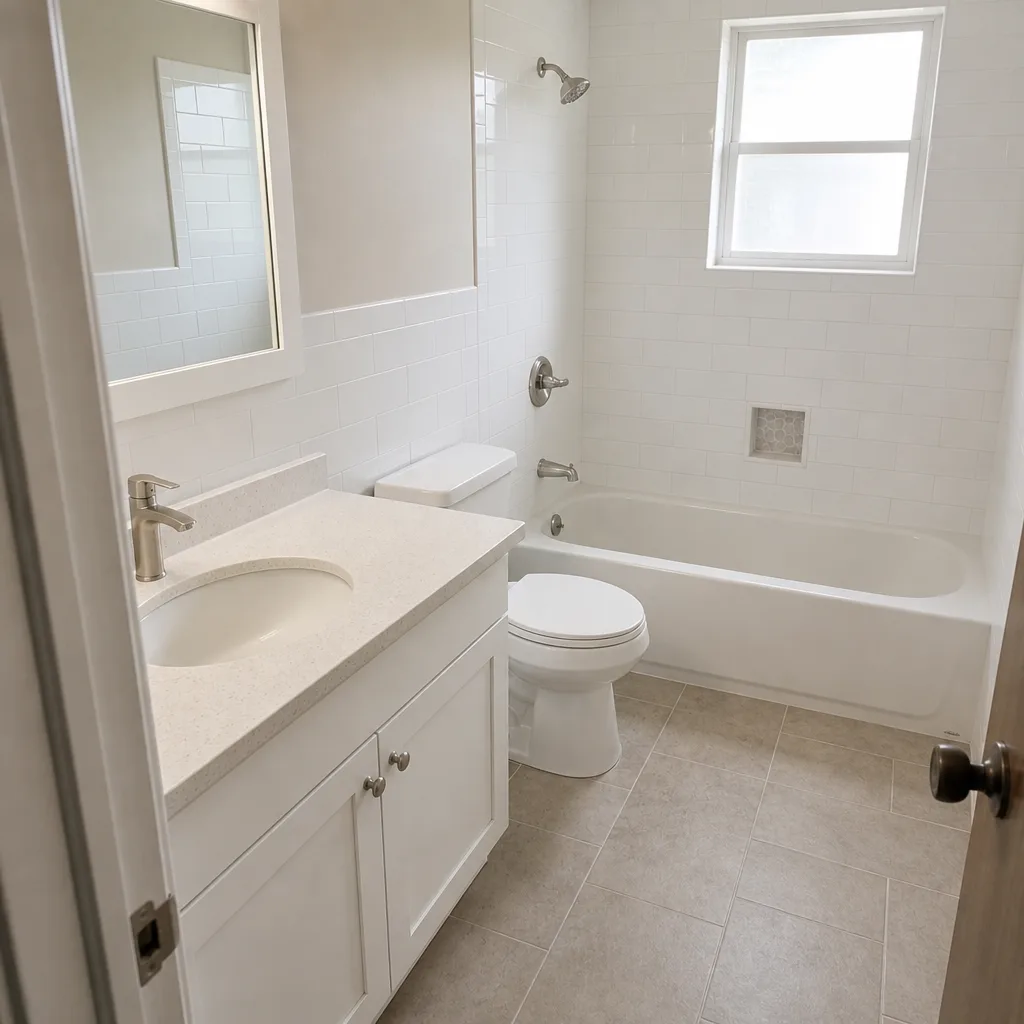 After
Frequently Asked Questions
Small repairs run $150 – $300 for re-leveling a 10-paver section, while base reconstruction on a 200-square-foot zone costs $1,800 – $2,800. Full re-lays without new material run $6,500 – $11,000 for a 2,000-square-foot driveway. Call (844) 834-4248 for an exact quote – the estimate is free and comes in writing before any work begins.
Small re-leveling jobs can often be done same-day if the base is sound, but any repair involving base reconstruction is a scheduled job, not a today job. The diagnosis is what determines which one you’re looking at, and we do the diagnosis with a level and probe rod before anyone picks up a tool. Call (844) 834-4248 to schedule the diagnosis and written scope.
Only if the repair falls outside ICPI reinstallation standards or the manufacturer’s own spec – cutting without proper restraint, reusing pavers over an unbuilt bedding layer, or using incompatible joint sand. Re-sanding to manufacturer specifications, re-leveling where the base is sound, and adding a proper edge restraint generally don’t void the warranty. Bring your original install documentation and we’ll review it as part of the free second opinion.
Usually because the sub-base is failing under hydrostatic pressure as the water table rises during the wet season, not because the joint sand alone is loose. The pavers settle in the dry months for two or three seasons and then stop settling back. A probe rod test confirms it in about 15 minutes. Call (844) 834-4248 to get it checked before the next wet season.
Routine paver repair rarely requires a permit, but driveway work that changes the grade, affects drainage to the street, or crosses a right-of-way often does. We’ll tell you in the written scope whether a permit is needed for your job and pull it if it is. Call (844) 834-4248 and we’ll check the requirement for your address before we quote.
Yes, if the units themselves are sound and the base is rebuilt properly. Removing pavers, rebuilding the base and bedding layer to standard, and resetting the same units costs less than new material and fails only when the base work is skipped. That’s the $1,800 – $2,800 zone in a 200-square-foot area. Call (844) 834-4248 for a written re-lay scope for your driveway.
The Bottom Line
Diagnose first, repair second. Almost every paver failure in Homestead comes down to base, edge restraint, joint sand, or hydrostatic pressure – and the repair for each is a different job at a different price. A 6-foot level and a probe rod will tell you which one you’re dealing with in about 15 minutes, and that 15 minutes is the difference between a $250 fix and a $2,800 rebuild that fails again anyway. Get the number in writing. Know which part of the system is broken before anyone touches a paver.
Rowan Construction Group Homestead delivers a written price before any work starts, on every trade, and 4,000-plus projects have finished within a few percent of the agreed cost. The 365-Day Done Right Promise is printed on every page, not tucked into an asterisk. Call (844) 834-4248 for a free estimate or a free second opinion on any written estimate you already have.
Written by the team at Rowan Construction Group Homestead.