Last updated November 17, 2026


Free written scope consultation - allowances, timeline, and change-order rules on paper before a single trade is scheduled
Fence Installation Troubleshooting: Common Problems and How to Fix Them
Most homeowners blame wood rot for a leaning fence, and in most of the country they’d be right. Here in South Florida, they’re usually wrong. A leaning post in Homestead is more often a footing failure than a lumber failure: our water table sits high, the summer water table rises further, and an undersized concrete collar can give way in under five years even when every board is properly pressure-treated. The post is fine. The ground underneath it isn’t. That single distinction changes the repair scope, the cost, and the number of hours a crew spends on your property. Below, we break down the two families of fence failure – post and panel – and walk through the diagnostics we actually run, with the numbers attached.
Quick Answer
Fence problems split into two categories. Post failures (leaning, sinking, twisting) come from inadequate concrete footings, soil saturation, or corrosion at grade, and usually require re-digging and re-setting the post. Panel failures (bowing, racking, blown-out sections) come from wind load or failed fasteners, and often need only hardware, rails, or a single panel swap – not a full re-set. Diagnosing the correct category before you quote the fix is the whole game, and it’s the difference between a few hundred dollars and a few thousand.
Styles & brands we work with
- Kitchen remodeling
- Bathroom remodeling
- Home additions & ADU
- Roofing
- Windows & doors
- Driveway & pavers
- Fence
Table of Contents
- How to Diagnose a Leaning or Failing Fence Post
- Wind-Racked vs. Wind-Blown: Which Panel Failure Do You Have?
- Why Aluminum Fence Corrosion Starts at the Fastener, Not the Picket
- Vinyl Fence Chalking and Brittleness: Cosmetic or Structural?
- How to Document Fence Damage for a Storm Insurance Claim
- How to Prevent Fence Failures Before They Start
- What Fence Repairs Actually Cost in Homestead
How to Diagnose a Leaning or Failing Fence Post
A leaning post looks the same in silhouette whether the wood is rotted at grade or the concrete footing has heaved. The diagnostic that separates the two takes about three minutes and one tool: a flathead screwdriver, or a piece of stiff wire if you want to avoid disturbing anything.
Push the screwdriver into the post about six inches above the soil line, at an angle, with moderate pressure. If it sinks in with almost no resistance – if it goes in like a fork into warm butter – the wood itself has decayed at the moisture zone and the post needs replacing. If the wood resists, the post is sound and the problem is the footing.
Next, check the ground around the post. A footing that has heaved will show a conical crack radiating outward, or a visible gap where the soil pulled away from the concrete. A footing that has sunk or tilted will show a soft, spongy ring where water pools – often the case in Homestead’s newer developments where builder-grade concrete collars were poured thin to shave cost.
What that diagnosis means for the repair:
- Rotted post at grade: a post splice is possible if the rot is shallow, but we usually replace the full post and pour a fresh footing – splicing on a 4×4 that has already absorbed water at the base tends to fail again within two seasons.
- Heaved or cracked footing: the post must come out and the footing must be re-dug wider and deeper. The cure is a footing sized for Florida’s soil – typically 24 inches deep and 10 to 12 inches in diameter for a 6-foot privacy fence, filled with concrete that reaches above grade so water sheds away rather than pooling.
- Post sound, footing sound, but lean is present: a mechanical re-plumb with a bracket anchor and a grout pack can work on light ornamental fencing, not on a privacy run that carries wind load.
In Homestead south of Campbell Drive, where the water table can sit within 24 inches of the surface during a wet August, an undersized collar is a five-year failure. In the older blocks around Krome Avenue, we see more rot because those yards tend to sit lower and drain more slowly.
Wind-Racked vs. Wind-Blown: Which Panel Failure Do You Have?
Two fences can look equally wrecked after a named storm and need completely different repairs. Wind-racked panels mean the fasteners or the rail-to-post connection gave way while the posts held. Wind-blown panels mean the posts themselves failed and the entire section went over. The visual cue is right at the rail connection.
Wind-racked: the posts stand plumb but the panels are skewed – the rails are bent or twisted, the pickets fan out of alignment, and the post is still straight. Look at the hardware where the rail meets the post. You’ll often see deformed brackets, pulled nails, or rust bloom around a nail head that worked loose. The fix is scope-restricted: new rails, new hardware, and a re-tension of the pickets.
Wind-blown: the posts themselves are leaning, pulled out, or snapped at the concrete line. The ground shows the extraction. The repair requires digging out the footing and resetting – often with a deeper collar and, in Homestead’s High Velocity Hurricane Zone (HVHZ), a post designed and installed to the wind-load spec that Miami-Dade County requires under the Florida Building Code.
That code distinction matters most in Homestead, where HVHZ rules apply across the city. Under HVHZ, a fence installation is not just a carpentry job – it’s a load situation, and the post spacing, embedment depth, and fastener type all factor into whether a panel survives a named storm or fails at 110 mph.
How we run the diagnosis on a damage call-out:
- Photograph each post and measure lean with a 4-foot level; note the direction and degree of the lean.
- Probe the wood at grade and at the base of the rail connection with a screwdriver or pick.
- Check fastener condition at every rail-to-post connection: rust bloom, pulled heads, deformed brackets.
- Identify the anchor point where the failure originated (a single broken section, a dominoed row, or a whole run).
- Classify: racked (fastener scope) or blown (post scope).
- Quote the fix by category and provide a written scope before any work starts.
Why Aluminum Fence Corrosion Starts at the Fastener, Not the Picket
Aluminum powder-coated fencing is the default choice in Homestead’s coastal subdivisions, and it holds up well – the aluminum picket itself is essentially rust-proof. What fails is the hardware. Within three miles of Biscayne Bay, salt-laden air attacks the fastener first: the pop rivets, the self-tapping screws, the hinge brackets. Those small steel components are where the corrosion begins, and where the fence’s structural integrity quietly goes.
The fastener question has a specific answer: 316 stainless holds up in salt air; 304 stainless does not, over the long haul. 304 contains more carbon and less molybdenum than 316, and the coastal environment pulls that molybdenum difference out of the metal over time – you’ll see pitting and rust bleeding down the powder coat within a few years on 304 hardware, even on a fence that looks perfectly fine from the curb.
What to look for on an existing aluminum fence:
- Rust bloom at the rivet heads – the first sign the fastener is failing; check every post-to-panel connection.
- Loose or missing self-tapping screws on the hinges and latches – the gate is the highest-load element and the first to give.
- Powder coat bubbling or flaking at a joint – usually the tell that a fastener beneath it is already corroded.
The repair here is a hardware swap, not a fence replacement. Match fasteners to the environment – 316 stainless with an aluminum-safe isolator washer – and the pickets can last decades. The mistake is replacing the fence because of a fastener failure that a $120 hardware kit would solve. An aluminum fence installation in Homestead specified with 316 hardware from day one avoids this entirely.
Vinyl Fence Chalking and Brittleness: Cosmetic or Structural?
Vinyl fence in South Florida gets hit by a UV load no northern climate approaches. Over a typical seven-to-ten year span, that exposure produces two things: chalking (a white, powdery film on the surface) and brittleness (loss of the plasticizer that keeps the polymer flexible). Chalking is almost always cosmetic. Brittleness is a structural question, and it’s where vinyl fence failures actually happen.
Chalking is easy to identify: a white haze appears on the surface, particularly on the south and west faces. Wiping with a dry rag removes it; it doesn’t affect the fence’s strength. A yearly wash with a mild detergent usually extends the cosmetic window and slows the chalking.
Brittleness is a different animal. It shows up as cracks at the rail pockets, visible whitening at bending points where the plastic has been flexed, and the tell that matters most – flex the rail by hand at a mid-point. A sound rail bends and returns. A brittle rail cracks or snaps at the flex line. Do not test a rail that already shows a crack; instead, look for the warning signs:
- Cracks starting at the rail pocket (the vertical slot where the rail enters the post) – the highest-stress point.
- Whiteness at a bend in the rail, particularly at a corner post or gate hinge.
- Surface flaking that reveals a rough, chalky layer beneath the paint.
In Homestead’s HVHZ UV environment, a vinyl fence past 10 years with any of those signs is a candidate for replacement, not repair – a brittle rail that fails under wind load in a storm can become a projectile. If the vinyl is under 10 years old and only chalking, keep it.
How to Document Fence Damage for a Storm Insurance Claim
After a named storm, a fence claim lives or dies on documentation. Adjusters are working hundreds of claims at once, and a vague “my fence blew down” produces a vague settlement – usually less than the actual repair cost. What the adjuster actually needs is specific, dated, and measured evidence.
The documentation pack that gets a fair settlement:
- Dated overview photos – full lengths of the fence from at least two angles per run, taken with the date visible in the image (many phones stamp dates, or you can use a photo app).
- Close-up photos of every failure point – each leaning post, each racked panel, each broken rail, with the post and the ground around it clearly in frame.
- Measurements – linear footage of damaged fence, number of posts involved, number of panels involved. A simple tape measure and a notepad get you there.
- Pre-storm photos of the same fence, if you have them – this defeats an adjuster’s claim that the fence was already in poor condition.
- A contractor’s written assessment – a written scope that classifies each failure (footing, post, panel, hardware) and prices the repair line by line. This is the document that most swayed claims, in our experience, and the reason Rowan Construction Group Homestead issues a written price before any work begins.
- The original installation documents, if available – especially for HVHZ-compliant fencing. An installation that met code is harder to argue was neglected.
The single biggest documentation mistake is waiting. Fence damage left standing for a week in Homestead’s heat and humidity can develop rot and secondary failure, which complicates the claim. Photograph before you tidy up, and call the contractor before the crew comes back out to fix it.
How to Prevent Fence Failures Before They Start
The best fence repair is the one that doesn’t happen. In Homestead, most failures trace back to three preventable decisions made at installation: footing undersizing, wrong fastener material, and wrong lumber or material grade for the exposure.
Footing size. A 6-foot privacy fence carries real wind load. In HVHZ zones, the footing depth should follow the wind-load engineering, not a rule of thumb. In practice, that means a minimum 24-inch embedment for a 6-foot wood fence, and 10 to 12 inches of diameter – wider and deeper than most fence contractors pour by default. The concrete should reach above grade to shed water rather than collect it.
Post material. Use a post rated for ground contact, and specify a post that’s actually sized for the load. A 4×4 post is a common spec, but a 6-foot privacy fence with a picket pattern that blocks wind fully is often better on a 5×5 or 6×6. Treated lumber in Florida should meet the ground-contact rating, not the “above-ground” rating that some lumberyards sell interchangeably.
Fastener material. 316 stainless in coastal zones, 304 only well inland. Powder-coated aluminum fencing with 316 hardware specified at install lasts decades; the same fence installed with cheaper fasteners will show rust bloom within three years of salt-air exposure.
Material grade. For pavers around a fence line or gate apron, Techo-Bloc and Tremron both make paver grades rated for coastal exposure – a detail that matters because a poorly graded paver at the gate can undermine both the gate post and the fencing run. A driveway and paver installation in Homestead specified to match the fence’s footing detail is the smart way to handle gate aprons.
If you’re planning a new install rather than a repair, the following resources cover the broader picture: the home additions and ADU guide covers site work and foundation detail, and the Homestead fence installation guide covers HVHZ compliance and material choices.
What Fence Repairs Actually Cost in Homestead
Homestead repair pricing sits below Miami-Dade’s urban core but above the state average – roughly 10 to 20 percent higher than Central Florida, given the labor market and the HVHZ code requirements. These are the line-item ranges we quote in Homestead, before any specialist material upgrades.
- Post re-set (single post, footing re-dug): $180 to $340, including concrete, post replacement, and re-attachment of panels. Add $60 to $120 for an HVHZ-compliant footing.
- Post splice (shallow rot, footing intact): $90 to $160. Rarely the right call for a 6-foot privacy fence, but useful on lower ornamental runs.
- Panel replacement (single 8-foot section, wood): $140 to $260 installed, depending on picket grade.
- Wind-racked panel repair (rails, hardware, re-tension): $120 to $220 per panel.
- Aluminum hardware swap (per post, 316 stainless): $60 to $110, plus hardware cost.
- Vinyl panel replacement (single bay, brittle rail): $200 to $340.
- Full fence replacement (6-foot privacy, per linear foot): $38 to $62 for wood, $52 to $78 for vinyl, before HVHZ engineering costs.
Two notes that matter. First, the repair scope almost always comes in lower than the homeowner expects when the diagnosis is panel-only. Second, a written price before any work starts – not “call for a quote” – is the standard here. Rowan Construction Group Homestead prices every repair in writing with a scope, so the number you see is the number you pay; if a scoping change becomes necessary, no work proceeds without a signed change order.
Common Mistakes to Avoid
In our experience, the following errors are the ones that cost Homestead homeowners the most – either in wasted money or in rework within a season.
- Replacing a post that only has a footing problem. If the wood resists a screwdriver, the post is fine; you’re paying to replace sound lumber. Probe first, replace second.
- Splicing a post whose rot reaches below grade. A post-and-splice repair on a rotted 4×4 looks cheap and fails again within two seasons, particularly in Homestead’s humidity. Replace the full post.
- Using 304 stainless hardware in coastal Homestead. Within three miles of Biscayne Bay, the molybdenum content of 316 is the difference between a fence that outlasts its pickets and one that shows rust bloom within three summers.
- Assuming vinyl chalking means the fence needs replacing. Chalking is cosmetic; brittleness is structural. A flex test on a sound rail separates the two, and a wash with mild detergent usually handles the cosmetic case.
- Fixing panels without addressing the footing that failed. A wind-blown fence that gets its panels back without new footings is a fence that will fail at the next named storm. Reset the post, or accept the re-work.
- Skipping photo documentation before repairs. Homeowners who repair before photographing give the insurance adjuster no evidence. Photograph first, then fix.
- Ignoring permits in HVHZ. A fence installation that doesn’t follow HVHZ wind-load requirements in Homestead is a fence that may not pass inspection and may not be covered by insurance. If the job needs a permit, it needs a contractor who pulls it.
See the difference
 Before
 After
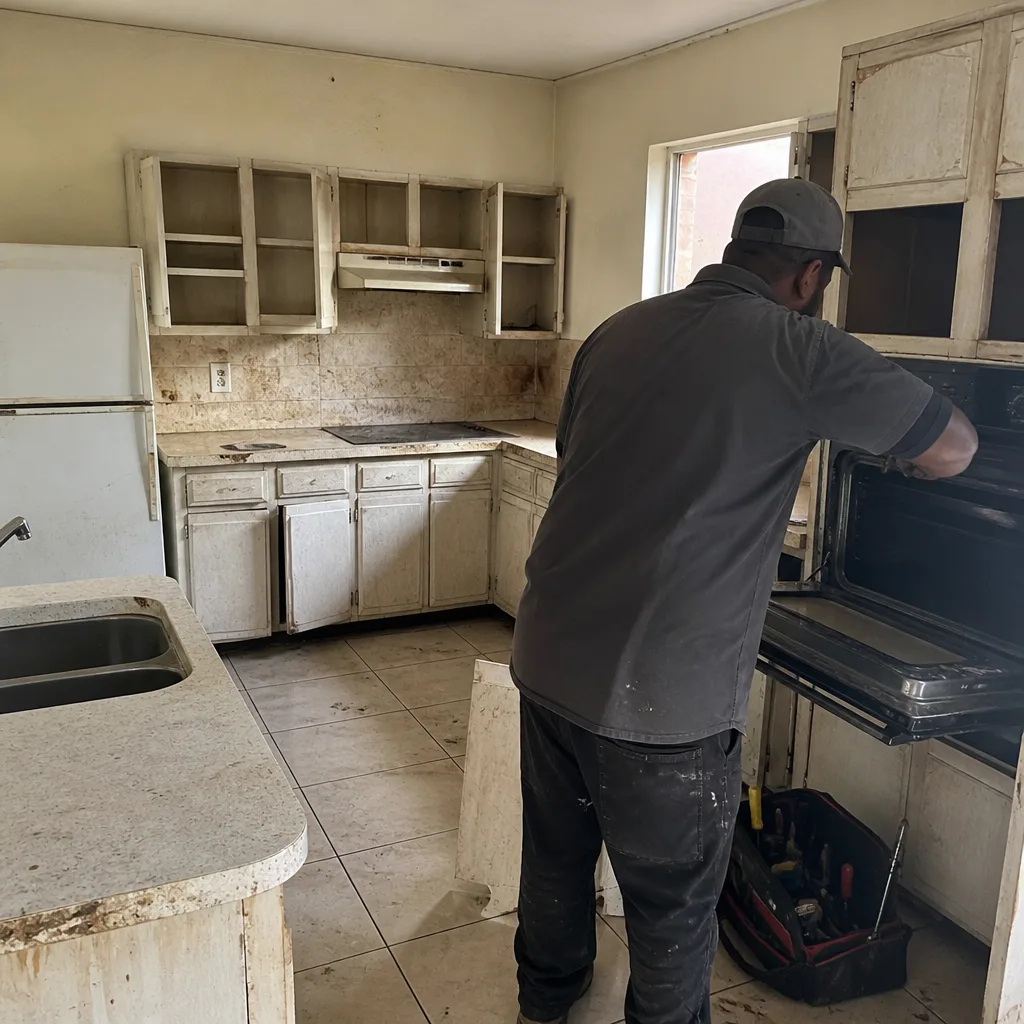 Before
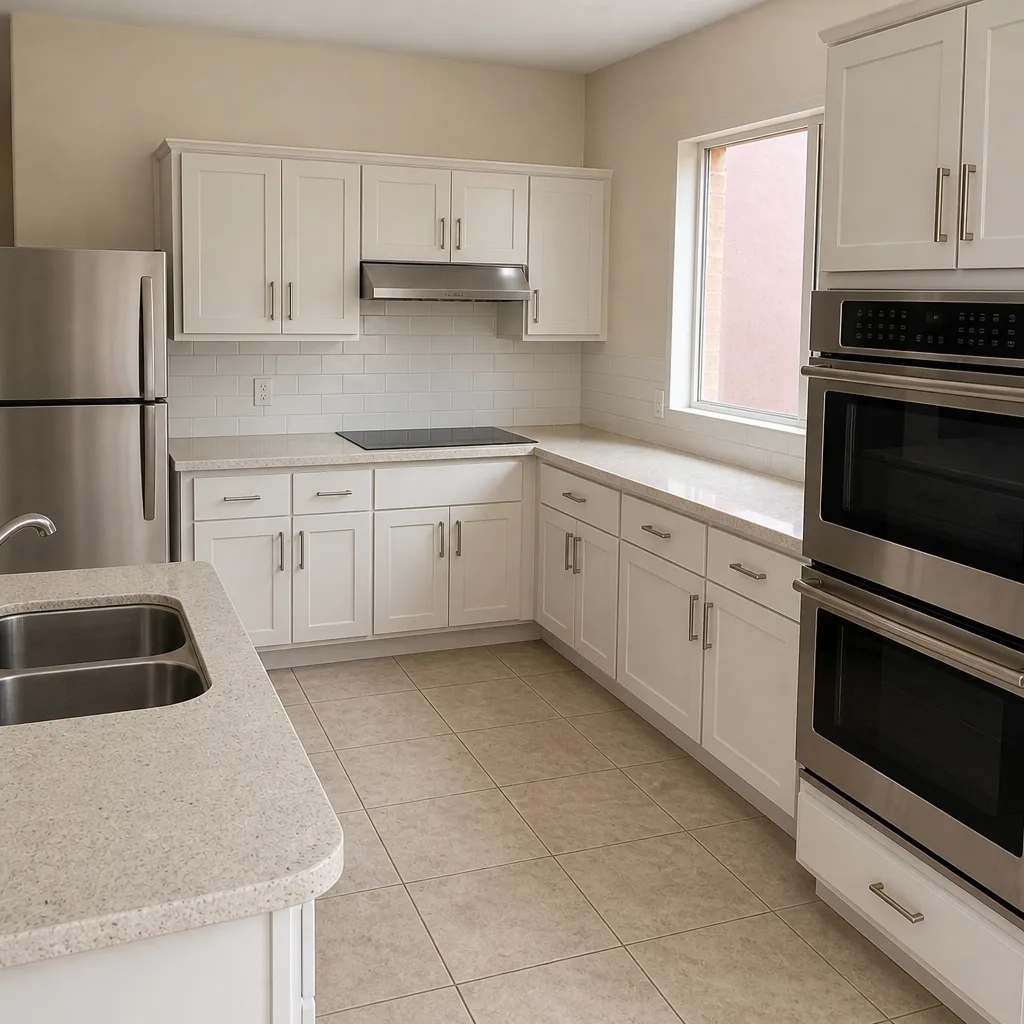 After
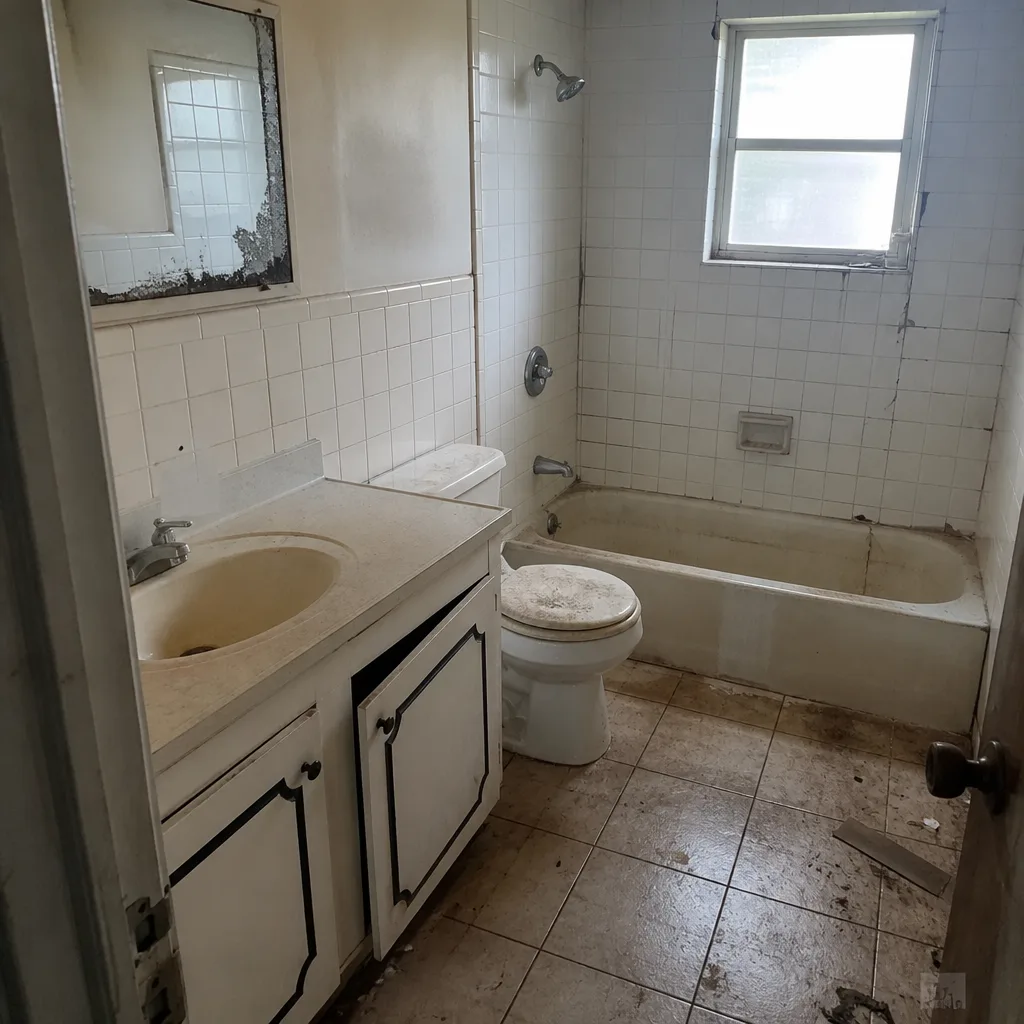 Before
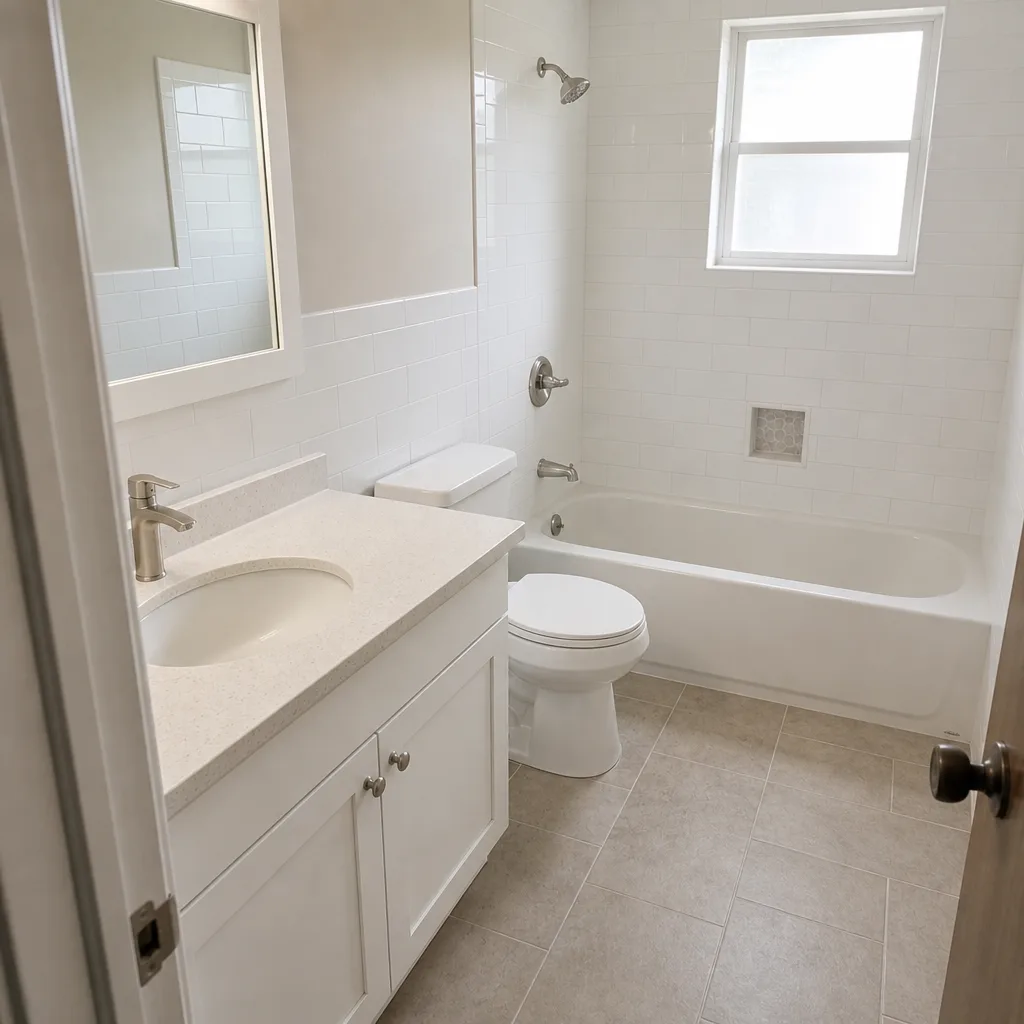 After
When to Call a Professional
A fence is not a deck, but the wind load on a 200-foot privacy run is substantial, and a post that fails under storm load can become a projectile. Call a professional if: any post is leaning more than an inch out of plumb, any post shows rot at grade, any panel is racked or blown, a vinyl rail shows cracking at the rail pocket, or an aluminum hinge or latch has failed. Those are the conditions where a repair done by hand tends to fail again at the next storm, and where the diagnostic and code work matter. For a free estimate on fence repair or new fence installation in Homestead, call Rowan Construction Group Homestead at (844) 834-4248 – we issue a written price before any work starts, and every visit includes a documented photo record of what we found.
Frequently Asked Questions
A single post re-set in Homestead costs roughly $180 to $340, a panel replacement about $140 to $260, and a hardware-only repair on wind-racked wood panels about $120 to $220 per panel. Full fence replacement runs $38 to $62 per linear foot for wood and $52 to $78 for vinyl, before HVHZ engineering costs. Call (844) 834-4248 for an exact quote – estimates are free.
If the posts are leaning or the ground around the post has heaved, it’s a post problem. If the posts are plumb but the panels are skewed or the fasteners are pulled, it’s a panel problem. The single fastest diagnostic is a screwdriver probe into the post just above grade: if the wood resists, the footing failed; if it sinks easily, the post is rotted. Call us for a free assessment if you’re unsure.
Fence repairs generally don’t require a permit, but replacement or a new install in Homestead’s High Velocity Hurricane Zone does need to meet Florida Building Code wind-load requirements, and the contractor should pull the permit. A repair that changes the post quantity or footing depth may trigger the same requirement. We handle permits and inspections as part of the scope.
The aluminum picket itself doesn’t corrode; the steel fasteners do. In salt air within three miles of Biscayne Bay, 304 stainless hardware fails within a few years, while 316 stainless holds up for decades. Rust bleeding from the rivet heads is the first sign to look for. The fix is a hardware swap, not a full fence replacement.
A single post re-set typically takes a few hours; a panel replacement or hardware swap typically a half-day. A full fence replacement is usually scheduled over three to five working days depending on linear footage and site conditions. We provide a proposed timeline in the written scope before any work begins.
Not without a signed change order. Under Rowan’s standard, the price is written before any work starts, and no work proceeds on a change until the change order is signed. That’s the discipline behind our record of keeping projects within a few percent of the agreed cost. We also offer a free second opinion on any written estimate you already have.
The Bottom Line
Fence failures in South Florida are usually a footing problem or a wind-load problem, not a wood problem. Diagnose before you replace: a post that resists a screwdriver probe is a post with a footing failure, not a rotted post, and the repair is cheaper and more durable when you address the real cause. In Homestead, HVHZ requirements, salt air within three miles of Biscayne Bay, and the high water table all shape the repair scope. Specify 316 stainless on aluminum, check vinyl for brittleness rather than just chalking, and photograph before you touch anything on an insurance claim. Repair costs run $120 to $340 for most single-element fixes, and full replacement runs $38 to $78 per linear foot across wood and vinyl. The right answer almost always starts with a written price and a clear scope, not a guess.
Call (844) 834-4248 to schedule your free estimate with Rowan Construction Group Homestead. We issue a flat written price before any work begins, back every job with the 365-Day Done Right Promise, and include a documented photo record on every visit. Bring a competitor’s quote and we’ll review it line by line at no charge.
Written by the team at Rowan Construction Group Homestead.