Last updated November 17, 2026
Free written scope consultation - allowances, timeline, and change-order rules on paper before a single trade is scheduled
The Complete Driveway & Pavers Guide for Homestead Homeowners
Miami-Dade’s Notice of Acceptance system rejects dozens of paver products that sell freely in Broward and Palm Beach counties. Most Homestead homeowners don’t learn this until the slab is already poured and the inspector is standing in the driveway. The NOA isn’t a marketing badge; it’s a county-level approval that ties a specific product to a specific installation method, and it governs what you can legally put on your property here. This guide covers which paver materials actually carry approval, why the base depth that works in Ocala fails on Homestead’s marl, how SFWMD flood zones dictate joint width, real installed costs from local permit records, and how to read a contractor’s quote line by line so “base prep” stops hiding the number that matters.
Quick Answer
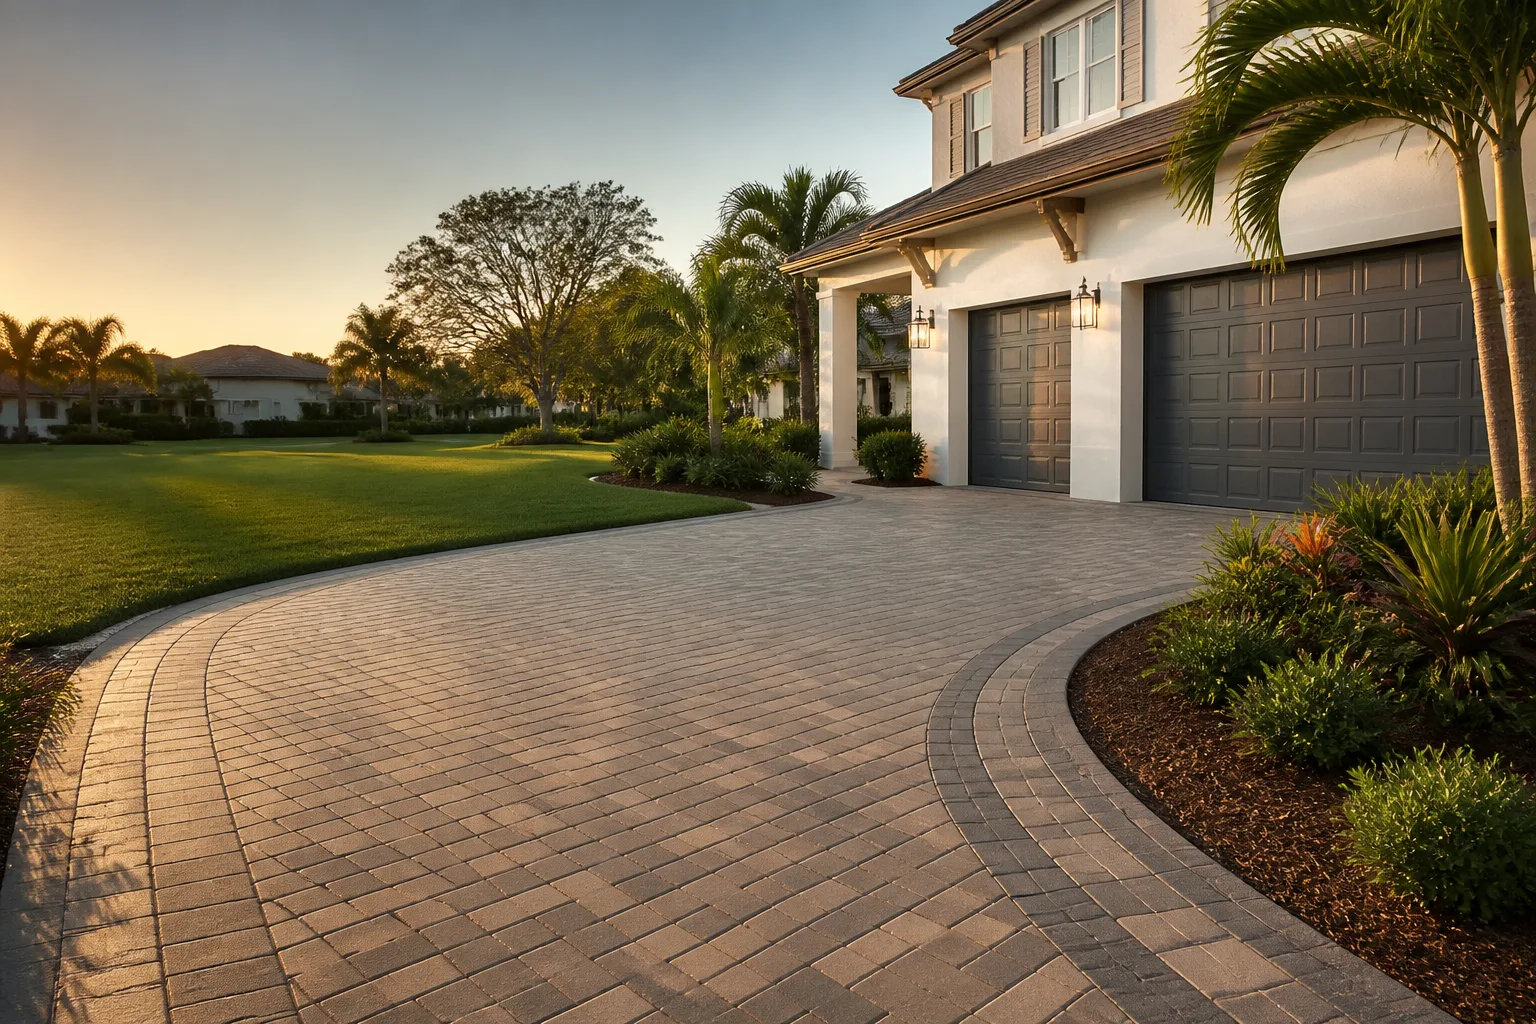
For most Homestead driveways, a Miami-Dade NOA-approved concrete paver installed over a minimum 6-inch compacted limestone base with geotextile separation costs $12 to $18 per square foot installed. Travertine and porcelain run $22 to $30 per square foot and require the same NOA review before a permit is issued. The material matters less than the base and the drainage detail, because Homestead’s alkaline marl and hurricane-season water table punish shortcuts that dry-climate installations never see.
Styles & brands we work with
- Kitchen remodeling
- Bathroom remodeling
- Home additions & ADU
- Roofing
- Windows & doors
- Driveway & pavers
- Fence
Table of Contents
- Which Paver Materials Carry Miami-Dade NOA Approval?
- Why a 4-Inch Base Fails in Homestead
- Drainage, Slope Tolerances, and the SFWMD Flood Zone
- What Pavers Cost in Homestead: A Material-by-Material Breakdown
- How to Read a Paver Quote Line by Line
- The Installation Sequence, Step by Step
- How Homestead’s Climate Ages Different Materials
Which Paver Materials Carry Miami-Dade NOA Approval?
The Miami-Dade Notice of Acceptance is a product approval issued by the county’s Product Control section. It confirms a specific paver, in a specific thickness and installation method, meets the county’s wind-uplift and structural requirements under the Florida Building Code. Without an NOA, a paver system can’t be permitted for exterior hardscape on a residential lot in Homestead, full stop. Inspectors check the NOA number against the product delivered to the site.
Here’s how the four main categories stack up:
- Concrete pavers (interlocking): The deepest bench of NOA-approved products. Manufacturers like Belgard and Techo-Bloc maintain current Miami-Dade approvals across their most common profiles. Standard thickness runs 2 3/8 inches for residential driveways; heavier 3 1/8-inch units are available for steep approaches or commercial loads.
- Travertine: Approved products exist, but the approval is thinner. Many travertine lines sold in Florida carry approvals only for pedestrian applications, not vehicular driveways, because the stone’s natural voids and lower flexural strength don’t meet driveway criteria. Confirm the NOA explicitly lists “vehicular” or “driveway.”
- Porcelain: Twenty-millimeter (roughly 3/4-inch) porcelain pavers from established European manufacturers carry NOA approval for driveways when installed on pedestals or a specified mortar bed. The 3/4-inch thickness is the threshold; the common 3/8-inch porcelain sold for patios is not approved for vehicles.
- Brick (clay): The most complicated category. Clay brick pavers, especially those rated for severe weathering (SW), can be approved, but many traditional brick products were never submitted to Miami-Dade. Unlike concrete pavers, a brick line without an NOA cannot simply be substituted in a Homestead driveway.
What NOA approval actually restricts is the pairing of product and method. A paver approved for a sand-set installation is not approved for a mortar-set installation on a driveway unless the NOA says so. If your contractor proposes a method not listed on the NOA, the inspection fails and you’re paying for demolition. Ask for the NOA number before the first pallet arrives, and cross-check it against the county’s online product approval database.
Why a 4-Inch Base Fails in Homestead
Northern Florida installers routinely build driveways over 4 inches of compacted limerock. That specification works over stable, well-drained native soil. Homestead doesn’t have that soil. Much of South Miami-Dade sits on marl and porous limestone bedrock with a high water table that rises during the June-to-November wet season. A 4-inch base over expansive marl will compact unevenly, hold moisture against the pavers, and produce the rutting and edge settlement that show up two hurricane seasons later.
The base depth that holds in Homestead starts at 6 inches of compacted limerock or crushed concrete, and climbs to 8 inches on driveways where passenger vehicles plus the occasional delivery truck will load the slab. The thickness matters less than the compaction, though: the base must be compacted in lifts of 2 to 3 inches and verified with a plate compactor, not dumped in one pile and rolled once.
Three details separate a Homestead base that lasts from one that fails:
- Geotextile separation fabric. A woven or non-woven fabric between native marl and the base course stops the fine marl particles from migrating up into the limerock. Without it, the base “pumps” under load and loses its structural value within a few years.
- Edge restraint, mechanically anchored. Paver edges fail first. The concrete or aluminum edge restraint must be spiked or adhered into the base, not the surface, and set on the compacted base, not on topsoil.
- Lift compaction documented. Our technicians confirm compaction with photos at each lift. A single 6-inch pour of limerock that’s compacted from the top looks the same from above as a properly built base, and fails twice as fast.
Drainage, Slope Tolerances, and the SFWMD Flood Zone
Large parts of Homestead fall inside the South Florida Water Management District’s flood-prone zones. That designation shapes how a driveway drains and how steep it can be. The county’s typical requirement is a minimum 1.5% slope away from the structure and toward a permitted discharge point, with a maximum around 5% to keep vehicles from scraping. On a flat Homestead lot, meeting 1.5% often means raising the driveway crown or installing a channel drain at the garage apron.
The drainage detail that homeowners never see, and that competitors skip in the quote, is joint width and bedding sand. In the SFWMD flood zone, water sits on the pavers during heavy rain. The joints between pavers are the drainage path. Standard narrow joints with fine mason sand shed slow; they clog with silt within a season and the water ponds. In Homestead we specify a wider joint (typically 1/8 to 3/16 inch) with a coarse, washed, graded joint sand that drains faster and resists silting. Polymeric sand locks the joint but clogs the drainage path; it’s the wrong choice on low-lying lots where water has to move through the surface.
Bedding sand selection matters for the same reason. Fine mason sand holds water and turns to slurry. A washed concrete sand or a graded bedding sand with a defined particle range drains better and keeps the pavers on stable grade. Below the bedding course, the base course must slope the same 1.5% minimum; a level base with a sloped paver topping holds water at the bedding layer and lifts pavers within a couple of wet seasons.
If you’re landscaping the same lot, our guide on Rowan Construction Group Homestead home walks through how the trades connect. A driveway crowned to shed water toward a side yard needs to coordinate with the fence line and any additions, so the drainage has somewhere legal to go.
What Pavers Cost in Homestead: A Material-by-Material Breakdown
Installed costs in Homestead run slightly higher than the state average because of base depth and NOA-required product lines, but the spread between materials is smaller than most homeowners expect. The numbers below are typical installed per-square-foot ranges drawn from recent Homestead permit records and comparable Miami-Dade projects. Total driveway cost also includes demolition, haul-off, base, drainage, and edge work, which we cover in the line-item breakdown.
| Material | Installed cost per sq ft | NOA requirement | Best fit |
|---|---|---|---|
| Standard concrete pavers (Belgard, Techo-Bloc) | $12 – $18 | Widely approved | Most residential driveways |
| Premium concrete pavers (large-format, textured) | $16 – $22 | Approved by product line | Driveways with curb appeal requirements |
| Clay brick pavers (SW-rated) | $20 – $28 | Product-specific; many unapproved | Historic or design-forward frontages |
| Travertine | $18 – $26 | Vehicular NOA required | Pool decks, pedestrian paths, light driveways |
| Porcelain (20mm) | $22 – $30 | Approved for vehicular use | Modern homes, low-maintenance driveways |
A standard two-car driveway in Homestead runs roughly 500 to 600 square feet. At the concrete-paver range, that’s $6,000 to $10,800 for a full install; at the porcelain range, $11,000 to $18,000. Base depth, drainage, and edge work add $1,500 to $3,000 depending on the lot. Demo and haul-off of an existing concrete slab runs $1,200 to $2,800 for a typical two-car drive.
Those ranges assume a written line-item price delivered before anyone sets foot on the property. Under Clause 1 of the Haven Standard, the number goes in writing before work starts; no change proceeds without a signed change order, which is how projects finish within a few percent of the agreed cost instead of drifting. If you have a competitor’s written quote in hand, Rowan will review it line by line at no charge as a free second opinion.
How to Read a Paver Quote Line by Line
The single biggest source of cost drift on a paver job is a vague “base prep” line. If the quote says “base prep” and nothing else, it’s hiding whether the base is 4 inches or 8 inches, whether compaction is in lifts, whether geotextile is included, and whether edge restraint is anchored into the base. Any of those underspecced details will surface as a change order after demolition.
A proper Homestead paver quote itemizes at minimum these lines:
- Demolition and haul-off, with the dumpster count and the cubic yards of concrete removed stated in the line.
- Excavation depth in inches, broken down by pavers + bedding + base, so the total depth is a number, not a promise like “adequate.”
- Base course material (limerock, crushed concrete, or aggregate base) with thickness and compaction lifts named.
- Geotextile separation fabric listed as its own line if it’s included, not folded into base prep.
- Bedding sand specification: washed concrete sand or graded bedding sand with the gradation range stated, not “sand.”
- Edge restraint type and anchoring method; concrete curb, aluminum, or PVC, and whether it’s mechanically spiked or adhered.
- Drainage detail: channel drain, swale, or slope spec, with the target slope percentage in the line.
- Paver product by NOA number, not just brand name, so the delivered pallets can be matched against the approval the inspector will check.
- Joint sand type (polymeric vs. washed graded sand) named specifically; this is where drainage performance is won or lost.
- Written warranty with what’s covered and for how long.
If any of those ten lines is missing, the quote is incomplete, and the missing line will be billed after the base is excavated. The most common omission is geotextile; the second most common is compaction detail. If you’re adding a fence along the driveway edge or planning a Home Additions & ADU in Homestead that changes the driveway approach, the drainage and edge work need to be coordinated in the same scope, not bolted on later.
The Installation Sequence, Step by Step
Paver installation is a sequence where each step depends on the one before it. Skip a step and the whole assembly fails. Here’s how a Homestead paver driveway actually goes together, from demolition to the final compaction pass:
- Demo and excavate. Remove the old surface and excavate to the total depth (pavers + bedding + base), typically 9 to 11 inches in Homestead. Haul-off in the same day when possible, because a torn-up driveway left overnight in a wet season invites water under the base.
- Subgrade preparation and compaction. Compact the native marl or limestone fill and verify the grade at the specified slope. This is where the 1.5% runs, not in the pavers.
- Geotextile fabric. Roll out and overlap the separation fabric at the manufacturer’s specified overlap; the fabric stops marl migration into the base.
- Base course in lifts. Place limerock or crushed concrete in 2 to 3 inch lifts, compact each lift with a plate compactor, and check grade between lifts. Total 6 to 8 inches compacted.
- Edge restraint installation. Anchor edge restraint mechanically into the compacted base, before pavers go down, on the actual edges.
- Bedding course. Screed a 1 inch bedding sand over the base to the finished slope. Do not walk on the screeded bed.
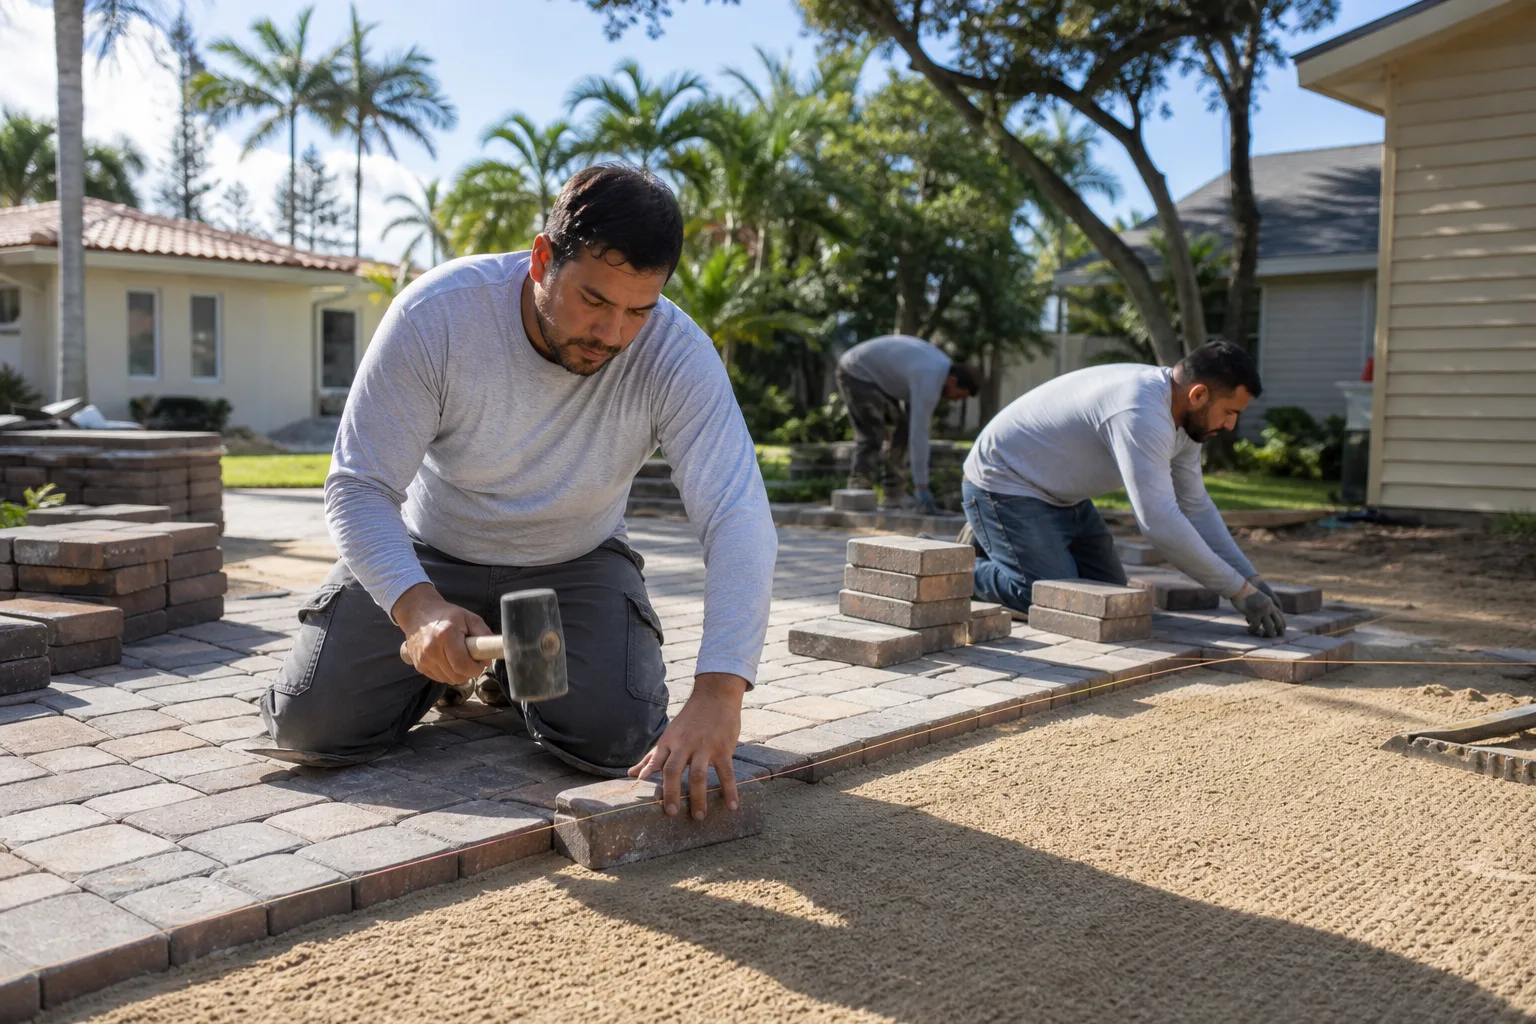
- Paver installation. Place pavers from a fixed corner, running bond or herringbone, cutting edges with a wet saw. Follow the pattern and joint width specified.
- Plate compaction and joint sand. Compact the finished surface with a plate compactor, then sweep washed graded joint sand (or polymeric, if specified) into the joints and re-compact. Top off after the first rain.
- Final check and photo record. Document the finished grade, edges, drains, and joint depth with photos before the client signs off. Our crews include a photo record on every visit as a standard deliverable.
The pavers themselves are usually the easy part. The base and drainage are the failure points, and that’s why the item line matters more than the product brochure. If you’re weighing whether the driveway or the fence comes first, our team can walk through that sequence on Fence Installation in Homestead so drainage, lot lines, and approach ramps don’t conflict.
How Homestead’s Climate Ages Different Materials
Homestead’s UV load is severe. South Florida sits in the strongest UV band in the continental United States, and a paver surface sees 365 days of sun exposure a year. Pigment fade is the visible effect: standard concrete pavers with lower-quality iron-oxide pigments fade noticeably in 4 to 6 years, while higher-grade integrally colored lines hold color for 15 to 20. Ask what UV stabilizer the manufacturer specifies, and for concrete pavers, ask for the efflorescence control method, because alkaline soil chemistry in Homestead accelerates efflorescence on lower-grade units.
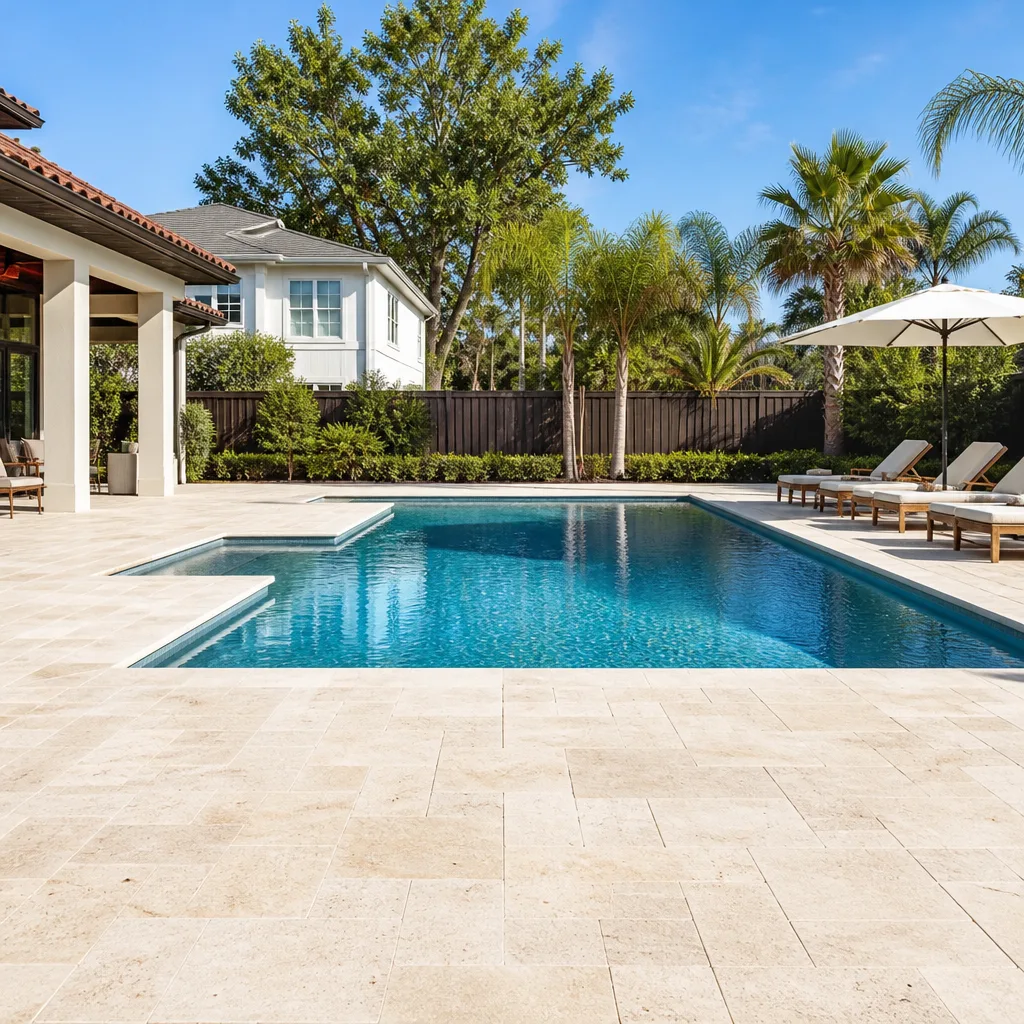
Travertine is the material most affected by Homestead’s climate. It’s a limestone and it’s alkaline-sensitive; acidic rain (rare here) plus fertilizer runoff from nearby lawns stains the surface. Travertine holds up on covered patios and pool surrounds but shows weathering on a driveway within a few years without a sealer program. Porcelain behaves the opposite way: it’s essentially inert, UV-stable, and stain-resistant, which is why the $22 to $30 range pays back over a 15-year horizon for homeowners who want zero annual maintenance.
Brick delivers its own trade-offs. Clay brick holds color forever and develops a patina, but it’s harder to install over an uneven base, so the base spec matters more. Concrete pavers land in the middle, with the widest product selection and the deepest bench of NOA-approved lines.
The materials outside the pavers count too, and that’s where sourcing brands matter. Restraint and edging often come in the same supplier pipeline as brands like Boral and PGT for the adjoining fence and window work; the point is that every product in the assembly carries a spec sheet and an approval, and the quote should name it.
Common Mistakes to Avoid
- Skipping the NOA cross-check. Buying a paver that’s approved for a pedestrian walkway and installing it on a driveway is the most common inspection failure in Homestead. Confirm the NOA lists vehicular use, not just the product line.
- Accepting a 4-inch base. The northern Florida specification doesn’t hold on Homestead’s marl. Insist on 6 inches compacted minimum, in lifts, with geotextile.
- Level base with sloped pavers. If the base is flat and only the topping is sloped, water ponds at the bedding layer. The slope has to run through the base.
- Polymeric sand on a low-lying lot. Polymeric joint sand blocks drainage on driveways inside the SFWMD flood zone. Use washed graded joint sand where water has to move through the surface.
- Edge restraint anchored to topsoil. The edge has to be spiked or adhered into the compacted base, not set on landscape soil. Paver edges fail first for exactly this reason.
- Sand and dust swept without Joint Sand topping off. The joint sand settles after the first few rains and needs a top-off; a contractor who doesn’t plan a return visit is a contractor who doesn’t expect the pavers to last.
- Verbal change approvals. Every change after the base is open must go through a signed change order. Rowan’s whole administrative discipline around this is the reason projects finish within a few percent of the agreed price, so ask any contractor what their change-order process is before signing.
See the difference
 Before
 After
 Before
 After
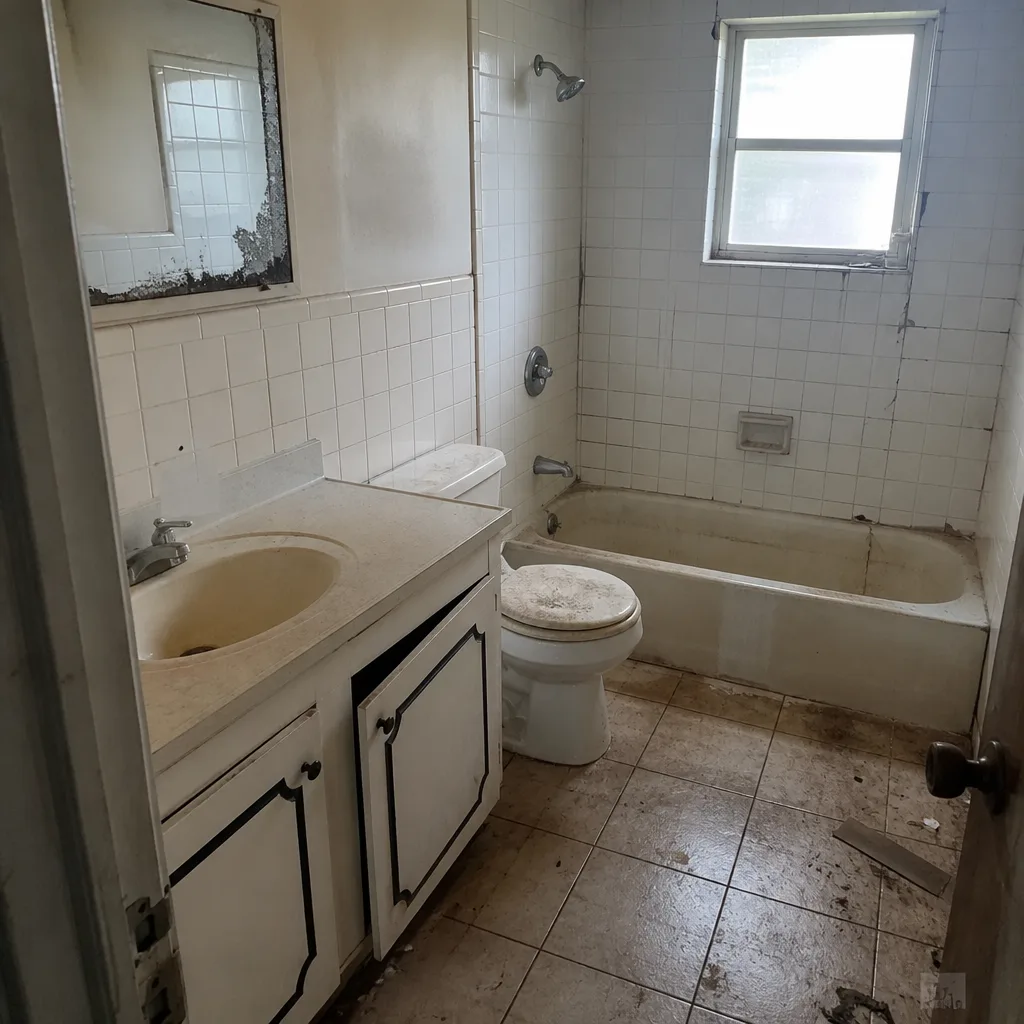 Before
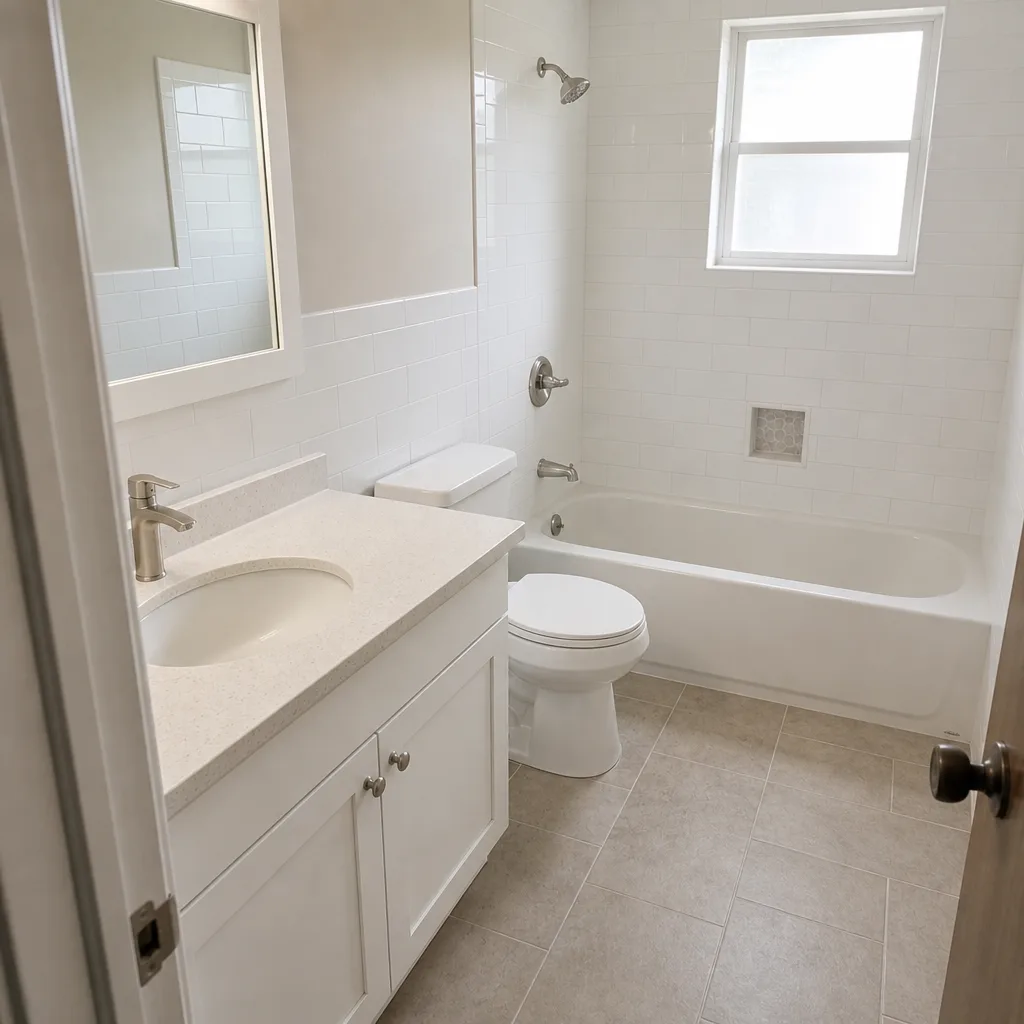 After
When to Call a Professional
If your driveway is adjacent to a garage apron with any slope, if the lot sits inside the SFWMD flood zone, or if you’re replacing an existing slab that’s been lifting or cracking, the base and drainage decisions need an actual design, not a weekend’s worth of YouTube research. Permits, NOA verification, and the county inspection sign-off are also on the professional’s side of the line. A paver job done wrong in Homestead shows up within two wet seasons, and by then the base has to be demoed again. Rowan Construction Group Homestead offers free estimates in Homestead with a written line-item price before any work starts. Call (844) 834-4248 to schedule yours.
For the same reason, if the driveway connects to a Driveway & Pavers in Homestead project that’s changing the approach or the front-yard hardscape, the two should be designed together. The team draws from fifty-plus vetted material brands across the trades, and the written quote names each one.
Frequently Asked Questions
A concrete paver driveway in Homestead typically costs $12 to $18 per square foot installed, or roughly $6,000 to $10,800 for a 500 to 600 square foot two-car drive. Porcelain runs $22 to $30 per square foot installed; travertine and brick run $18 to $28 depending on product and NOA status. Call (844) 834-4248 for an exact quote; estimates are free.
Yes. Exterior hardscape on a residential lot in Homestead requires a Miami-Dade Notice of Acceptance for the specific paver and installation method. The inspector checks the NOA number against the delivered pallets. Confirm the NOA lists vehicular or driveway use; a pedestrian-only approval will fail inspection on a driveway.
Homestead’s native soil is marl and porous limestone with a high water table during hurricane season. A 4-inch base that works over northern Florida’s stable soil compacts unevenly here and holds moisture against the pavers. The proper Homestead spec is 6 to 8 inches of compacted limerock or crushed concrete, in 2 to 3 inch lifts, with a geotextile separation fabric.
A washed, graded joint sand, not polymeric. Polymeric sand locks the joint but blocks the drainage path that water needs during heavy rain in a low-lying Homestead lot. A typical joint width of 1/8 to 3/16 inch with coarse washed sand drains faster and resists silting. Ask for the joint sand specification in writing before the pallets arrive.
A properly built concrete paver driveway lasts 25 to 30 years in Homestead, assuming the base and drainage are correct and the joint sand is topped off after the first wet season. Porcelain lasts longer and resists UV fade and staining far better. Travertine has a shorter life on a driveway and needs a sealer program. If the base is underspecced, expect 5 to 8 years before visible rutting and edge settlement.
Not on a Rowan project. The written price is a flat price with a written scope and a written warranty before any work starts, and no change proceeds without a signed change order. That’s why our projects finish within a few percent of the agreed cost. The 365-Day Done Right Promise backs the warranty in writing. Call (844) 834-4248 to schedule a free estimate.
The Bottom Line
Homestead narrows the paver field in ways that a drive up to Broward won’t tell you: NOA approval restricted to the correct installation method, a base that starts at 6 inches compacted in lifts over a separation fabric, drainage detailed for SFWMD flood zones, and joint sand that lets water move. The material choice (concrete, brick, travertine, or porcelain) is secondary to those four details, and the total cost lands between $12 and $30 per square foot installed depending on which way you go. Read the quote line by line, and insist on each of the ten items in writing. The written price and the photo record are the two things that keep the driveway honest after the crew leaves.
Ready to price a paver driveway in Homestead? Call Rowan Construction Group Homestead at (844) 834-4248 for a free estimate with a written line-item price before any work starts. We’re state-licensed, insured, and every crew is background-checked and uniformed, with a live person answering calls 24/7. Bring a competitor’s written quote if you have one; the second opinion is free.
Written by the team at Rowan Construction Group Homestead.