Last updated November 17, 2026






Free written scope consultation - allowances, timeline, and change-order rules on paper before a single trade is scheduled
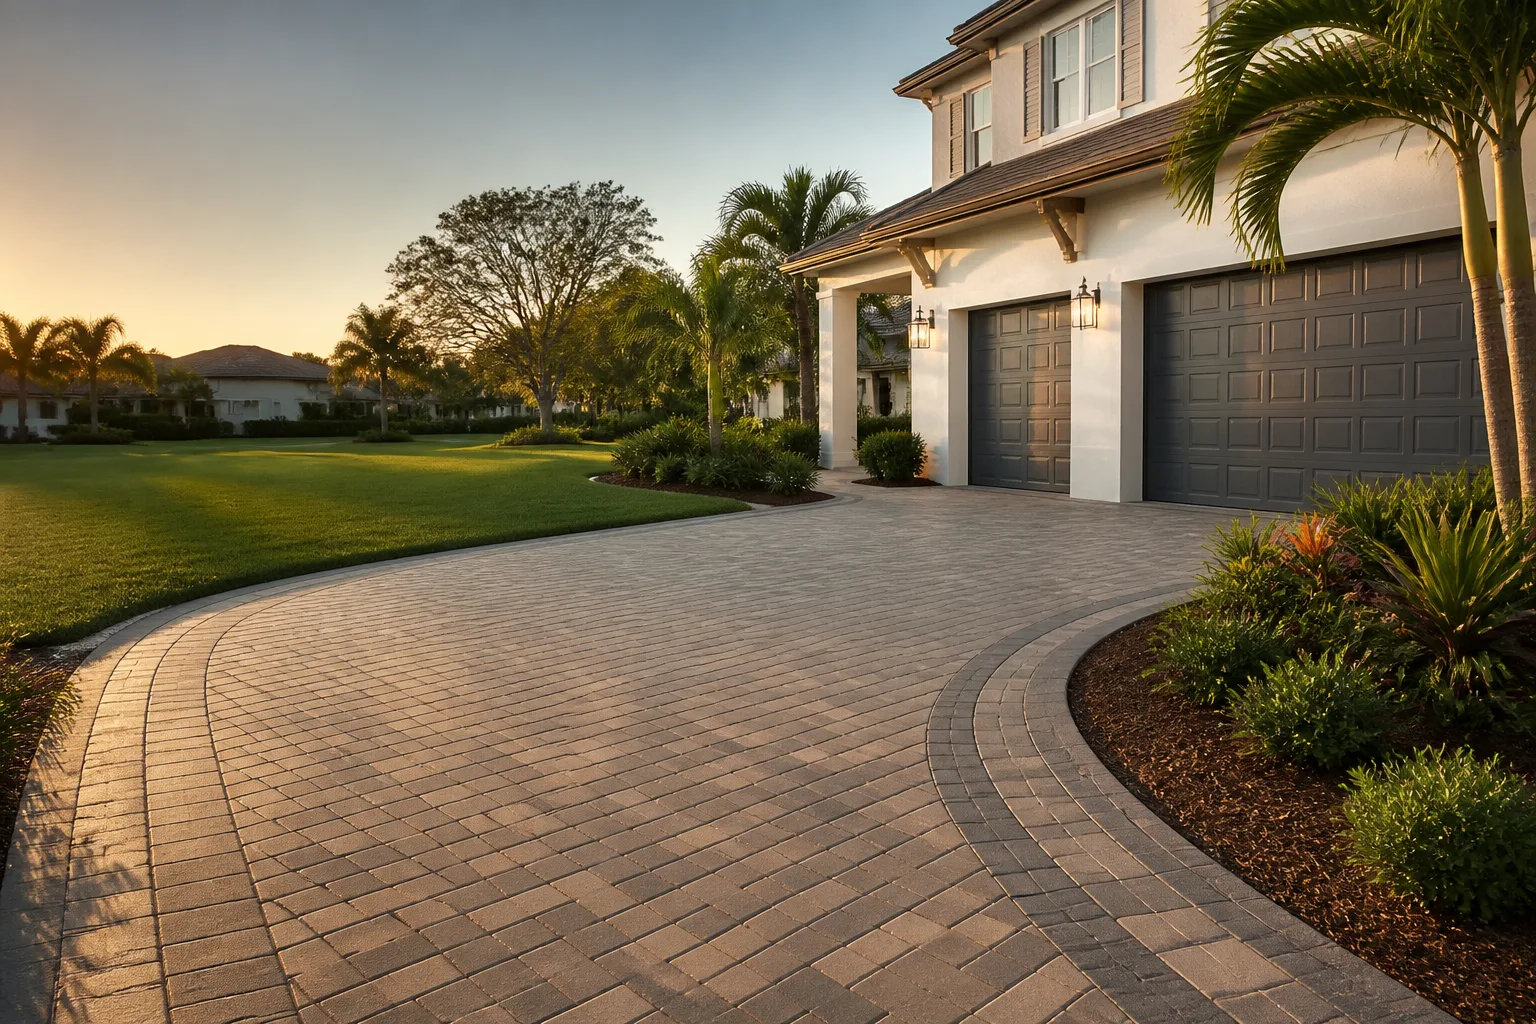
Driveway & Pavers Warning Signs Every Homeowner Should Know
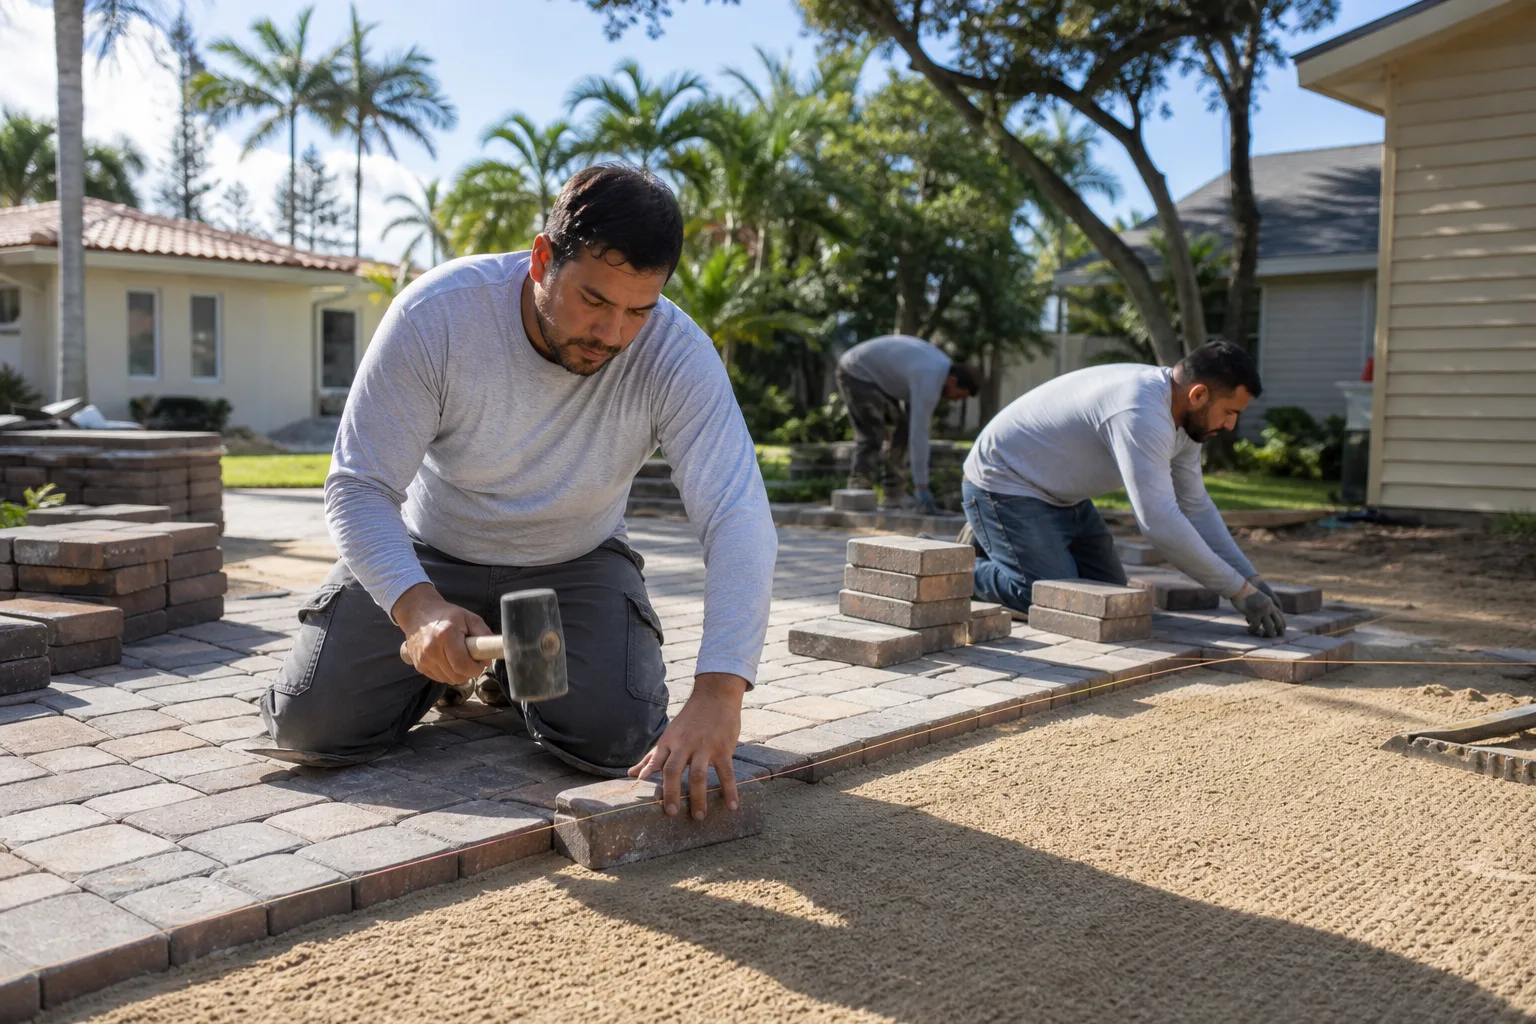
Most paver driveways in Homestead don’t fail suddenly. They announce the failure six to twelve months ahead of time, in a language almost nobody reads: an edge restraint lifting a quarter inch off the base, a joint gap that grew from 1/8 inch to 3/8 inch, a paver that rings hollow under a rubber mallet. The homeowner who learns that language schedules a repair at $400 instead of a reconstruction at $4,000. This guide covers what to look for, how to test it yourself, and what the warning signs in a contractor’s written proposal say about how the driveway was built in the first place.
Quick Answer
The earliest warning sign of a failing paver driveway is edge restraint pull-out, where the plastic border lifts away from the base and lets pavers creep outward. Left alone, that small gap cascades into base failure, settlement, and full reconstruction. A 1/8-inch joint gap is normal movement; a 3/8-inch gap means the bedding layer has shifted. Tap suspect pavers with a rubber mallet. A hollow tone means the paver has lost contact with its bedding layer.
Styles & brands we work with
- Kitchen remodeling
- Bathroom remodeling
- Home additions & ADU
- Roofing
- Windows & doors
- Driveway & pavers
- Fence
Table of Contents
- Edge Restraint Pull-Out: The Earliest Sign
- Reading Joint Gaps: 1/8 Inch vs. 3/8 Inch
- Fanning at Curves Means Edge Restraint Failure
- Efflorescence vs. Calcium Leaching: Two Look-Alike Problems
- The Rubber Mallet Test: Hollow vs. Solid Tone
- Linear Discoloration Usually Traces to Irrigation, Not Sealer
- Warning Signs in a Contractor’s Proposal
Edge Restraint Pull-Out: The Earliest Sign Most Homeowners Ignore
Walk the perimeter of your Homestead driveway and look down at the plastic or aluminum edge restraint that holds the outermost row of pavers in place. That restraint is fastened to the base with spikes driven through it. Over time, rainfall, root movement, and repeated vehicle tires loading the edge cause spikes to back out of the base. The restraint lifts. You see a gap of a quarter inch or more between the bottom of the restraint and the concrete or base material below.
This is the moment to act. Repairing a pulled spike or two runs under $200 in most cases. What happens if you wait is not complicated: pavers at the edge creep outward, the joints widen over their entire length, sand drains out of the joints, water gets under the surface, and the base begins to wash out. By the time you notice pavers settling, you’re looking at reconstruction.
Walk the full edge every spring. South Florida’s wet season loads edges harder than a dry climate does, and drainage-adjacent edges near swales fail first. Fork the restraint up with a screwdriver and check for solid resistance. A spike that pulls out of the ground with two fingers was set shallow or lost its base years ago.
Reading Joint Gaps: What 1/8 Inch vs. 3/8 Inch Actually Means
Joint gaps between pavers tell you how much the system is moving. A gap of 1/8 inch is normal. It’s the intended joint width for most interlocking paver systems, and polymeric sand fills that gap and stays put. A gap of 3/8 inch is a different conversation. The bedding layer has shifted enough to widen the joint, and the sand in that joint is no longer doing its job.
Use a tape measure, not your eye. Once a week during the first two years, then twice a year after that. Measure the same five or six joints near the driveway apron, at the turn radius, and wherever the driveway meets a sidewalk or step. Write the widths down. A joint that widens 1/16 inch per year is settling steadily; a joint that widens 1/4 inch in a single season means something below is moving.
The causes are predictable: base depth and compaction. A paver drive needs a compacted aggregate base, usually 6 to 8 inches for a residential driveway, plus a 1-inch bedding sand course. When base depth is under-built, the load of a vehicle gets transferred straight down into soil that can’t handle it. The pavers don’t fail. The base does, and the pavers report on it through wider joints.
Fanning at Curves Means Edge Restraint Failure
Look at any curved section of your driveway. The pavers should run evenly, maintaining a consistent joint line. If they fan outward at the curve, meaning the joints widen toward the outer edge of the curve and the pavers appear to splay, the edge restraint behind that curve has failed.
Fanning is a direct mechanical response to a restraint that no longer holds. The pavers are driven outward by thermal expansion and tire pressure every time a vehicle turns through the curve. Without a solid restraint they creep. Once the pattern fans, the original geometry is gone and cannot be reset by re-sanding. The restraint must be replaced, the pavers re-laid to line, and the joints re-sanded with a compatible polymeric product.
In Homestead, driveways that face west tend to fan faster on the sunny-side curve because thermal cycling is more intense there. That’s a small geographic detail most guides skip, and it matters: it tells you which curve to check first.
Efflorescence vs. Calcium Leaching: The Two Look-Alike Problems
Both show up as a whitish bloom on the paver surface, and they look almost identical. They mean opposite things.
Efflorescence is a mineral salt bloom. Water moves through the paver, dissolves salts, and brings them to the surface where they crystallize as the water evaporates. It’s cosmetic. It brushes off or disappears after a few wet-dry cycles, and it’s common in new pavers during their first year. In Homestead’s humid climate you’ll see it most after heavy summer rain followed by a dry front.
Calcium leaching looks similar but sits in a pattern, is denser near joints, and returns within weeks of every cleaning. It signals moisture coming up through the base and through the bedding layer, picking up calcium from cement or from subgrade soils and carrying it to the surface. That moisture is base intrusion. It means water is getting under your pavers and isn’t draining away.
The practical test: clean it off. If it doesn’t come back within sixty days, it was efflorescence and you’re done. If it returns and widens into a pattern, you have base moisture intrusion. Sealing the surface is the wrong fix and traps the moisture underneath, which accelerates the base failure. Find where the water is entering, usually at a failed edge, a cracked sealant line, or a downspout emptying onto the pavement, and correct it at the source.
The Rubber Mallet Test: Hollow vs. Solid Tone
This is the field test any homeowner can perform in fifteen minutes, and it turns a subjective “does the driveway feel wrong?” into specific, locatable evidence.
- Get a rubber mallet, the kind sold for camping stakes or auto body work. Not a metal hammer; metal will chip the paver.
- Tap each paver in the same five-by-five grid of the driveway, listening rather than looking.
- A solid, short “thud” means the paver is in contact with its bedding layer and the base below is intact.
- A hollow “tok” or ringing tone means the paver has lost contact with the bedding layer; there’s a void under it.
- Mark hollow pavers with sidewalk chalk. A cluster of three or more hollow pavers together is a settlement pocket, not a fluke.
One hollow paver near a curve or a drain is common and easy to re-seat. A cluster of hollow pavers running in a line usually tracks the same problem underneath: a washed-out bedding course, a buried utility trench that wasn’t re-compacted, or an irrigation leak. Have that cluster evaluated before doing anything else.
Linear Discoloration Usually Traces to Irrigation, Not Sealer
If the discoloration on your driveway runs in a stripe, don’t reach for sealer. Stripes follow pipes. When a paver system shows a linear band of darker pavers, or a band of efflorescence, or a band that rings hollow under the mallet, the most common cause in our work is a cracked irrigation line running beneath the pavement.
The water doesn’t surface; it just keeps the base under that stripe saturated. The pavers over the line darken, or leach, or settle, while pavers a foot to either side look normal. A sealer applied over the top reads as a fix but delays finding the actual source. Sealing a wet base locks moisture in and typically makes the problem worse.
Find the line before anything else. Trace the stripe back to its source, look for a solenoid box or an irrigation manifold near that line, and check for a pressure drop on the zone. Once the line is repaired and the base dries, the paver surface usually normalizes. If it doesn’t, you’re looking at a re-sand and possibly re-seat of the affected area, not a full reconstruction.
Warning Signs in a Contractor’s Proposal Before You Sign
Most paver failures were decided before the first paver was placed. A written proposal tells you whether the installation is going to be built to spec, and its silences usually tell you more than its sentences. Before you accept any quote, check for these absences.
- No base depth documented. The quote should state the compacted aggregate base depth in inches, and the base prep should list compaction in lifts. A proposal that says “installed to industry standard” without a number hasn’t committed to a base.
- No edge restraint brand specified. Edge restraint is where the failure starts, so the proposal should name the brand and show how it’s fastened. “Edge restraint included” is not enough.
- No polymeric sand product named. Polymeric sand is not generic. Named product with the correct grade for the joint width should appear in the written scope.
- No warranty term stated in writing. Ask what happens if edge restraint pulls out in year two or if fanning appears within the first settling cycle. Get the answer on paper.
We quote every project as a flat written price with a written scope and a written warranty before work starts, and no change moves forward without a signed change order. That discipline matters on pavers as much as on any trade, because the difference between a budget pavers job and a properly built one is almost entirely in the base and the edge restraint, the two items easiest to leave unmentioned.
Common Mistakes to Avoid
- Sealing over a moisture problem. Sealer traps water in the base, accelerates settlement, and hides the efflorescence or calcium leaching so you can’t diagnose the real issue. Fix the water first.
- Re-sanding without checking the edge first. Fresh polymeric sand in failed joints holds for a season before draining out again. Check that the edge restraint is intact before re-sanding.
- Assuming hollow tone means the paver is bad. The paver is fine; it’s the bedding layer underneath that lost contact. Replace the paver and the void will re-appear within a season.
- Ignoring the striped discoloration. In Homestead, stripes are almost always irrigation. Treating them as a sealer wear issue delays finding the leak by months.
- Waiting on a pulled spike. A $200 edge restraint repair becomes a $4,000 reconstruction once pavers start creeping. The window closes fast after the first wet season.
- Accepting a proposal without base depth in inches. If the number isn’t in writing, it wasn’t specified on the job site either.
- Using a swing of a hammer instead of a rubber mallet. Metal chips the surface and destroys the evidence you’re trying to gather. Rubber mallet, always.
See the difference
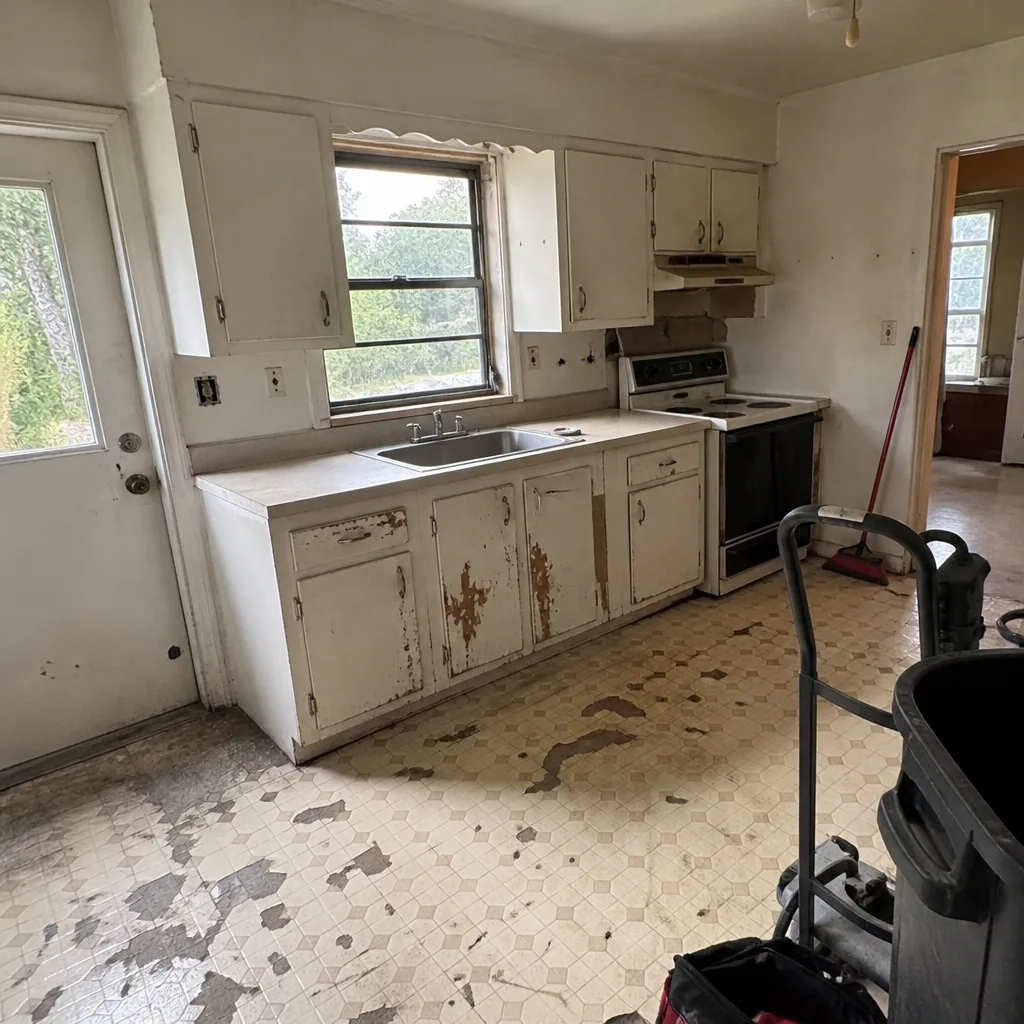 Before
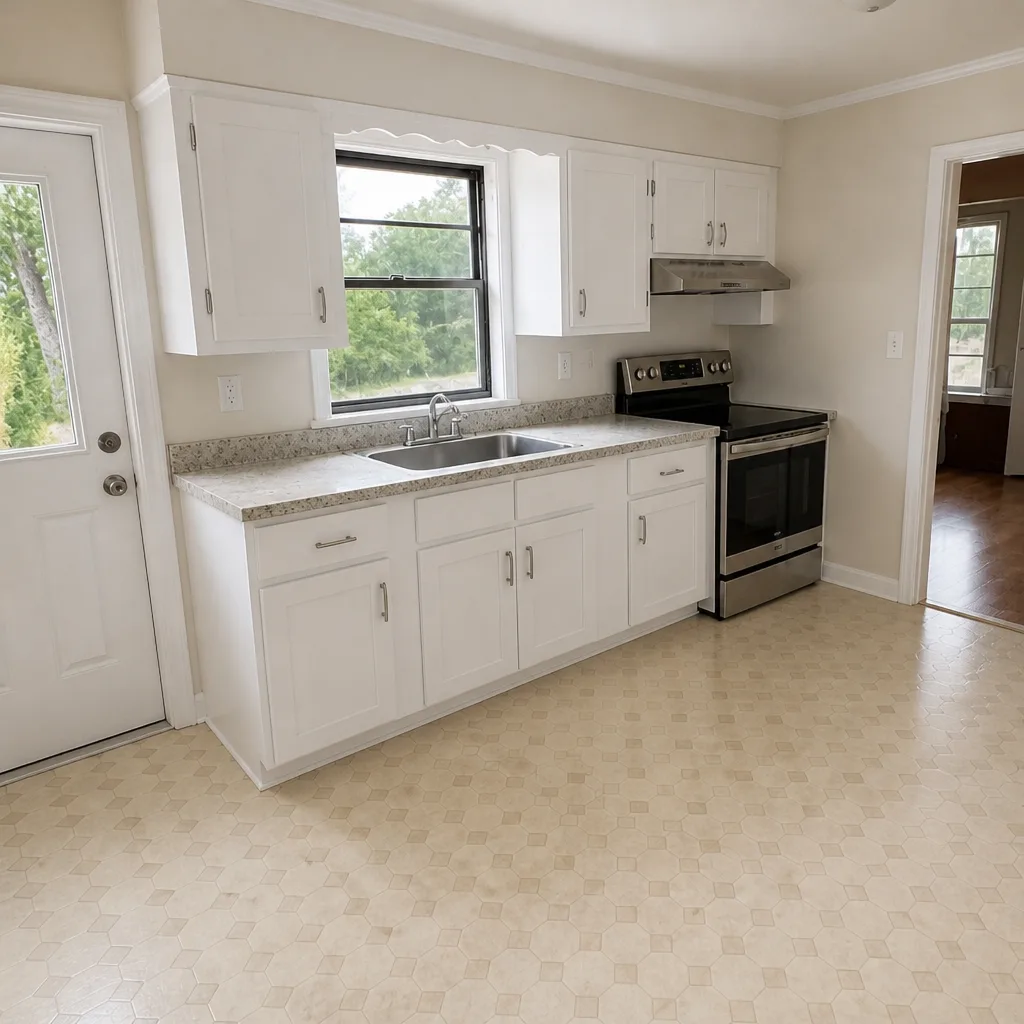 After
 Before
 After
 Before
 After
When to Call a Professional
Call a professional the moment you spot any of three things: a cluster of three or more hollow pavers under a rubber mallet, edge restraint lifting more than a quarter inch along 3 or more linear feet, or a calcium leach pattern that returns within sixty days of cleaning. Those three conditions almost always mean base failure is already underway.
If you’re in Homestead and driveways were last inspected more than two years ago, the wet-season cycle has probably already run its course once, so it’s worth scheduling an inspection even without visible symptoms. A repair scoped early usually stays under $400; a base reconstruction commonly runs 8 to 10 times that. The neighborhood matters here: older paver installations in areas with heavier irrigation use fail faster at joints.
Rowan Construction Group Homestead offers free estimates in Homestead. Call (844) 834-4248 to schedule a written scope, and bring any competitor’s written estimate to us for a free second opinion. We review it line by line at no charge.
For a broader look at how pavers and driveways fit into the whole home, see our Rowan Construction Group Homestead home page, and our Driveway & Pavers in Homestead page covers installation and repair scope in detail.
Frequently Asked Questions
Edge restraint pull-out is the earliest sign: the plastic or aluminum border lifts a quarter inch or more off the base and the spikes behind it back out. After that, joint gaps widening past 3/8 inch, fanning at curves, and hollow tones under a rubber mallet appear in that order. Catch the edge sign and the repair is typically under $200. Miss it and you’re looking at base reconstruction.
Clean the bloom off and wait. Efflorescence is cosmetic and usually doesn’t come back within sixty days. Calcium leaching returns within weeks, sits in a pattern, and is denser near joints. That return pattern means moisture is getting under the pavers and picking up calcium from the base. Fix the water source, not the surface. Call (844) 834-4248 if you want us to look at it.
Yes, and you should. Use a rubber mallet, not a hammer, and tap a five-by-five grid of pavers, listening for the difference between a short solid thud and a hollow ring. A single hollow paver is usually easy to re-seat. A cluster of three or more in a row is a repair-worthy finding, so photograph the cluster and bring the photos to a free estimate.
Stripes follow pipes. In Homestead we see this almost exclusively as the result of a cracked irrigation line running under the pavement, which keeps the base beneath that stripe saturated. Do not seal over it. Trace the stripe, find the irrigation zone, check for pressure loss, and repair the line before doing anything to the pavers. Call (844) 834-4248 for a walk-through if the trace is unclear.
Compacted base depth in inches, the brand of edge restraint being specified, the named polymeric sand product, and a written warranty term. If a proposal doesn’t state all four in writing, the installation likely wasn’t specified to spec. We quote everything as a flat written price with a written scope and written warranty before work starts, and no change moves forward without a signed change order.
An edge restraint repair typically runs under $200 for a handful of spikes. Re-seating a small cluster of hollow pavers usually falls between $400 and $900 depending on access. Base reconstruction runs into the thousands. Get the numbers in writing before anything is touched, and call (844) 834-4248 for a free estimate with a documented photo record of what we find.
The Bottom Line
Failure in a Homestead paver driveway is a slow, readable event. The edge restraint tells you first, then the joint gaps, then the mallet tone, then the discoloration. Each of those signs is diagnostic, each is testable without tools beyond a mallet and a tape measure, and each gives you a window of months before the fix gets expensive. Read the signs, act on the first one, and never sign a proposal that doesn’t name the base depth, the restraint brand, and the sand product in writing. If you’re still wondering about the fanning at your west-facing curve, the answer is worth a phone call.
Whether it’s a repair, a replacement, or a second opinion on a competitor’s estimate, call (844) 834-4248 for a free estimate. Our technicians have up to 19 years of experience, and every visit includes a documented photo record as a standard deliverable. Related services: Fence Installation in Homestead, Home Additions & ADU in Homestead, and our Homestead home page for the full scope across all seven trades.
Written by the team at Rowan Construction Group Homestead.