Last updated November 17, 2026


Free written scope consultation - allowances, timeline, and change-order rules on paper before a single trade is scheduled
Fence Installation Maintenance Schedule: What to Do and When
FEMA’s post-hurricane field assessments keep finding the same thing: fences that failed during storms usually weren’t knocked down by the wind. They were already compromised – a corroded footing, a fastener that backed out two seasons ago, a post that had been leaning since spring. The storm just finished what time and salt air started. Homeowners in Homestead face that math every June through November, and the difference between a fence that holds and one that becomes flying debris comes down to a schedule most people never write down. What follows is that schedule, keyed to South Florida’s seasons, with the specific tests, materials, and records that matter.
Quick Answer
Inspect your fence twice a year in Homestead: once in early May before hurricane season and once in November after the rainy season ends. The May inspection covers post plumb, footing integrity, fastener tightness, and panel rigidity. The November inspection focuses on storm damage, corrosion, and refinishing before the dry months. A full pass takes under 30 minutes on a typical residential lot, and the record you keep supports both wind mitigation inspections and warranty claims.
Styles & brands we work with
- Kitchen remodeling
- Bathroom remodeling
- Home additions & ADU
- Roofing
- Windows & doors
- Driveway & pavers
- Fence
Table of Contents
- Why a Fence Maintenance Schedule Matters More in Homestead
- The May Pre-Hurricane Inspection: What to Check and Pass/Fail Criteria
- The November Post-Season Inspection: Closing Out the Rainy Months
- Material-Specific Maintenance by Product and Frequency
- How to Test Post Footing Integrity Without Digging
- The Salt-Air Corrosion Zone: Which Homestead Neighborhoods Need Quarterly Checks
- Building a Maintenance Log That Holds Up in a Wind Mitigation Inspection
- The Full-Year Calendar at a Glance
Why a Fence Maintenance Schedule Matters More in Homestead
A fence in Homestead lives under conditions most of the country doesn’t deal with. The wet season runs May through October, dumping the majority of the year’s rain in afternoon bursts that saturate footings and swell wood. Salt air pushes inland from Biscayne Bay and accelerates corrosion on every galvanized fastener and steel hinge within a few miles of the coast. UV index runs high year-round. There’s also the wind code: Miami-Dade and Broward County enforce some of the strictest product approval standards in the country, which means fences here are built to withstand design pressures that a fence in Ohio was never engineered for.
That engineering only pays off if the fence stays in the condition it was installed in. A powder-coated aluminum panel rated for high wind loads still fails if two of its brackets have corroded through. A pressure-treated wood post set in concrete still rotates out of plumb if the footing has cracked and taken on water. The inspection tasks that catch these problems early are the entire point of a schedule – not the fence looking good, but the fence holding.
We’ve walked plenty of Homestead properties after storm events where a section failed, and the pattern repeats: the failure point had visible warning signs, just not on a schedule anyone was keeping. When you’re ready to talk about repair or a full replacement, Fence Installation in Homestead outlines what a code-compliant installation includes from the footing up.
The May Pre-Hurricane Inspection: What to Check and Pass/Fail Criteria
Do this in the first two weeks of May, before the first named storm forms. Block 30 minutes for a standard quarter-acre lot. Walk the fence line in one direction and check every post, every panel, every gate hinge. Here’s what to look for and how to judge what you find:
- Post plumb: Hold a 4-foot level against the side of each post, or sight down the line of posts and look for one that breaks the visual rhythm. A post out of plumb by more than 1 inch over 4 feet fails. Replace or reset before hurricane season.
- Fasteners: Check every bracket screw, lag bolt, and hinge pin. Any fastener that turns freely under light pressure, shows rust bloom at the head, or has backed out more than 1/8 inch fails. Replace with the same grade and finish – stainless or hot-dip galvanized, never electroplated.
- Panel rigidity: Push firmly on the center of each panel. A panel that flexes more than 1 inch under hand pressure has lost picket-to-rail connection somewhere. Find the loose connection and re-secure it before the panel fails as a unit.
- Footing integrity: Perform the lever test on each post (details below). Movement that exceeds the tolerance for that post height is a fail.
- Gate operation: Open and close each gate. Binding, sagging, or a latch that won’t engage cleanly means the gate frame has shifted. Address it in May, not in August when you’re trying to close up before a storm.
- Rust and finish damage: Look for rust streaks, blistering paint, and scratches through powder coat. Any exposed bare metal is a corrosion starting point and should be touched up before the wet season.
Fix or flag everything that fails this inspection in May. A June or July storm doesn’t give you the option to catch up later.
The November Post-Season Inspection: Closing Out the Rainy Months
The November inspection happens after the wet season winds down. Its job is different from May’s: May is about catching pre-existing problems before the wind arrives; November is about finding what the season did and correcting it before the dry months set in.
The priority tasks:
- Storm damage survey: Walk the full line looking for bent pickets, displaced panels, cracked posts, and lifted footings. Photograph anything bent or broken before you fix it – the photo belongs in your maintenance log.
- Corrosion check on all metal: Wet-season humidity accelerates corrosion on every ferrous fastener and fitting. Look at bracket heads, hinge pins, gate latches, and screw heads on aluminum fences. Any rust bloom means the finish has failed and the part needs replacement or touch-up.
- Wood condition: Check for soft spots, splitting at the top of posts, and discoloration that suggests moisture retention. Probe wood posts with a flathead screwdriver – if it presses in easily, the wood is decaying and the post is a candidate for replacement.
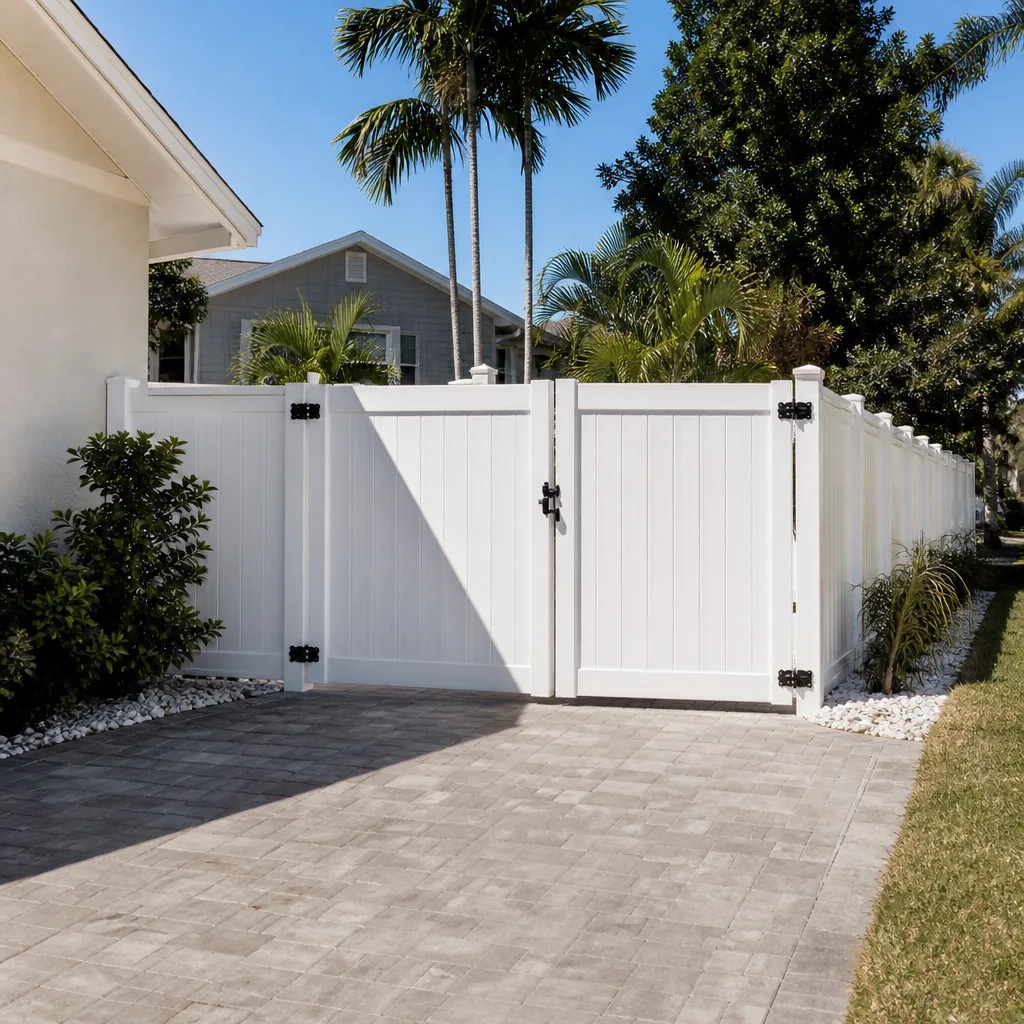
- Vinyl condition: Look for chalky white residue (UV degradation), yellowing, and hairline cracks at joints. Run the rail deflection test (covered below).
- Gate realignment: Gates take the most mechanical abuse during a wet season – swelling wood, shifting soil, and constant use. Realign or replace hinges as needed.
- Refinishing: The dry season (roughly November through April) is your window for oiling wood, applying UV protectant to vinyl, and touching up powder coat on aluminum. Do this in the dry months so the finish cures properly.
Once November is done, you have a clean baseline going into the winter dry season and a documented record of what was checked and corrected.
Material-Specific Maintenance by Product and Frequency
Fence maintenance isn’t uniform across materials. A pressure-treated wood fence asks for annual attention to cut ends and horizontal surfaces. Aluminum wants fastener and finish checks. Vinyl needs UV care and joint inspection. Here’s how each material type schedules out:
Pressure-Treated Wood
Wood fences in Homestead face the double pressure of marine humidity and intense UV. The critical maintenance points:
- CCA treatment touch-up at cut ends: Every time a cut end is exposed, apply a copper-based wood preservative to the cut face within 48 hours. Bare wood at a cut end is the first place rot starts, especially at post tops and rail ends. Once a year, check all cut ends and re-treat any that have lost their factory protection.
- Penetrating oil on horizontal rails: Horizontal rail surfaces collect water. Apply a penetrating oil finish once a year – November, after the wet season, is the right window – so the wood can absorb it before the next rainy season. Brush it on, let it soak, wipe off excess.
- Fastener check: Stainless or hot-dip galvanized ring-shank nails and screws. Any fastener that wiggles gets replaced. Twice a year, May and November.
- Post top caps: Metal caps over post tops keep water out of the end grain. Check them twice a year and replace cracked caps immediately.
Powder-Coated Aluminum
Aluminum doesn’t rust in the way steel does, but the powder coat can scratch, and the small galvanized fasteners holding it together can corrode. Maintenance is light but specific:
- Fastener inspection: Every bracket, hinge, and latch screw. Annually for inland properties, quarterly for salt-zone properties (defined below).
- Powder-coat touch-up: Any scratch that shows bare metal needs a color-matched touch-up paint within 30 days. A scratch left through one wet season becomes a corrosion point.
- Wash down: A plain water rinse every six months removes salt film that accelerates finish wear.
Vinyl
Vinyl is the lowest-maintenance option, but Homestead’s UV index still takes a toll. Product warranties on premium vinyl fence products typically cover fade and structural failure, but the warranty assumes normal maintenance:
- UV protectant application: A vinyl-safe UV protectant applied once a year, in November, slows the chalking and yellowing that strong sun causes. Use a product labeled for vinyl – petroleum-based products can damage the surface.
- Rail deflection test: Push on the center of each panel’s top rail. Deflection of more than 1 inch means a rail has loosened from its post or the post has shifted. Check every six months.
- Joint and seam inspection: Look for cracks and separations at post caps, rail pockets, and gate corners. Small cracks grow.
For a full installation walkthrough of how these materials are specified for Homestead wind loads, see our fence installation service page.
How to Test Post Footing Integrity Without Digging
You don’t need to excavate a post to know whether its footing is sound. The lever test does the job in about 10 seconds per post and tells you more than a visual inspection ever will.
The lever test method
- Stand at the base of the post, on the fence side, with both hands on the post about 3 feet up from grade.
- Push the post away from you with steady, increasing pressure – not a jerk. Push until you feel the soil or footing resist.
- Watch the base of the post at ground level. You’re looking for movement at grade, not flex in the post itself.
- Repeat on the opposite side. A post that moves in one direction but not the other usually means a footing has cracked or the concrete has separated from soil on one side.
- Note how much the post moves at grade and compare to the tolerances below.
Acceptable movement tolerances by post height
- 4-foot post: Up to 1/8 inch of movement at grade is acceptable.
- 6-foot post: Up to 1/4 inch is acceptable in most soils. Sandy, loose fill soils tolerate less – treat 1/8 inch as the threshold.
- 8-foot post: Up to 3/8 inch is acceptable in compacted soil, but only if the movement is consistent in both directions. Any movement that’s asymmetric points to a footing issue.
- Anything beyond these tolerances, or any movement accompanied by visible concrete cracking or soil separation at grade: The footing has lost integrity. The post should be reset or replaced before the next storm season.
The lever test is also your best judgment tool for deciding whether to repair or replace. A single post with footing movement is a repair. Multiple posts along the same line showing movement usually means the footer depth or soil compaction failed as a system, and the fence is a candidate for replacement rather than ongoing patching. That’s the kind of judgment call worth calling in a professional for – more on that below.
The Salt-Air Corrosion Zone: Which Homestead Neighborhoods Need Quarterly Checks
Salt air accelerates corrosion on metal fasteners and hinges, and the acceleration is not uniform across Homestead. The distance from Biscayne Bay is the primary factor. Properties closer to the coast need quarterly fastener inspection rather than annual.
Based on the salt spray gradient that runs northeast from the bay:
- Within 1 mile of the bay shoreline (properties east of US-1 near the waterfront, including the neighborhoods around Bayfront Park and the waterfront blocks of Homestead proper): Quarterly fastener inspection. Any fastener show of rust means replacement, not touch-up. Stainless steel or silicon bronze is the minimum spec – do not accept galvanized in this zone.
- 1 to 3 miles inland (the middle band of Homestead, between US-1 and the turnpike corridor): Semiannual fastener inspection. Galvanized fasteners are acceptable but need to be checked at each inspection, and any fastener with visible rust gets replaced.
- Beyond 3 miles (the western and northern residential areas of Homestead, including the neighborhoods near the Homestead Air Reserve Base and along the Krome Avenue corridor): Annual fastener inspection, with additional checks after any storm event that brought salt-laden wind inland.
The general Homestead residential audience is closer to the bay than many homeowners realize – the coastal influence on humidity and salt transport is real even at three or four miles inland during onshore wind events. If you’re unsure which zone your property falls in, a quick look at your ZIP code’s distance to the bay gives you a working answer.
One other factor: irrigation. Properties with sprinkler systems that pull from shallow wells deliver salt water to the fence line every cycle. Fences along irrigated property lines need the next zone up – a 2-mile-inland property with well irrigation should treat itself as salt-zone.
Building a Maintenance Log That Holds Up in a Wind Mitigation Inspection
Miami-Dade and Broward County wind mitigation inspections – the inspections that can earn homeowners insurance discounts – look at the structural envelope of the home: roof-to-wall connections, roof deck attachment, opening protection. Fences don’t factor into the wind mitigation credit calculation directly, but a maintenance log still matters for two reasons: it supports warranty claims on the fence itself, and it demonstrates a documented maintenance history that some insurers and warranty providers treat as evidence of a well-maintained property.
What the log needs to show:
- Date-stamped photos of every inspection, taken at each section of fence. Phone photos with the timestamp visible work fine. Photograph the post base, the panel center, and the gate hinge at each section.
- Task records: What was checked, what passed, what failed, what was repaired or replaced. A simple spreadsheet works – column for date, location, item checked, condition, action taken.
- Receipts for repairs and replacements: Fasteners, touch-up paint, replacement posts, professional repair invoices. Keep these with the log. They prove the work was done and when.
- Installation documentation: The original fence installation invoice and any product approval numbers for the fence system. Miami-Dade product approval numbers (often formatted as NOA numbers) go in the log when the fence is installed – they’re the evidence that the fence met code at installation.
When a warranty claim or a professional inspection comes up, the log is the difference between a straightforward resolution and a dispute over what was done when. Rowan’s own documentation practice – a photo record on every visit, included as standard, not an add-on – is the same principle applied at scale. Whether you build your fence with us or installed it yourself, keeping that record is worth the 10 minutes a year it takes.
The Full-Year Calendar at a Glance
Here’s the schedule collapsed into a single reference. Post it inside a garage cabinet or save it to your phone.
- January – April (dry season): Refinishing window. Oil wood horizontal rails, apply UV protectant to vinyl, touch up powder coat on aluminum. Check gate hardware after winter use.
- Early May: Full pre-hurricane inspection. Post plumb, fastener condition, panel rigidity, footing lever test, gate operation, finish damage. Fix all fails before June 1.
- June – October (wet season): Post-storm spot checks after any significant weather event. Check for displaced panels, bent pickets, and gate binding.
- November: Full post-season inspection. Storm damage survey with photos, corrosion check on all metal, wood probing, vinyl rail deflection test. Then start the refinishing tasks.
- Quarterly (salt zone, within 1 mile of bay): Fastener inspection and replacement of any fastener with visible corrosion.
If you’re planning a fence replacement rather than maintenance, the schedule that matters starts at installation. Our Fence Installation in Homestead page covers the footing depth, fastener specification, and product approval requirements that set the fence up to survive the schedule above.
And if fence work leads to larger projects – a new patio to replace the one the fence line ran along, a driveway upgrade, or an addition that changes the property line – the same documentation discipline applies. Start with our Rowan Construction Group Homestead home page for the whole picture, or see Driveway & Pavers in Homestead and Home Additions & ADU in Homestead for those scopes.
Common Mistakes to Avoid
- Skipping the May inspection because the fence looks fine. Visible condition tells you almost nothing about footing integrity or fastener corrosion. The lever test and fastener check catch the problems that cause storm failures, and they happen under the surface.
- Replacing rusted fasteners with the same grade. Standard electroplated screws will corrode again in Homestead’s salt air within a season or two. Replace with stainless or hot-dip galvanized even if the original fastener was a lesser grade.
- Touch-up painting over rust instead of removing it. Paint over rust looks fine for a few months, then the rust continues beneath the film and the repair fails. Wire-brush to bare metal, apply a rust converter, then prime and top-coat.
- Ignoring a single leaning post. One post with footing movement is often the first sign that the footer line has failed as a system. Check the neighboring posts with the lever test before assuming a single-post repair will hold.
- Applying oil-based products to vinyl. Petroleum distillates attack vinyl and can void product warranties. Use only vinyl-safe UV protectant, applied in the dry season.
- Not photographing repairs. Without date-stamped photos, a warranty claim or wind inspection has nothing to go on. Take a photo before and after every repair, and keep them in the log.
- Waiting until a storm is named to fix fails. Materials delivery, contractor scheduling, and even a free Saturday all disappear in the days before a storm. The May inspection exists so that fixes happen when the calendar is calm.
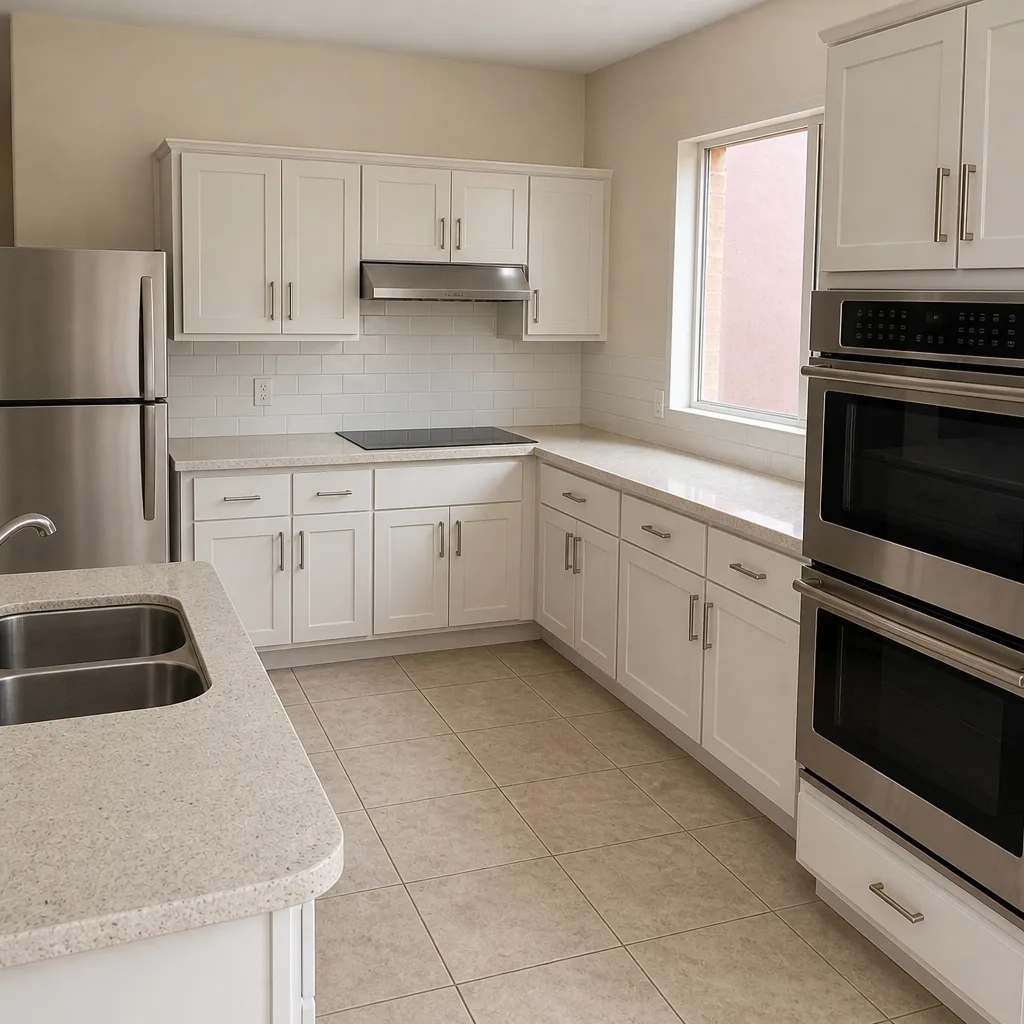
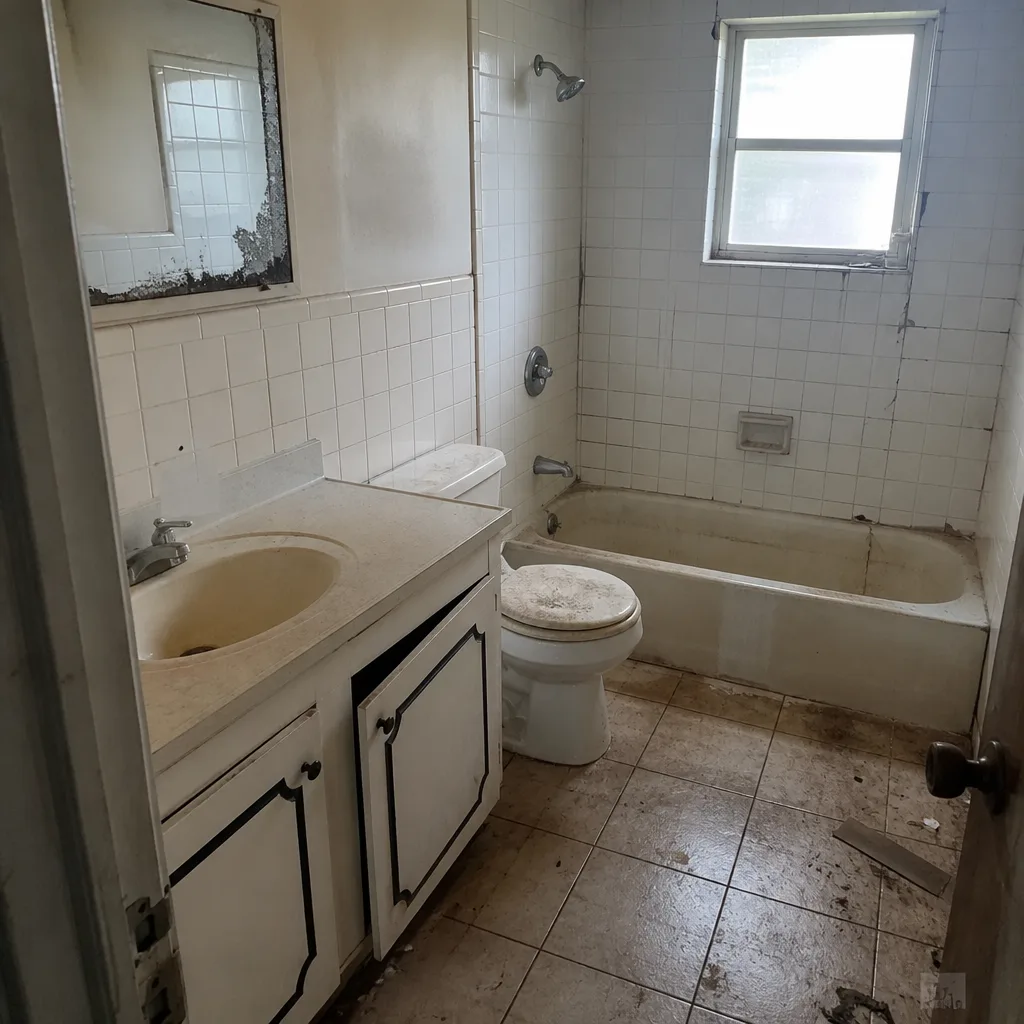
See the difference
 Before
 After
 Before
 After
 Before
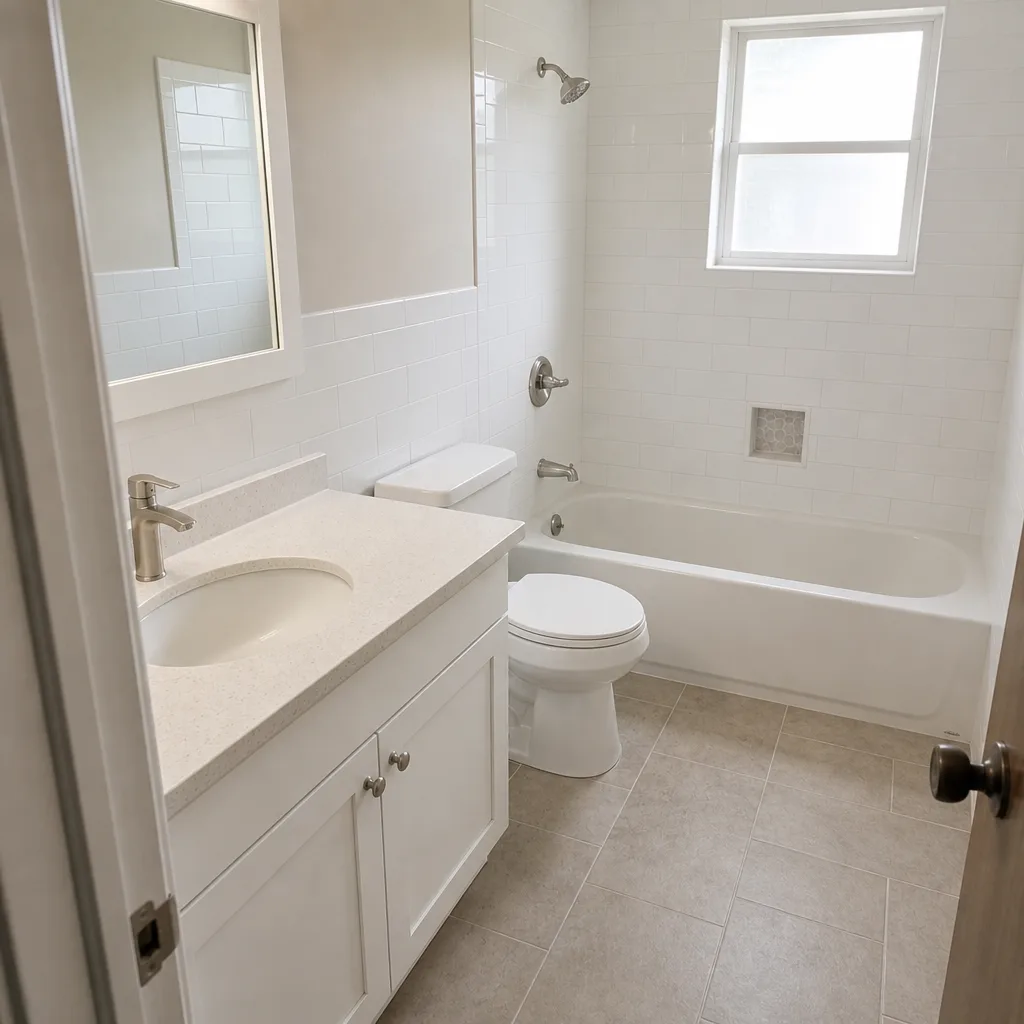 After
When to Call a Professional
Some maintenance is genuinely a homeowner task: tightening a hinge, applying UV protectant, photographing a post base. Other items carry real risk. Footing replacement means concrete removal and re-pouring, and getting it wrong on a Homestead property risks a fence that fails under wind load. Post replacement in a tall fence involves lifting and setting a heavy post with correct footer depth for our soil conditions. Gate frame realignment on a wide gate often requires rebuilding the frame. And any time the lever test shows movement on multiple posts along the same line, the diagnosis matters as much as the repair – that’s a call worth making to someone who’s done it before.
Rowan Construction Group Homestead offers free estimates on fence repair and replacement in Homestead, with a flat written price before any work starts and a signed change order required before anything moves beyond the agreed scope. If you have a competitor’s written estimate for the same work, we’ll review it line by line at no charge under our Free Second Opinion offer. Call (844) 834-4248 to schedule your free estimate.
Frequently Asked Questions
Twice a year – early May before hurricane season and November after the wet season ends. Properties within 1 mile of Biscayne Bay should add quarterly fastener inspections because salt air accelerates corrosion on metal fittings. The full inspection pass takes about 30 minutes on a typical residential lot.
The lever test pushes a post away from you at about 3 feet height and watches for movement at grade. Acceptable movement is up to 1/8 inch for a 4-foot post, 1/4 inch for a 6-foot post, and 3/8 inch for an 8-foot post in compacted soil. Asymmetric movement in one direction only, or any movement beyond those tolerances, points to a failed footing that needs reset or replacement.
Properties within 1 mile of the Biscayne Bay shoreline, including the waterfront blocks east of US-1 and the neighborhoods around Bayfront Park. The next band – 1 to 3 miles inland – needs semiannual inspections. Beyond 3 miles, annual checks are generally sufficient, with additional checks after any storm that carried salt-laden wind inland. Properties with well irrigation should treat themselves as one zone closer to the coast.
Yes – color-matched touch-up paint for scratched powder coat is a homeowner task. Clean the scratch, confirm bare metal is exposed (if so, prime first), then apply touch-up paint in thin coats. Do this within 30 days of noticing the scratch, before a wet season accelerates corrosion at the point.
The fence itself doesn’t earn a wind mitigation credit – those credits come from the roof structure, roof-to-wall connections, and opening protection on the home. But a maintenance log with date-stamped photos, task records, and repair receipts supports fence warranty claims and demonstrates a documented maintenance history that some insurers treat as evidence of a well-maintained property. Keep it regardless.
A single damaged panel or one post that’s out of plumb is usually a repair. Multiple posts along the same line showing footing movement, or panels that flex in more than one section, means the fence structure has failed beyond spot repairs. Call (844) 834-4248 for a free estimate on either path – the written price will tell you which option makes sense before you commit to anything.
The Bottom Line
Fence maintenance in Homestead is a twice-yearly habit, not a seasonal project. The May inspection catches footing and fastener problems before hurricane season can exploit them. The November inspection finds what the wet season did and starts the refinishing work the dry months are built for. Material-specific tasks – CCA touch-up and penetrating oil on wood, powder-coat and fastener checks on aluminum, UV protectant and rail deflection tests on vinyl – slot into that same calendar. Salt-zone properties within 1 mile of the bay add quarterly fastener checks. Keep the log, take the photos, and when the footing shows real movement or the fence line starts failing as a system, get a written price before anyone touches a post.
Every project we take on gets a flat written price before work begins, a signed change order before anything changes, and a documented photo record when the crew leaves. Call (844) 834-4248 for a free estimate in Homestead.
Written by the team at Rowan Construction Group Homestead.