Last updated November 17, 2026



Free written scope consultation - allowances, timeline, and change-order rules on paper before a single trade is scheduled
Bathroom Remodeling Troubleshooting: Common Problems and How to Fix Them
Tile that sounds hollow under a knuckle is called drummy tile in the trade, and on its own it does not prove a bad installation. But when that hollow sound shows up within 12 months of a remodel in a wet area, in the shower surround or on a shower floor, it usually means one of two things: the cement backer board has delaminated from moisture, or no waterproofing membrane was installed behind the tile at all. The repair for either is removal and resetting, not another coat of grout. This guide covers that failure and the other problems we see most in Homestead bathrooms, how to diagnose each one before you call anybody, and how to read a remediation bid so you are comparing scopes instead of adjectives.
Quick Answer
Most bathroom remodel problems in South Florida come down to two root causes: moisture getting behind the tile because the waterproofing was skipped, spotty, or installed under the wrong conditions, and drain performance lost to either a clog or a slope that was never right to begin with. Diagnosis is cheap; guessing is not. A slow drain is usually a clog you can clear for under $200, but if the drain was undersized or improperly sloped in slab construction, you are looking at a plumbing repair starting around $600. Cracking grout is cosmetic about half the time and a sign of substrate movement the other half. The test that separates them is moisture, not appearance.
Styles & brands we work with
- Kitchen remodeling
- Bathroom remodeling
- Home additions & ADU
- Roofing
- Windows & doors
- Driveway & pavers
- Fence
Table of Contents
- How to Diagnose a Slow Shower Drain
- Why Grout Cracks and When It Means Something Worse
- Moisture Behind Shower Tile: The Inspection Sequence
- GFCI Outlets That Trip in Humid Bathrooms
- How to Evaluate a Contractor’s Remediation Bid
- Using the Original Permit Record to Find Out What Was Installed
- Common Mistakes to Avoid
- Frequently Asked Questions
How to Diagnose a Slow Shower Drain
A slow drain is either a clog or a plumbing geometry problem, and the two have different price tags. A clog lives in the trap or the branch line and clears with a snake or a drain bladder. A geometry problem means the drain line is undersized, has a belly in it where water pools, or was never sloped enough, and no amount of snaking fixes that because the pipe itself is the problem. In slab-on-grade construction, which is what most of Homestead is built on, fixing geometry is a breaking-and-repairing job, and plumbing repairs there start around $600 before any tile goes back.
Run these tests in order before you call anyone:
- The sink test. Run the bathroom sink for a full minute. If the sink drains fast but the shower drains slow, the clog is in the shower branch, not the main line. That is good news.
- The tub-full test. Fill the shower pan or tub two to three inches deep, then pull the stopper and watch the water. A drain that starts fast and slows as it runs suggests a partial clog. Water that rises before it falls, or gurgles at the same time, points to a venting or line problem.
- The bucket test. Pour a 5-gallon bucket of water directly into the drain all at once. If it backs up, you have a blockage. If it drains steadily but slowly, you likely have a slope or size issue.
- The camera test. A plumber runs a camera down the line for a modest diagnostic fee. This is the only test that tells you definitively whether a pipe is broken, bellying, or blocked by roots, and it is the one to insist on before anyone quotes a repair.
Hair and soap scum account for most clogs we see in Homestead’s older housing stock, and a hand snake for $30 to $50 from a hardware store clears them. What you are trying to rule out before spending that money is a failed drain body, a broken trap arm, or a slope problem. When our technicians open a bathroom in Homestead and find a slow drain tied to a remodel from the past decade, the culprit is often a drain installed in a pre-slope that was poured too steep, so the pan holds water around the perimeter while the center drains fine.
Why Grout Cracks and When It Means Something Worse
Grout cracking falls into two categories, and telling them apart is about where the cracks are and when they appear. Cosmetic cracking is the surface sealant failing on a grout joint, and it looks like a hairline along an inside corner or where the floor meets the wall. Structural cracking is the tile moving as a unit because the substrate underneath is flexing, and it usually shows up in long lines across the floor or diagonally from a corner, and it tends to come back after it is repaired. The first costs a few hundred dollars to patch and seal. The second means the substrate has to be addressed before any grout you apply will stay put.
On a slab-on-grade bathroom, which is the standard construction in Homestead, the substrate is a concrete slab with a layer of thinset and either cement backer board or an uncoupling membrane between it and the tile. That intermediate layer is what breaks down when a floor moves. Slab shrinkage cracks, which are normal and common in South Florida’s soil, do not necessarily telegraph through to tile, but a slab crack running under a section of tile creates a hinge point, and movement along that hinge cracks the grout lines that cross it.
What causes movement in a Homestead bathroom, most often:
- Missing or thin uncoupling membrane. Tile bonded directly to a slab with thinset and no membrane is more vulnerable to movement from slab shrinkage and thermal expansion.
- Improperly mixed thinset. Too much water in the mix weakens the bond, and the tile lifts at the edges as the slab moves.
- Grout installed too dry or too wet. Both contribute to shrinkage cracking independent of movement.
- Movement joints skipped. Tile needs a soft joint at the perimeter and at every change of plane, filled with sealant instead of grout. Most failures at the floor-to-wall line come from grout used where flexible sealant was specified.
The practical check is simple. If the cracks are confined to seams, corners, or joints and the tile sounds solid when tapped, a re-grout is a reasonable first step. If cracks cross field tile, repeat after repair, or crack in a shower pan, that is movement and the repair is bigger.
Moisture Behind Shower Tile: The Inspection Sequence
Moisture intrusion behind shower tile is the highest-cost bathroom problem we see in Miami-Dade because it does not announce itself. Grout and tile will look fine while the backer board behind them is saturated, and by the time you see evidence, the drywall on the other side of the wall, the studs, or the subfloor has damage that has been growing for years. The inspection is a sequence, and each step tells you whether to go further.
- Visual pass. Look at the caulk line at the shower base, the grout at the floor and around the drain, and the drywall on the opposite side of the wall for bubbling paint, soft spots, or a line of discoloration starting low and creeping up.
- Sound the tile. Tap the shower surround with a plastic tool, not metal, in a grid pattern. A hollow sound over more than a few tiles in the wet zone is a signal to keep testing.
- Moisture meter reading. A pin or pinless moisture meter on the drywall adjacent to the shower surround. Dry interior drywall reads in the 8 to 14 percent range. A reading above 20 percent in drywall next to a shower surround is not normal, and it means moisture has moved beyond the shower assembly into the wall cavity.
- Grout and caulk probe. A soft caulk line that pushes in, or grout that crumbles under a plastic scraper, is often the point of entry.
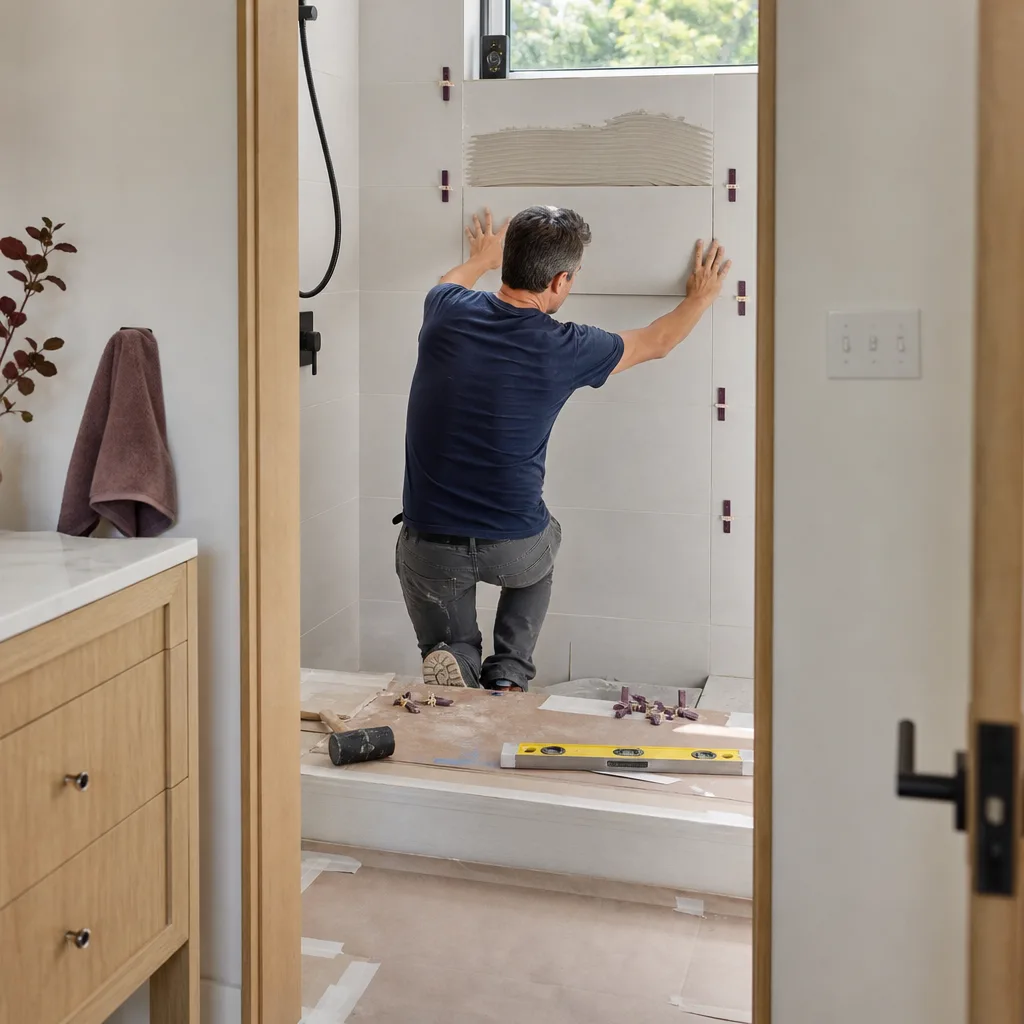
- Open the wall. A small inspection cut on the adjacent drywall is the only way to see the backer board condition, the studs, and whether a waterproofing membrane was ever installed. Do this before authorizing any tile repair.
In Homestead, the addition of a shower runs on exterior walls get a lot of sun and heat, which expands the tile and substrate more than an interior wall would, and every expansion cycle works a marginal waterproofing installation a little harder. Because Homestead’s housing stock includes a mix of 1990s and 2000s builds that predate the stricter waterproofing standards now in Miami-Dade, we commonly find showers built with cement backer board only and no surface-applied or sheet membrane. Backer board is not a waterproofing layer; it is a substrate that tolerates moisture, which is not the same thing.
Complete remediation, in which the shower assembly is removed to the studs, repaired, waterproofed, and re-tiled, typically costs $3,500 to $7,500 in Miami-Dade depending on shower size and fixture replacement. Partial remediation, which is the tile replacement over an existing pan that we generally advise against, runs $1,200 to $2,500 and tends to fail again. Both are far cheaper than the structural repair that follows a shower that has leaked into a subfloor and adjacent room for years. If your Home Addition or ADU project is planning a new bathroom, waterproofing is one of the details worth citing in the written scope, and you can read more about our approach on the Home Additions & ADU in Homestead page.
GFCI Outlets That Trip in Humid Bathrooms
GFCI outlets trip when they detect current escaping to ground, which is a safety feature working exactly as designed. But in a South Florida bathroom that sees heavy humidity, repeated nuisance tripping is often a moisture problem at the outlet box, not a defect in the GFCI itself. Moisture inside the wall or box can create a partial path to ground that the GFCI reads as a fault. The right response depends on which of three patterns you are seeing.
- A single trip after a storm or heavy steam. Reset the button on the outlet itself, then on the upstream GFCI if the bathroom circuit feeds through another outlet. If it holds, you have a likely moisture-at-the-box issue worth monitoring, and an electrician should check the box seal.
- Repeated trips with no obvious trigger. This is a why-it-is-happening question, not a how-to-reset question. An electrician should test the circuit. Do not tape the button down or swap the GFCI for a standard outlet; both defeat the safety feature.
- Tripping after any moisture event, or the outlet feels warm. This is an actual hazard, and the outlet should not be used until an electrician has inspected the circuit. Bathroom electrical work in Miami-Dade requires a licensed electrician and a permit for circuit changes, and there is no repair worth doing yourself inside an outlet box.
Where a GFCI outlet is downstream of a shower, we also see the box seal disc missing or worn, which lets condensation from the shower collect behind the faceplate. That is a small repair and a good reason to have the outlet inspected rather than replaced. If the tripping coincides with a shower that has other moisture signs, the GFCI may be telling you the wall itself is wet, and the shower inspection above is the right next step.
How to Evaluate a Contractor’s Remediation Bid
When a remediation bid comes in, the thing to compare is the scope, not the total. A bid that says remove and replace tile on the shower walls and does not mention a waterproofing membrane is a bid that is going to leave the shower in the same condition as before, because the membrane is the part that keeps the water out. A bid that says repair from the surface and re-grout is not a repair; re-grouting a leaky shower seals the visible joint and traps the moisture that caused the problem in the first place.
The non-negotiable scope items for a proper shower remediation, in order of the build:
- Full demolition to the studs and the slab/pan. The bid should name demolition as a line item and an explicit disposal cost.
- Waterproofing specified by product name. A liquid-applied membrane (like a fabric-reinforced roll-on) or a bonded sheet membrane should be named, along with how many coats, where it turns up at the curb, and where it terminates on the wall. Vapor barriers behind backer board alone do not count.
- Pre-slope under a mortar pan. If the pan is being rebuilt, the slope should be named as 1/4 inch per foot toward the drain, and the liner should be sloped rather than flat.
- Vapor-tight backer board joints. Seams taped and treated, not simply butted.
- Permit pulled and inspection documented. The Miami-Dade permit history for the shower should show the required inspections, and the bid should name who pulls it.
- Written warranty on the waterproofing, not just the tile. A labor warranty on installation for a defined period, with a written scope of what is covered.
At Rowan Construction Group, the written price and the written scope arrive together, so you can compare line-item to line-item against a competitor without translating. We also offer a free second opinion on any written estimate: bring the bid you have and we will review it against that list, no charge and no obligation. Under Clause 1 of The Haven Standard, the price is written before any work starts, and no change proceeds without a signed change order. That matters most in a bathroom remediation, where opening a wall can reveal a rotted stud or a broken drain line that nobody could see from the surface. A written change order names that finding, the cost to correct it, and the timeline, so the number at the end matches the number you signed.
Using the Original Permit Record to Find Out What Was Installed
Your bathroom has a public record, and it is worth pulling before you authorize a repair. In Miami-Dade, bathroom remodels that move plumbing, replace a shower pan, or add or relocate an electrical circuit require a building permit, and the permit history is searchable through the county. It shows the date of the last permitted remodel, the scope as recorded, the contractor, and the inspection results. That record is the fastest way to know whether the things a proper shower needs were ever inspected, and if they were, whether they passed first time.
A permit record showing multiple failed inspections followed by a final approval is a signal worth slowing down on. It does not prove the work is bad, but it tells you a contractor had trouble getting the installed work to meet code. A record with no permit for a shower remodel the seller described as recent is a bigger signal: the work was likely done unpermitted and was never inspected, which means the waterproofing and the drained slope were not verified by anybody. When we look at a Homestead property with that gap in its record, we assume the worst case until an inspection cut shows the backer board and the membrane, and we tell the homeowner to budget accordingly.
The permit history also lets you compare bids fairly. If a bid says they will install a waterproofing membrane and the permit record shows the prior remodel never had one, the bid is not being generous. If a bid says the existing pan can be reused because it passed inspection, that is worth asking about, since inspection of a pan is a point-in-time check and does not rule out later movement or failure. Bring the permit record to the bid comparison, and ask any contractor to say in writing what they found behind the wall and what they are correcting.
Common Mistakes to Avoid
- Re-grouting a shower that is already leaking. New grout over a moisture-saturated assembly traps water behind the tile and accelerates the damage. Fix the membrane first or re-grout nothing.
- Accepting a repair from the surface bid without a membrane line item. Tile replacement over a failed waterproofing is a repeat purchase. Any bid without a named membrane is a red flag.
- Replacing a GFCI outlet without checking for moisture at the box. A new GFCI in a wet wall will trip for the same reason as the old one. Test the box, not just the device.
- Snaking a drain forever instead of testing the line. If the drain has slowed twice in two years, the problem is in the pipe. A camera inspection at that point is cheaper than another emergency visit.
- Ignoring a reading above 20 percent because the tile looks fine. Moisture behind tile does not show on the surface until the drywall on the other side has been affected. The meter reading is the evidence, not the tile face.
- Skipping the permit history. Twenty minutes on the Miami-Dade permit search before authorizing a repair can save thousands by revealing that nothing was ever inspected.
- Doing electrical work inside a bathroom outlet box yourself. Bathroom circuits in a wet location require a licensed electrician and a permit, and a mis-wired GFCI is a shock hazard. This is not a repair to attempt.
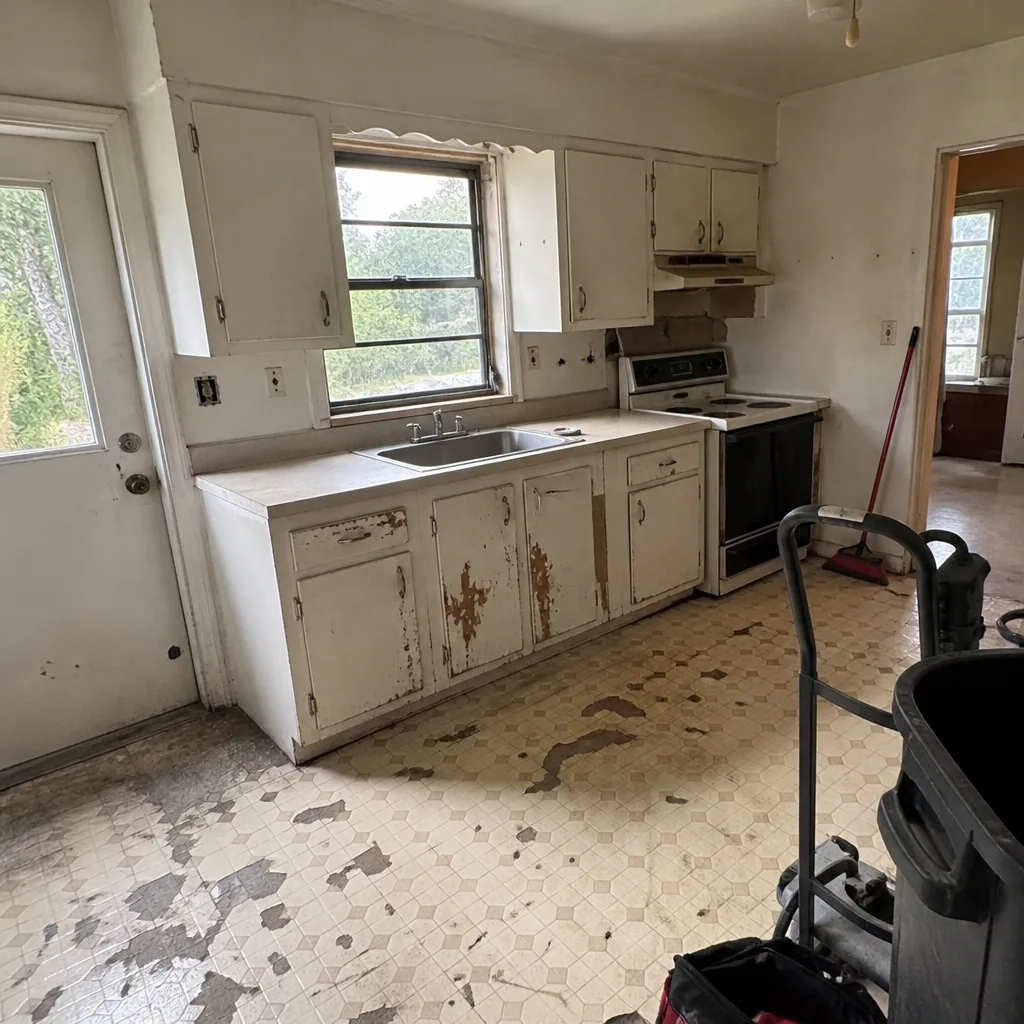
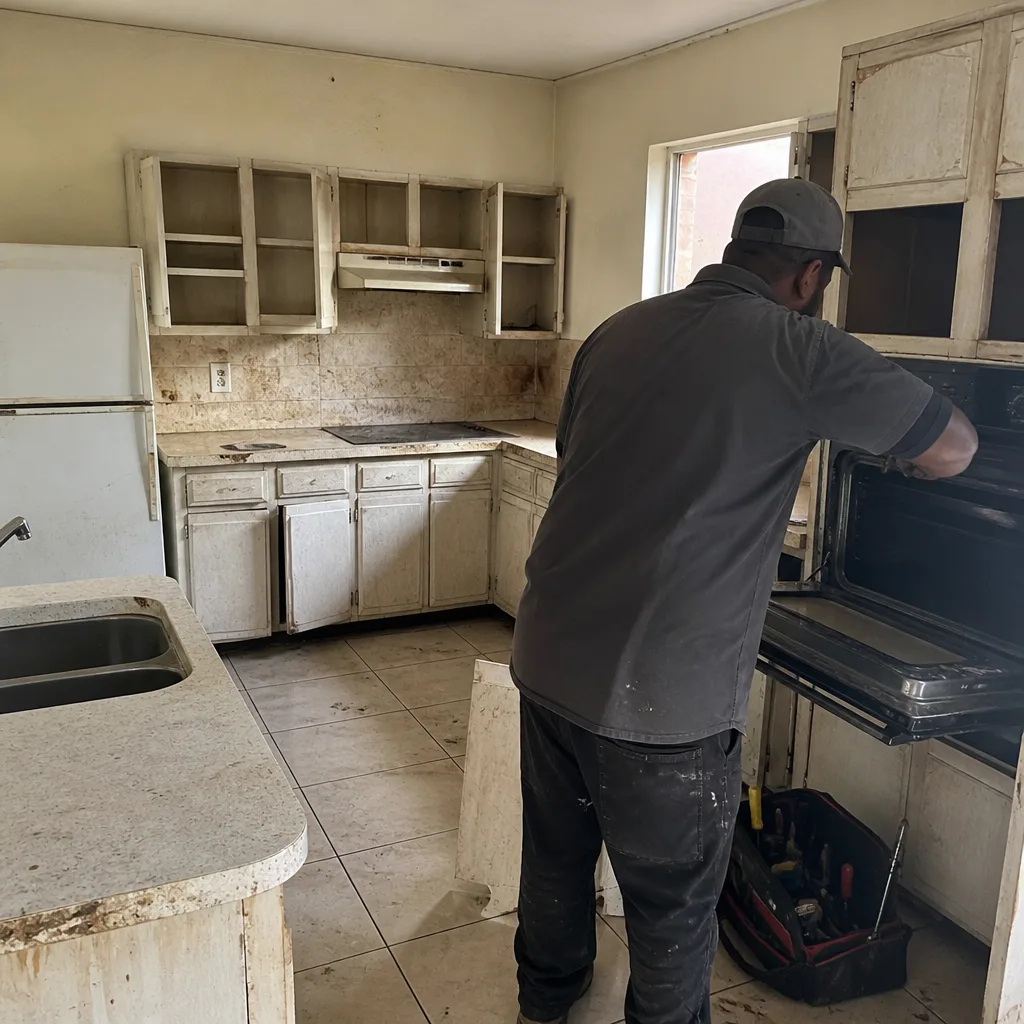
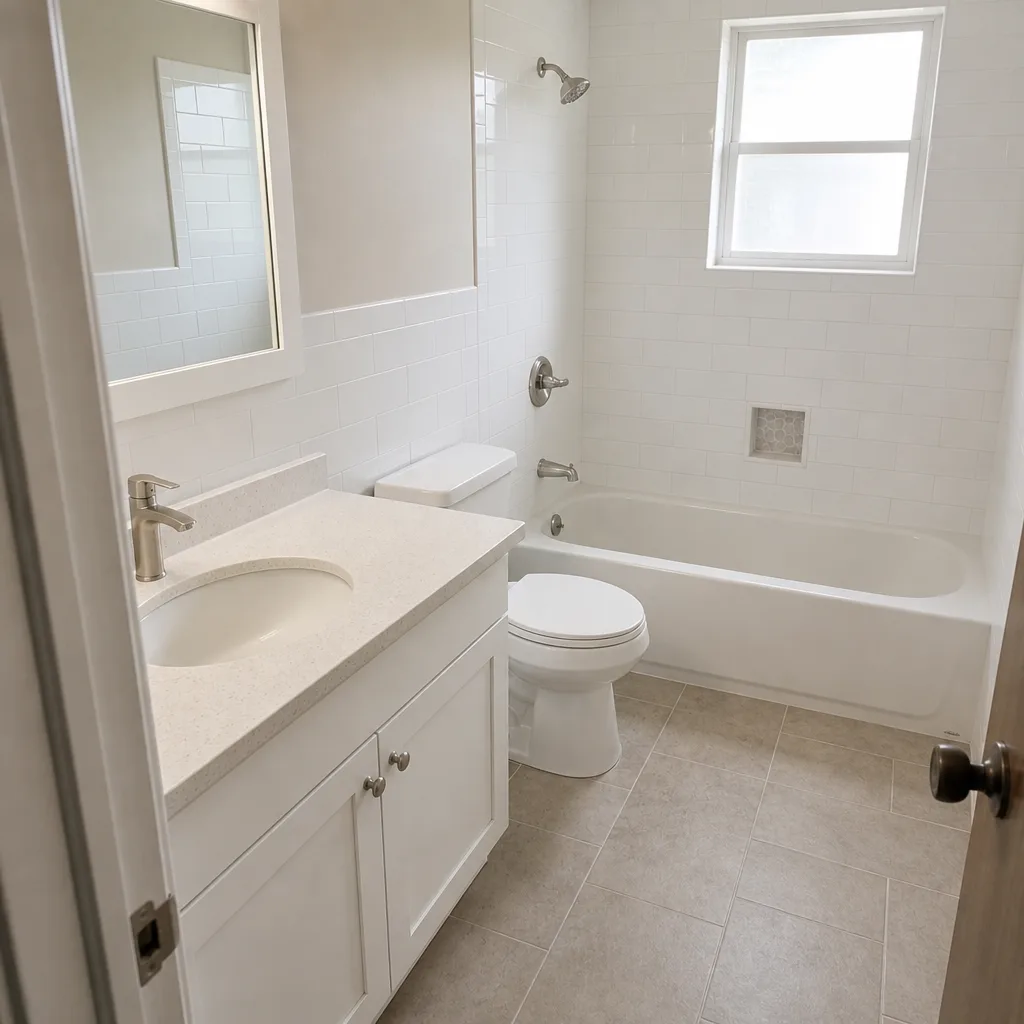
See the difference
 Before
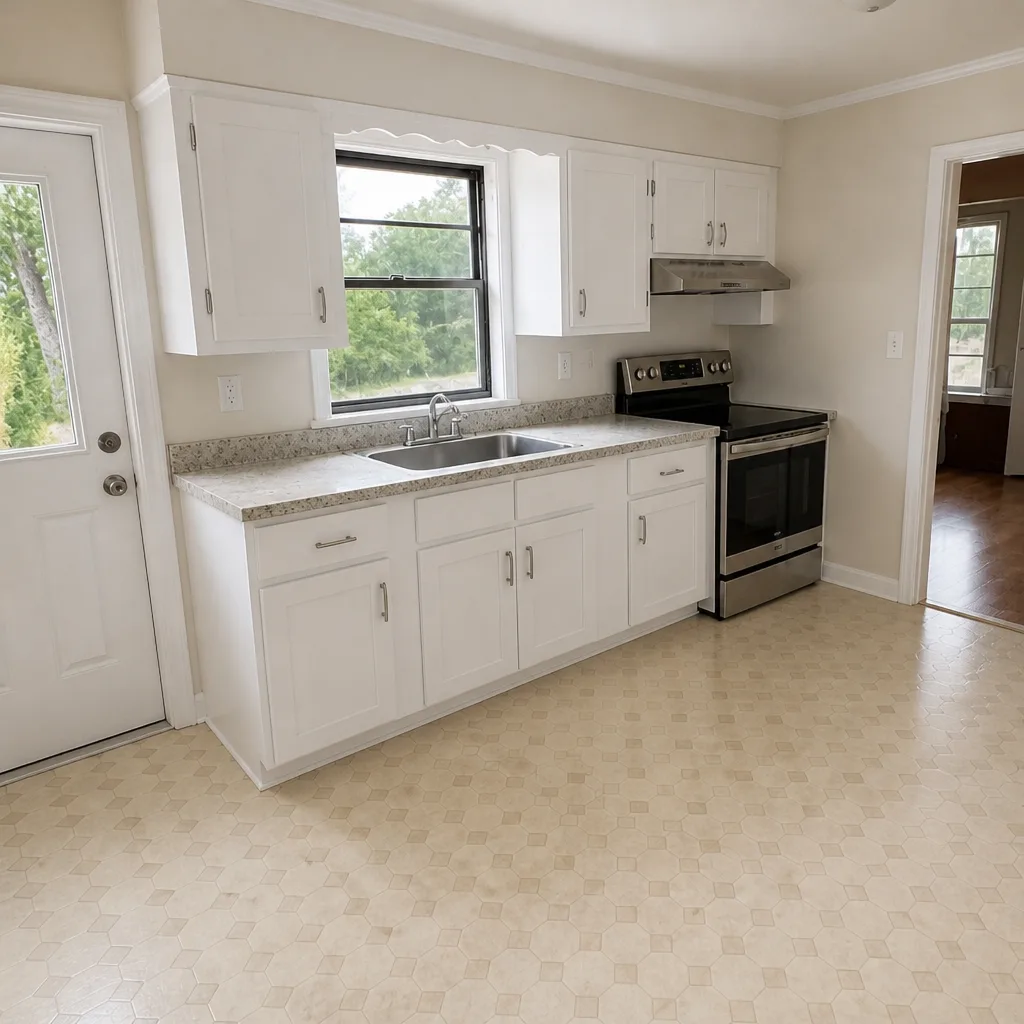 After
 Before
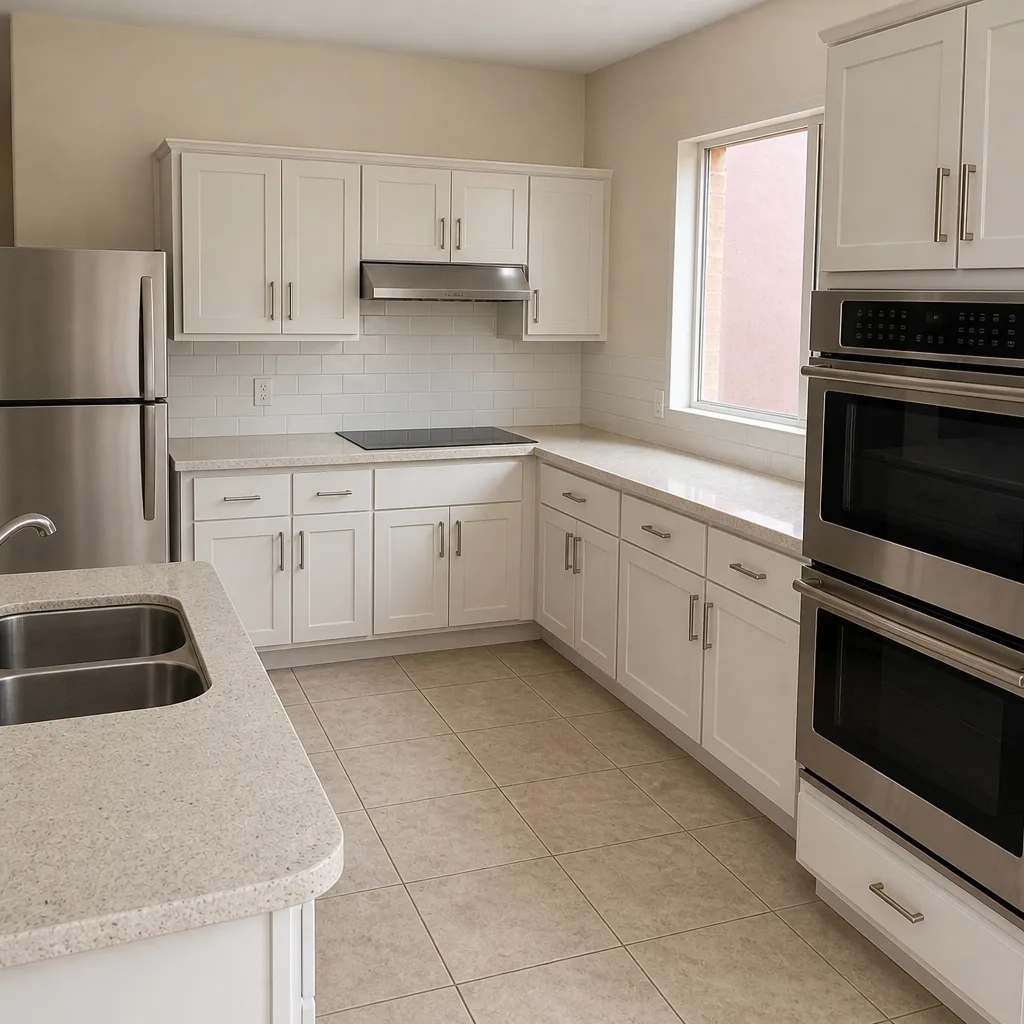 After
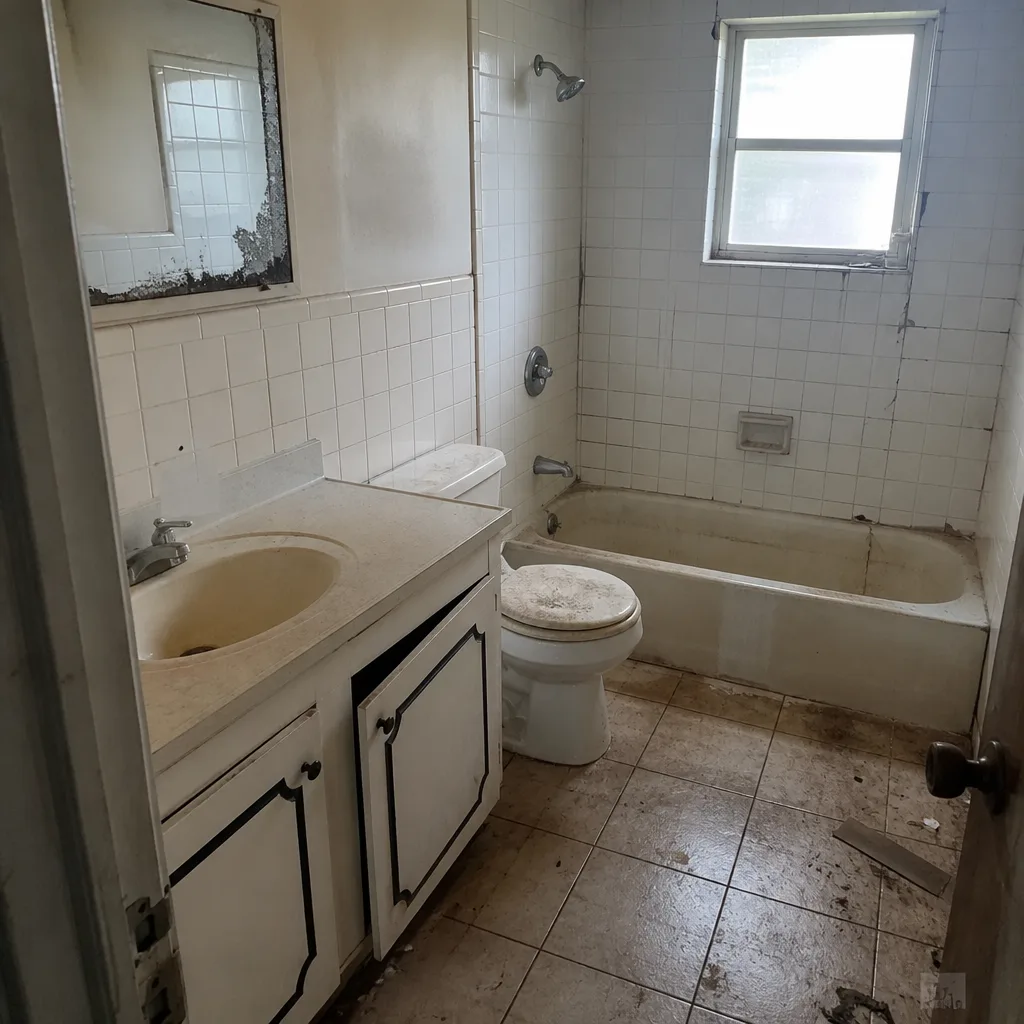 Before
 After
When to Call a Professional
Call a professional when the moisture meter reads above 20 percent in drywall adjacent to a shower, when grout cracks return after a repair, when a GFCI trips more than twice without a clear external cause, when a drain has been snaked twice in a two-year span with the same result, or any time you can see soft drywall, discolored caulk, or a hollow-sounding shower pan. Those are all conditions where a diagnosis matters more than a repair, and where the wrong repair costs more than doing nothing. Electrical repairs in a bathroom should always be handled by a licensed electrician. Rowan Construction Group Homestead offers free estimates in Homestead, with a written price and written scope before any work starts; call (844) 834-4248 to schedule one, or bring in a bid you already have for a free second opinion.
Frequently Asked Questions
Grout that re-cracks in the same place means the tile underneath is moving, not that the grout mix was wrong. On a slab-on-grade floor in Homestead, movement typically originates in the substrate: a missing uncoupling membrane, a slab crack acting as a hinge, or grout used at a joint that should be flexible sealant. Re-grouting is only a permanent fix when the movement source is addressed.
No. Some hollow sound is normal on tile with a properly bonded mortar bed, particularly when the tile has a dense body. It becomes a problem when hollow sound is widespread in the wet zone, appears within a year of a remodel, or is accompanied by a moisture meter reading above 20 percent on the adjacent drywall. In those cases it points to delamination or a missing membrane.
Complete remediation, meaning demolition to the studs plus new waterproofing and tile, typically runs $3,500 to $7,500 depending on shower size and fixture replacement. Partial remediation over the existing pan runs $1,200 to $2,500 and we generally advise against it because it tends to fail again. Call (844) 834-4248 for a written estimate with the scope broken out line by line; the estimate is free.
Sometimes. A hair and soap clog in the trap clears with a hand snake for about $30 to $50, and that covers most single-bathroom slow drains. If the drain has been snaked twice in two years, if water backs up when you pour five gallons in at once, or if the drain gurgles, the problem is likely slope, sizing, or a broken line, and a camera inspection is the right next step before anyone quotes a repair.
Stop using the outlet and have an electrician inspect it. Tripping that coincides with rain or heavy shower use suggests moisture is entering the box or the wall behind it, which creates a partial ground fault. Do not tape the button down or replace the GFCI with a standard outlet. This is a case for a licensed electrician and a permit if the circuit is altered.
In Miami-Dade, a permit is required for a shower remodel that moves plumbing, rebuilds the shower pan, or alters electrical circuits. Tile replacement on an existing wall without plumbing changes typically does not require one. If you are unsure, check the Miami-Dade permit search for the last permitted scope on the address, and ask any contractor to state in writing whether they are pulling a permit.
The Bottom Line
Most bathroom failures in Homestead come back to two things: no waterproofing membrane behind the tile, and a drain that was never sloped right. A moisture meter reading above 20 percent in the wall next to a shower and a drain that has been snaked twice in two years are the two tests that tell you which one you are dealing with. A bid without a named membrane is a repair you will pay for twice. Bring your written estimate in for a free second opinion, or call (844) 834-4248 to schedule a free estimate. The written price and written scope come before any work starts, every time. If your project is outside the bathroom and covers outdoor work like paving, see our Driveway & Pavers in Homestead and Fence Installation in Homestead pages, and for the full range of trades, start at Rowan Construction Group Homestead home.
Written by the team at Rowan Construction Group Homestead.