Last updated November 17, 2026


Free written scope consultation - allowances, timeline, and change-order rules on paper before a single trade is scheduled
Driveway & Pavers Maintenance Checklist for Homestead Homeowners
A paver that rocks more than 3mm when you step on it isn’t a cosmetic problem. It means the compacted base beneath it has shifted, and water is now channeling under the field. Left alone for one South Florida wet season, that localized failure can undercut a 10-foot radius of otherwise sound pavers. Homestead sits on alkaline limestone soil, takes standing water after summer storms, and bakes under UV most of the year – a combination that wears paver joints and base layers on a faster schedule than the temperate-climate maintenance guides the manufacturers print. This checklist gives you inspection intervals, measurable failure thresholds, and product names that actually hold up here.
Quick Answer
In Homestead, inspect paver joints and edge restraints every three months during the wet season (May through October) and once mid-dry-season, testing for any paver that deflects more than 3mm and any joint sand that has dropped below the paver chamfer. Reapply polymeric joint sand roughly every 18 to 24 months here rather than the 3 to 5 years a northern climate allows, because heavy summer rain and alkaline soil break down binders faster. Anything that holds standing water 24 hours after rain, or shows a cluster of rocking pavers, needs a professional re-base, not a surface patch.
Styles & brands we work with
- Kitchen remodeling
- Bathroom remodeling
- Home additions & ADU
- Roofing
- Windows & doors
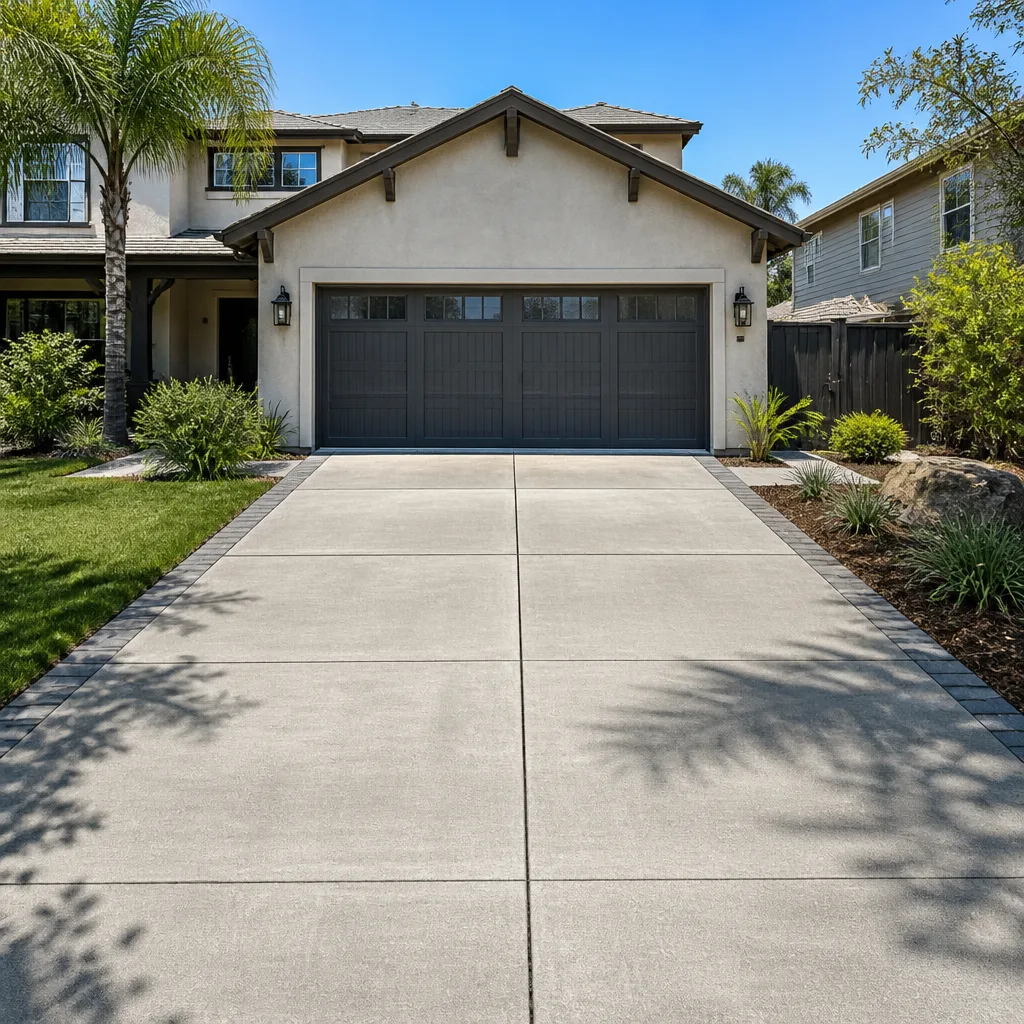
- Driveway & pavers
- Fence
Table of Contents
- The Seasonal Checklist: Dry Season vs. Wet Season
- Polymeric Sand vs. Standard Jointing Sand in Homestead Humidity
- Two DIY Diagnostics: The 3mm Deflection Test and the Edge-Restraint Pull Test
- Efflorescence: What the White Staining Really Tells You
- The Four Conditions That Require a Professional Re-Base
- Drainage and Grading Around a Homestead Driveway
- Products That Hold Up in South Florida Conditions
The Seasonal Checklist: Dry Season vs. Wet Season
Homestead’s calendar splits into two maintenance rhythms, and treating them as one is the most common reason driveways slip. The dry season from November through April is when you find and fix problems. The wet season from May through October is when you confirm the fixes held. Our technicians, who carry up to 19 years of experience, run the same split on every inspection.
Dry season (November – April):
- Walk the full field and mark every paver that moves underfoot with a piece of chalk, numbering them so you can tell whether a cluster is growing.
- Measure joint sand depth at ten points across the driveway using a screwdriver as a depth probe. Sand should sit roughly 1/8 inch below the paver surface; if you can drop the tip in more than a quarter inch, the joint is starved and needs topping off before the rains.
- Check every edge-restraint stake along the perimeter and along any curve. Push each one by hand; a stake that wiggles or lifts is losing its grip and the edge will spread once water gets behind it.
- Probe for soft spots by pressing a stiff rod into the joints at the low corner of the driveway and any spot that stayed wet last season. A rod that sinks easily is telling you the base is saturated.
- Rinse off winter dust and inspect for efflorescence (see below) before the first heavy rain.
Wet season (May – October):
- Inspect after every named storm or any rain event over two inches. Note where water pools and how long it stays.
- Re-probe the joints monthly; heavy rain washes fine sand out of the joints and down the slope.
- Re-tamp edge restraints after the first month of consistent rain, then check them again mid-season.
- Watch for new efflorescence blooms after a wet stretch – they signal water moving through the slab or base, not just surface splash.
Put the dates in your phone calendar: a full inspection the first week of November, a joint top-off in early May, and a quick walk-through after every major storm. That’s the whole program. If your driveway is newer and you want to understand the installation side before you maintain it, our page on Driveway & Pavers in Homestead walks through base prep and paver selection for this climate.
Polymeric Sand vs. Standard Jointing Sand in Homestead Humidity
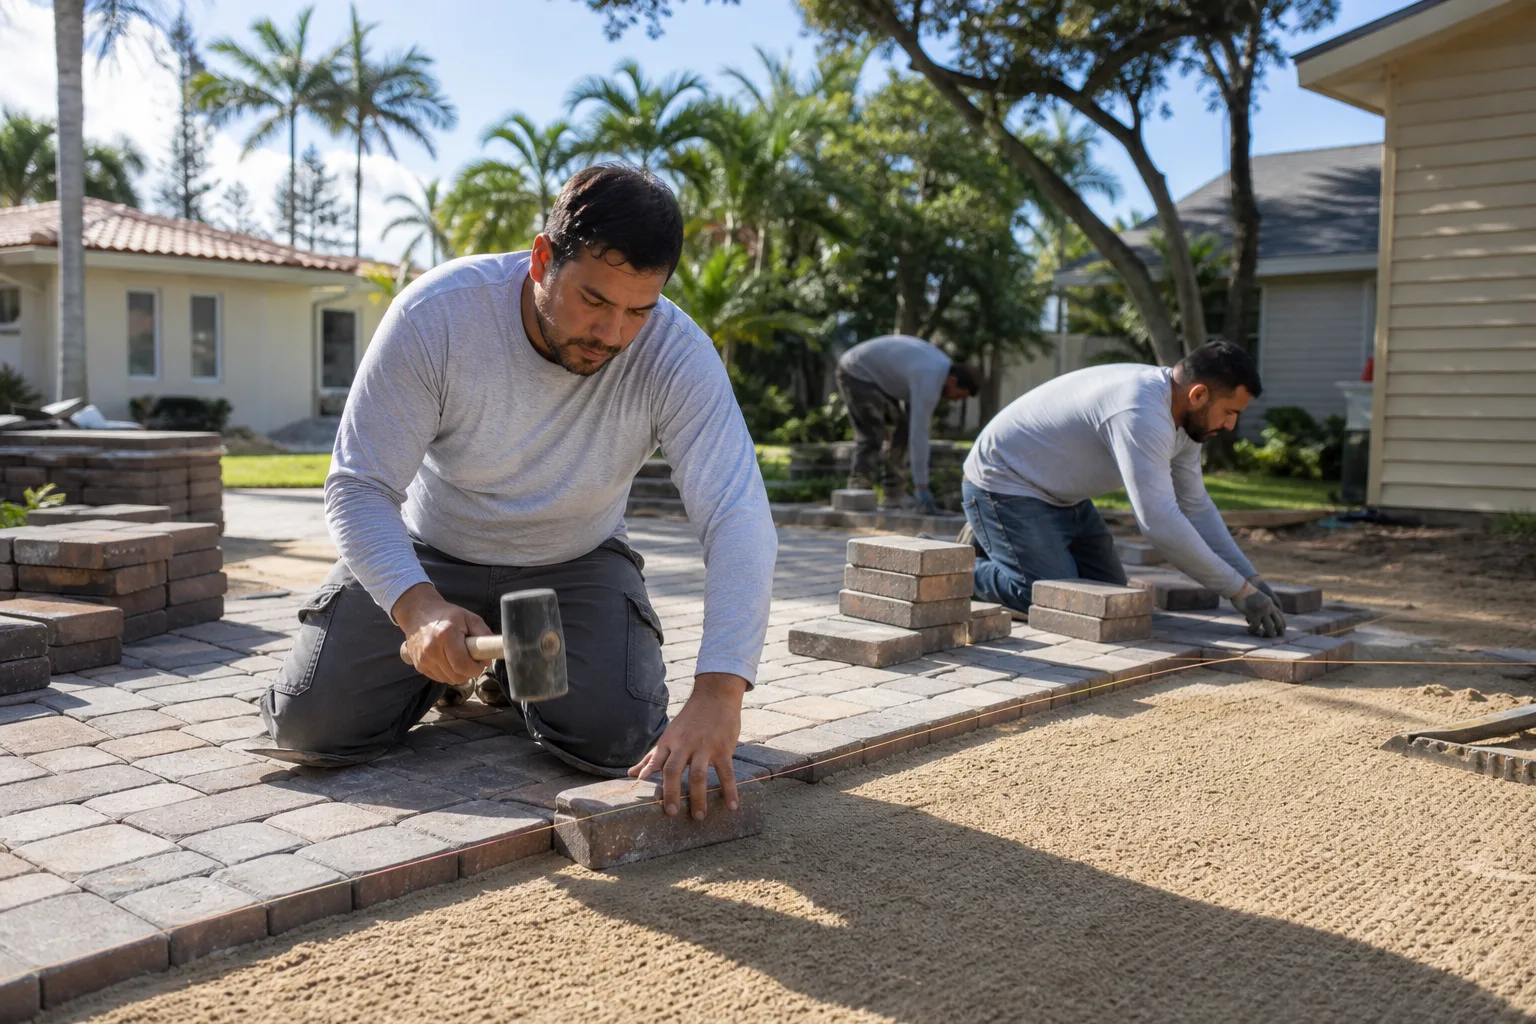
Standard jointing sand is just graded silica – it fills the gap, it does not bind. In a temperate climate that’s often enough, because the joints stay drier longer. In Homestead, standard sand washes out of a driveway within one or two wet seasons, and every washout event lets water reach the base. Polymeric sand mixes a binder into the aggregate that cures hard once wetted, locking the pavers together and shedding water off the joint instead of into it.
The realistic numbers for Homestead: standard sand needs topping off one to two times a year during the wet season. Polymeric sand, installed correctly, lasts 18 to 24 months here before the binder starts to fail – not the 3 to 5 years the bag claims, because the daily humidity and heavy rain cycles break down the polymer faster than the label assumes. Name-brand products matter because the binder chemistry differs. We specify Techniseal HP+ Polymeric Sand and comparable lines like Alliance Gator Maxx for Homestead driveways; the discount bags sold at big-box stores often fail within a single wet season, which costs more than doing it once with the right product.
Some practical rules that separate a job that lasts from one that doesn’t:
- Never apply polymeric sand to a wet joint. The pavers and the joints must be dry, and the forecast must be clear for 24 hours after.
- Sweep the sand into the joints, compact it, then mist it in stages – over-wetting washes the binder off the surface and leaves a haze.
- Keep the sand level with the paver chamfer, not mounded above it. Mounded sand gets kicked out by tires and shoes.
- Reapply only after the old binder has fully broken down. Adding fresh sand over failing polymeric sand creates a soft layer that fails faster than either product alone.
If the joints are wide because the pavers have spread at the edge, adding sand won’t fix it – the restraint has to be reset first. That’s covered in the diagnostics below.
Two DIY Diagnostics: The 3mm Deflection Test and the Edge-Restraint Pull Test
You don’t need special tools for either of these. A tape measure and a rubber mallet are enough, and both tests tell you whether a driveway is a maintenance job or a repair job.
The 3mm deflection test – for rocking pavers:
- Stand on the suspect paver with your weight on the heel of one foot and rock slowly.
- Slip a tape measure or a 3mm drill bit into the gap between that paver and its neighbor while you rock.
- If the paver moves more than 3mm, it is deflecting beyond the tolerance the joint sand can absorb, and the base beneath it is no longer compacted. A single one this size can be lifted and re-bedded. Three or more in a cluster is a re-base signal (see below).
- Tap the paver with the rubber mallet. A hollow, tinny sound confirms a void underneath; a dull, solid thud means the base is still in contact.
The edge-restraint pull test – for the perimeter:
- At each corner and every six to eight feet along the edge, grip the edge paver and pull it firm outward, parallel to the driveway surface.
- If the paver slides or lifts even a few millimeters, the edge restraint – the aluminum or plastic channel that holds the field in place – is no longer gripping its stakes.
- Push each stake with your thumb. Any stake you can move by hand is failing; the restraint needs to be re-staked or the whole length reset.
Run both tests on the same pass. A rocking paver in the middle of a field is usually a base problem; a rocking paver at the edge is usually a restraint problem, and the restraint problem is faster and cheaper to fix before it lets the whole field spread. We’ve seen a single ignored edge restraint open a two-inch gap along a 20-foot run in one Homestead wet season.
Efflorescence: What the White Staining Really Tells You
Efflorescence is the chalky white bloom that appears on concrete pavers, most often in the dry season after a wet stretch. It’s mineral salt – usually calcium carbonate – carried to the surface by water moving through the paver and evaporating off. Homestead’s alkaline limestone soil and the salt content in coastal groundwater make it more common here than inland, and it’s the most misread symptom on a paver driveway.
The staining itself is harmless. What it signals is not always harmless. If efflorescence appears across one small area after rain, it usually means water is pushing up from a saturated base layer, not just splashing down from above. In that case, cleaning the surface removes the symptom and the water keeps coming back – the patch blooms again within weeks. If it appears uniformly across a new driveway and fades on its own, it’s usually the initial salts leaching out of the concrete pavers, and it stops after a season or two.
What removes it without etching the surface:
- Start dry. Brush off loose bloom with a stiff bristle broom before any water touches it. Most light blooms brush off completely at this stage.
- Use a dedicated efflorescence remover, not muriatic acid. Products like Prosoco Light Duty Concrete Cleaner or Sure Klean Efflorescence Treatment dissolve the salt without attacking the paver’s portland cement. Muriatic acid is what etches the surface and, in Homestead’s heat, it also burns too fast to control.
- Follow the dilution on the label, no stronger. More acid does not remove more salt – it just attacks more of the paver.
- Rinse thoroughly and let it dry completely before judging the result. Wet pavers hide the bloom; you’ll only see whether it worked once the surface is dry.
If the bloom keeps returning to the same patch, walk the edge and look for a low corner where water sits. The drainage fix is the real solution, not the cleaner.
The Four Conditions That Require a Professional Re-Base
Most paver problems are maintenance. Four of them aren’t. Each of these means the compacted base or the edge system has failed at a structural level, and surface repair will not hold through a Homestead wet season.
- Standing water 24 hours after rain. Water still pooled a full day later means the base layer is not draining and the slope has moved. Re-grading above failed base just traps water against the pavers and accelerates the next failure.
- Multiple rocking pavers in a cluster. One rocking paver can be a re-bed. Three or more in a tight area means the base beneath that area has lost compaction across a wider zone than the visible rocking pavers – lifting the loose ones exposes the soft ground and confirms it.
- Visible edge restraint failure. A spread edge, a gap along the perimeter, or stakes that pull out by hand. If the field is no longer held in place, the pavers are moving every time a car rolls over them, and the joint sand cannot keep up.
- Confirmed root intrusion. Roots from a nearby ficus, oak, or Royal Poinciana can lift a whole section from below. You’ll see a dome or a ridgeline across the field with pavers heaved up. Any repair that doesn’t address the root will fail within a season, and the root removal usually requires a re-base over that section.
If you’re facing any of those four, get a written diagnosis before any work starts. A reputable contractor will lift enough pavers to photograph the base and tell you what’s actually there. That’s the standard we hold ourselves to – a documented photo record of what we found and what we did on every visit. Rowan Construction Group Homestead offers free estimates and will review a competitor’s written quote line by line at no charge if you already have one.
Drainage and Grading Around a Homestead Driveway
Paver maintenance comes down to where the water goes. If you fix joints, reapply sand, and reset restraints but the water still runs toward the house or pools at the low end, the driveway will be back in trouble within a year. Homestead’s flat lots and heavy summer storms make grading the single most important part of the system.
A driveway should shed water at roughly a 2% slope – about a quarter inch of fall per foot – either toward the street, a swale, or a French drain. That slope needs to be inspected, not assumed. After the first heavy rain of the season, stand at the high end and watch where the sheet flow goes. If water is running toward the garage, pooling against the house, or disappearing between the pavers instead of running off the surface, the grading needs correction.
Two more things to check around the driveway:
- Downspouts and gutter discharge. A downspout that dumps onto the driveway edge at high volume will undercut the edge restraint within a season. Extend it to a splash block or a drain line that carries the water past the pavers.
- The transition where the driveway meets the lawn or fence line. Water collecting along the edge seeps under the pavers and softens the base. Make sure the ground beside the driveway falls away from it, and consider a shallow gravel band along the edge to encourage drainage.
If your driveway runs along a fence you’ve been meaning to address, footings set too shallow can also push water and roots under the adjacent pavers. Our Fence Installation in Homestead guide covers footing depth and drainage at the fence line by material.
Products That Hold Up in South Florida Conditions
The right products save more money over a decade than the wrong ones cost on the day. These are the ones we specify for Homestead driveways and the reasons they hold up.
- Techniseal HP+ Polymeric Sand (or Alliance Gator Maxx). The binder chemistry is built for humid climates and stays flexible through the temperature swings. Realistic reapplication here: 18 to 24 months when installed correctly.
- Prosoco or Sure Klean efflorescence removers. These dissolve mineral salt without the surface etching that muriatic acid causes on concrete pavers.
- Concrete pavers with a tight absorption rating. Belgian-style and plank pavers from established manufacturers are denser and take up less water than cheaper porous units, which means less efflorescence and less base saturation over time.
- Aluminum edge restraint, properly spiked. Plastic restraints flex in the heat and lose their grip on the stakes faster. Aluminum is worth the small cost difference in this climate.
- For any adjacent roof runoff, hard-wearing products. If you’re directing water off the roof and near the driveway, the same GAF and Owens Corning shingles we install on Homestead roofs are built for high UV and keep the roof surface draining cleanly for the 20-plus years before it needs replacement, so gutter discharge stays predictable.
If you’re planning a larger project that touches the driveway – a garage conversion, an in-law suite, or a detached unit – the grading and paver decisions are best made together with the foundation and drainage plan. Our Home Additions & ADU in Homestead guide covers the sequencing, and the Rowan Construction Group Homestead home page summarizes how we handle each of our seven trades under one written-price process.
Common Mistakes to Avoid
- Top-dressing with standard jointing sand as a permanent fix. It buys a few weeks in the wet season and washes out again. In Homestead, polymeric sand is the answer unless the joints have widened from edge spread.
- Power-washing at full pressure. A 3000 PSI wand strips the surface layer and the joint sand and can etch concrete pavers. Keep it under 1500 PSI with a wide fan tip, or use a surface cleaner.
- Muriatic acid for efflorescence. It etches the paver and, in Homestead’s heat, eats at sealer and joint sand too. Use a dedicated efflorescence remover.
- Sealing a new driveway too early. Concrete pavers need to release moisture for 30 to 60 days before sealer goes on. Sealing damp pavers traps water and guarantees efflorescence under the coat.
- Adding sand over a failed polymeric joint. The new sand bonds to the loose layer, not the paver, and both fail together. Strip the old binder first.
- Ignoring a single rocking paver at the edge. This is the most expensive small mistake on a Homestead driveway. That one paver lets water in, the restraint loses grip, and the whole run spreads within a season.
- Skipping the wet-season inspection because “it rained yesterday.” The 24 hours after rain is exactly when you find out whether the base drains – waiting for a dry stretch hides the problem all season.
See the difference
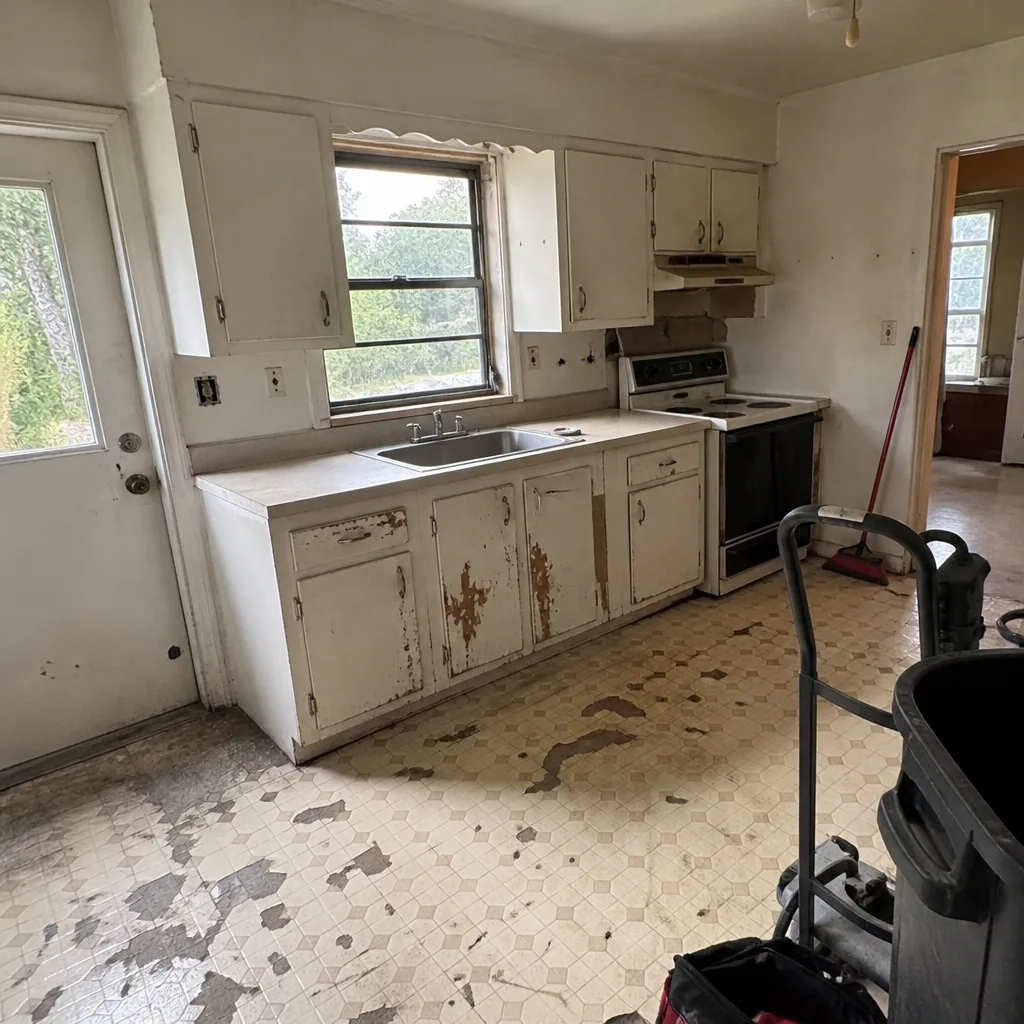 Before
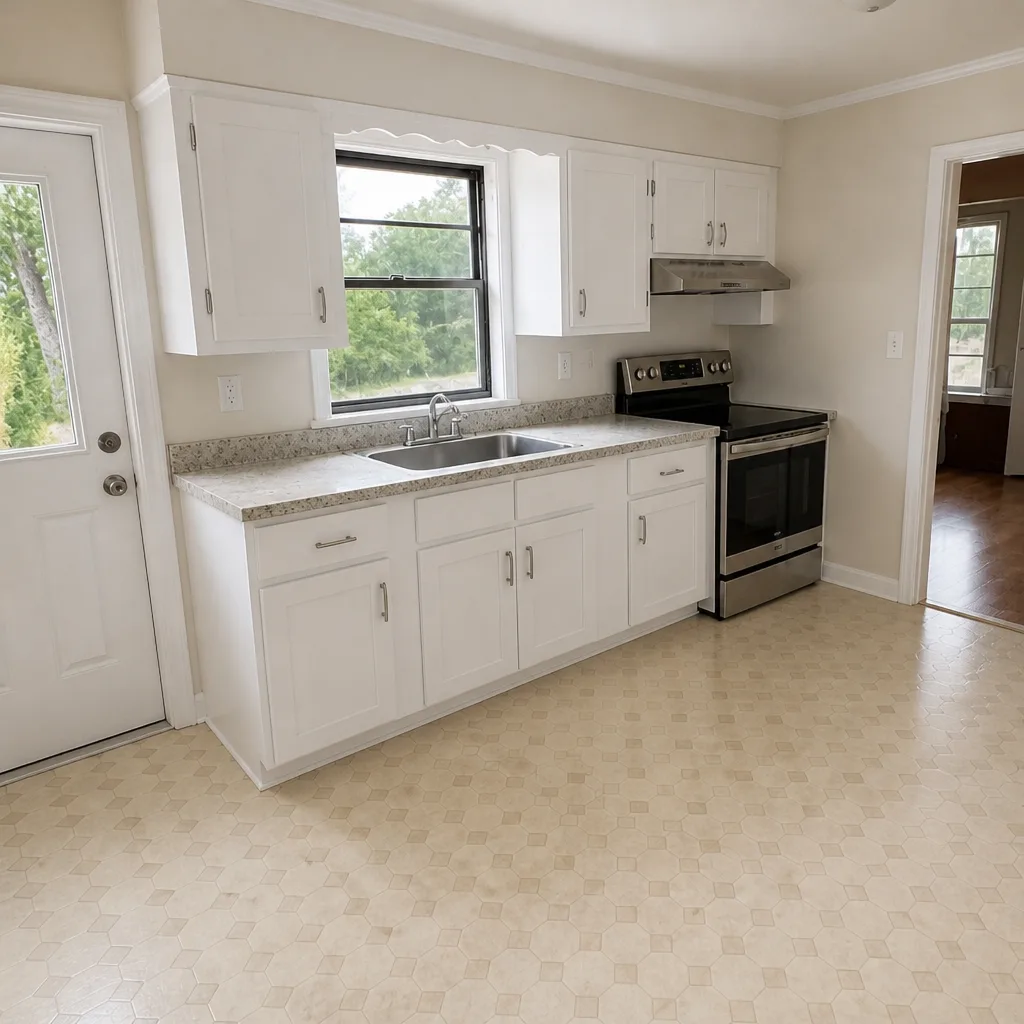 After
 Before
 After
 Before
 After
When to Call a Professional
A driveway needs a contractor when it has failed structurally, not cosmetically. Call us when you find any of the four re-base conditions above, when the paver field is spreading at the edge, when efflorescence keeps returning to the same patch after you’ve cleaned it, or when standing water sits 24 hours after rain on a Homestead driveway. Spring, summer, or fall, these are not problems the homeowner can solve from above the surface. Getting a written diagnosis before any work – with photos of the base and a scope that names the sand and restraint – is how a driveway repair stays repaired. Rowan Construction Group Homestead offers free estimates in Homestead and a free line-by-line second opinion on any written quote you’ve already received. Call (844) 834-4248 to schedule your free estimate; a live person answers any hour, and every crew member is background-checked and uniformed before they arrive.
Frequently Asked Questions
Standard jointing sand needs topping off one to two times a year in Homestead, and polymeric sand lasts roughly 18 to 24 months when installed correctly. The shorter interval than manufacturer guides suggest is because daily humidity and heavy summer rain break down the polymer binder faster here. If you’re seeing sand wash out within a few weeks of applying, call (844) 834-4248 – the joint is probably too wide and should be diagnosed before you spend on more sand.
White chalky staining is efflorescence – mineral salt pushed to the surface by water evaporating out of the paver. In Homestead’s alkaline limestone soil it’s common, and it’s usually harmless. When it keeps returning to the same patch, it signals water moving up from a saturated base layer, not just surface splash, and the drainage around that area needs to be checked. Call (844) 834-4248 for a free estimate if the bloom won’t stay gone after cleaning.
A single rocking paver deflecting more than 3mm can be lifted and re-bedded on a properly compacted base by a careful homeowner. Three or more rocking pavers in a cluster is a contractor job, because it means the base has lost compaction across a wider zone than the visible pavers. The rubber mallet test confirms it – a hollow tap reveals a void under the paver. Call (844) 834-4248 for a free estimate if the problem is a cluster or at an edge.
No – muriatic acid etches concrete pavers and, in Homestead’s heat, it attacks joint sand and sealer too. Use a dedicated efflorescence remover such as Prosoco Light Duty Concrete Cleaner or Sure Klean Efflorescence Treatment, diluted as the label specifies. If you’re unsure whether a stain is efflorescence or grime, call (844) 834-4248 and we’ll tell you what we’d use on the same surface.
A penetrating sealer helps, but it won’t replace joint sand – the sand has to be intact first. Sealers slow water absorption into the paver itself, which cuts efflorescence and UV damage; they don’t hold the joint together. Wait 30 to 60 days after installation before sealing a new driveway, and reseal every three to five years at most in this climate. Call (844) 834-4248 for a free estimate that includes the joint sand and the sealer as separate line items.
Water reaching the base layer, either from failed joints, failed edge restraint, or a slope that no longer drains. Homestead’s heavy summer storms and high water table mean base saturation happens fast – faster than in most of the country. Once the base is saturated, pavers rock, joints starve, and the edge spreads. That’s why the checklist above focuses on joints and drainage more than surface cosmetics. Call (844) 834-4248 for a free estimate if water is sitting where it shouldn’t.
The Bottom Line
A Homestead paver driveway lasts when its joints, edge restraints, and drainage are inspected on South Florida’s schedule rather than the manufacturer’s temperate-climate one. Run the 3mm deflection and edge-restraint pull tests on the schedule above, keep polymeric joint sand topped off every 18 to 24 months, and clean efflorescence promptly with a dedicated remover instead of acid. Watch for the four re-base conditions – standing water at 24 hours, a rocking-paver cluster, visible edge failure, and root intrusion – and get a written diagnosis from a contractor when they show up. Everything else is routine maintenance you can do with a tape measure, a rubber mallet, and a broom. If any of the tests turn up something you’re not sure about, a free written opinion costs nothing and protects the whole driveway.
Rowan Construction Group Homestead delivers a flat written price before any work starts, a signed change order for every change, and a documented photo record on every visit – all under The Haven Standard and the 365-Day Done Right Promise. Call (844) 834-4248 to schedule your free estimate today.
Written by the team at Rowan Construction Group Homestead.