Last updated November 17, 2026





Free written scope consultation - allowances, timeline, and change-order rules on paper before a single trade is scheduled
Windows & Doors Maintenance Schedule: What to Do and When
Most homeowners treat window and door maintenance as something you get to eventually. The problem is that the products themselves specify a schedule, and skipping it has a paper trail. PGT’s own warranty documentation requires lubricating hardware every 12 months and specifically warns against petroleum-based products. The bottle most people reach for first, WD-40, is petroleum-based. So the common fix quietly voids coverage the homeowner already paid for when they bought impact-rated windows. In Homestead, where salt air and hurricane season stack on top of ordinary wear, that small mistake gets expensive faster than anywhere else in Florida. This guide lays out a calendar you can actually follow: monthly, annual, pre-season, and post-season, with named products, inspection points, and the photo record you need if a warranty claim ever comes up.
Quick Answer
Impact windows and doors in Homestead need a four-part schedule: monthly checks of tracks, weep holes, and hardware operation; an annual lubrication and sealant inspection every 12 months; a pre-hurricane-season review in May covering seals, anchors, and shutters; and a post-season inspection in December with photographs. Homes within two miles of Biscayne Bay or the coast add a quarterly frame rinse to strip salt. Lubricate with a silicone or PTFE spray (Blaster silicone is the safe default), never WD-40, or you risk the hardware warranty PGT and similar manufacturers require you to maintain.
Styles & brands we work with
- Kitchen remodeling
- Bathroom remodeling
- Home additions & ADU
- Roofing
- Windows & doors
- Driveway & pavers
- Fence
Table of Contents
- Why Homestead Windows and Doors Need a Different Schedule
- Monthly Tasks: Fifteen Minutes That Prevent Most Failures
- The Annual Schedule: Lubrication, Sealant, and Drains
- Salt-Air Maintenance Within Two Miles of the Coast
- Pre-Hurricane Season Checklist (May)
- Post-Hurricane Season Inspection (December)
- Hardware Lubrication for Multi-Point Locking Doors
- What to Photograph Every Year for Warranty Protection
Why Homestead Windows and Doors Need a Different Schedule
National maintenance guides are written for a generic house in a generic climate. They assume mild winters, low humidity, and glass that isn’t engineered to survive a Category 4 storm. Homestead breaks every one of those assumptions. The Salt Water Sportsman end of the market talks about salt spray; builders talk about the same thing in cheaper terms: copper anodized finishes fail, stainless screws pit, and hinges develop a grit that grinds year after year until the door stops latching square.
Three local factors change the calendar:
- UV intensity. South Florida sits at a UV index that runs high most of the year. Glazing tape, sealant, and gaskets degrade faster here than the same materials do two climate zones north.
- Salt air. Within roughly two miles of Biscayne Bay or the Atlantic coastline, salt deposits accumulate on aluminum frames, stainless hardware, and weatherstripping. Left unrinsed, they accelerate corrosion on hardware and eat the finish.
- Hurricane season. June 1 through November 30, with the statistical peak from mid-August through October. This isn’t a reason to stress; it’s a reason to schedule two hard dates: May and December.
In our work around Homestead, we’ve watched windows that were installed to spec fail earlier than they should simply because nobody checked the perimeter sealant for three seasons. The product was fine. The maintenance wasn’t done. That gap is what a schedule closes.
Monthly Tasks: Fifteen Minutes That Prevent Most Failures
Nothing dramatic here. The monthly routine is the boring part that keeps the expensive parts from failing. Run through it the first weekend of each month.
- Open and close every operable window and door. If it binds, drags, or needs a hard push, that’s a signal, not a nuisance. Note it and address it before the next storm prep.
- Clear the weep holes. Those small slots at the bottom of window frames drain water off the sill. Blow them clear with compressed air or a plastic pick. Never enlarge or plug them.
- Sweep tracks and wipe gaskets. Grit in a slider track wears the rollers; dust on the gaskets prevents a clean seal.
- Check for visible water intrusion. Any water on the interior sill after rain is a finding, not weather.
- Exercise the locks. Turn the latch on every window and the deadbolt on every exterior door. Stiff hardware caught early is a spray-and-wipe fix.
Fifteen minutes a month. That’s the whole ask. Compare it to the cost of one failed perimeter seal that lets water into the framing: repairs at that depth often run into the thousands, and they aren’t covered by the window warranty once water damage is traced to neglected sealant.
The Annual Schedule: Lubrication, Sealant, and Drains
The annual pass is where the warranty language lives. PGT and most major impact-window manufacturers require annual hardware lubrication as a condition of coverage. Miss it, and a locked-up hinge or seized latch becomes a customer expense.
Schedule the annual inspection for the same month each year. If you can only remember one date, pick March, before storm prep begins.
- Lubricate all moving hardware. Window cranks, hinges, sliding door rollers, and lock mechanisms. Use Blaster silicone spray or a PTFE-based lubricant. The applicator matters: spray at the pivot point, then wipe off the excess. Do not use WD-40, grease, or any petroleum-based product. Those attract dust and, per manufacturer documentation, can void the hardware warranty.
- Inspect sealant at every perimeter. Look along the exterior caulk joint between the frame and the wall. Cracking, separation, or a chalky film means it’s time to recaulk with an exterior-grade sealant rated for Florida heat.
- Inspect the glazing tape. Glazing tape is the adhesive strip that seats the glass in the frame. Look for peeling edges, hardening, or visible gaps at the corners.
- Test the drainage. Pour a quart of water into a window track or sliding door track. It should drain out the weep holes quickly. If it pools, clear the hole.
- Check the weatherstripping. Press a dollar bill into the closed door gap. If it slides out easily, the weatherstripping has compressed and lost its seal.
If you’re planning a broader exterior renovation, the same order-of-operations logic applies to the whole envelope. Reviewing an existing quote against a second opinion often surfaces sealant or flashing gaps that a standard inspection misses. Our Rowan Construction Group Homestead home page covers how we document findings on any visit.
Salt-Air Maintenance Within Two Miles of the Coast
Salt air is the single biggest variable most maintenance guides skip. If your home sits within about two miles of Biscayne Bay, the Atlantic coastline, or the sheltered coast along the Florida Keys through Homestead, your windows and doors get a quarterly salt rinse in addition to everything else.
What skipping the rinse actually does:
- Aluminum frame corrosion. Salt deposits hold moisture against the metal longer than rain does on its own. Over a few seasons, pitting appears, then the powder-coat finish starts to fail.
- Stainless hardware spotting. Even 304 stainless will spot under continuous salt exposure. Marine-grade 316 resists longer but still needs rinsing.
- Rubber gaskets stiffen. Salt dries the rubber that seals the window. A stiff gasket stops sealing.
- Weep holes block faster. Salt crystals and dust combine in the drain channel.
The rinse itself is simple. Once a quarter, run a garden hose (not a pressure washer, which can drive water past seals) over the exterior frame, hardware, and glazing edges. Then wipe the hardware with a microfiber cloth and reapply a thin coat of silicone spray to hinges and latches. For a home near the Homestead waterfront, this is the highest-value 20 minutes of maintenance you can spend. The difference shows up in year three or four, when finished aluminum still looks finished.
The same salt-air logic applies to exterior materials throughout the property. A quick read of our guide to fence installation in Homestead shows how vinyl and aluminum systems handle the same environment.
Pre-Hurricane Season Checklist (May)
May is the right month for storm prep because it sits ahead of the June 1 season start and gives you time to order a part or book a repair before every vendor is booked out for the season. Do this before Memorial Day.
- Confirm every impact-rated window and door opens, closes, and locks. Impact products are rated in the closed and locked position. A door that doesn’t latch is a door that doesn’t protect.
- Inspect sealant and glazing tape at every perimeter. Same check as the annual pass, but this is the deadline version. Any separated caulk joint gets replaced now.
- Check shutter tracks and anchors. If you have removable shutters, verify the tracks aren’t bent and the anchor bolts are present and seated.
- Clear weep holes and storm drains in tracks. Water sitting in a track during a storm stresses the frame.
- Photograph the current condition. This step alone has saved warranty claims after storm events. The photos prove the window or door was in good condition before the storm arrived.
If your home addition or screen room includes new openings, the timing works best if the work is finished before May rather than mid-season. Reach out early if you’re planning. Our Home Additions & ADU in Homestead page includes a schedule section showing how we sequence openings so the house is weather-tight before June.
Post-Hurricane Season Inspection (December)
December closes the loop. Do this once the season ends so that any wind or water damage gets documented while it’s fresh. A few years of December inspections build a record that matters if a warranty claim lands later.
- Walk the exterior. Look at every frame, seam, and glazing edge for cracks, popped caulk, or displaced corner blocks.
- Check the interior sills and around the frames. Any water staining, bubbling paint, or soft drywall means water has been traveling behind the frame. That’s a finding, not a cosmetic issue.
- Test every lock and latch. Storm season exposes hardware that’s starting to bind. December is when you find it, not June.
- Re-rinse the whole envelope. Salt exposure peaks during tropical systems that push ocean spray inland. A post-season rinse resets the clock.
- Update your photo record. Same routine as May. Side-by-side comparisons over multiple seasons are the strongest evidence a manufacturer will review.
If you find wind or water damage during December’s inspection, treat it as a diagnostic step before you commit to a repair. We bring a camera to every job because the diagnosis is what determines the repair, and the record is what supports the claim. We’ll review a competitor’s written estimate line by line at no charge if you’re comparing options.
Hardware Lubrication for Multi-Point Locking Doors
Multi-point locking doors have three or more locking points along the door edge. They’re common on impact-rated entry doors and they need lubrication in more places than a standard deadbolt. Skip it and the mechanism develops a stiff drag that eventually fails to engage the upper and lower bolts.
Where the points are:
- The handle set. The lever or thumb-latch pivot. One drop of silicone on each moving part.
- The gearbox. The central mechanism inside the door edge that ties the handle to the extension rods. This is the part that drives the upper and lower bolts.
- The top and bottom extension points. On the door edge, look for the bolts that shoot into the frame at the top and bottom. Each has a slot where you can apply a light spray.
- The strike plates. The metal fittings on the door frame. A small amount of silicone keeps the bolt sliding smoothly.
- Hinges. Two drops per hinge, then open and close the door a few times to distribute.
What you spray it with matters as much as where. Blaster silicone spray is the standard for the trade. WD-40, grease, or standard bicycle oils are the wrong choice: they attract dust, thicken with heat, and can void coverage per the manufacturer’s own hardware requirements.
If the hardware is already stiff and grinding, don’t force it. Forcing a multi-point mechanism can shear the gearbox linkage. A hardware repair on a neglected multi-point door runs about $150 to $400 per door depending on whether the gearbox needs replacing. That’s a $12 can of silicone versus a mechanic’s bill, spread over a decade.
What to Photograph Every Year for Warranty Protection
Manufacturers deny claims for one reason more than any other: the homeowner can’t show the condition of the product over time. Photographs are how you answer that. Set a recurring phone reminder for the same month and follow the same list every year.
- Every window from outside, at a distance, and up close. Two shots per opening. The wide shot shows context; the close-up shows condition.
- Every door, both sides, plus a close-up of the hardware. The lock, the handle, the hinges, and every seal.
- A photograph of the lubrication date and product. Photograph the label on the can. This proves you used a manufacturer-compatible product.
- The exterior sealant at every perimeter, close-up. Any crack or separation gets its own dated photo.
- Any water staining or damage near a frame. Date and time on the file name. This becomes evidence the damage was documented from the moment you saw it.
- A photo of the drain/weep holes. Keeps a record that you cleared them.
Store the photos in one place, whether that’s a cloud folder or a dedicated album. When a warranty claim comes up, you hand the manufacturer a chronological record of the window or door and a proof of maintenance. That’s usually all it takes. Rowan includes a documented photo record on every visit as a standard deliverable, because we believe the same discipline applies whether you’re filing a warranty claim or comparing two contractor estimates.
If your documentation eventually leads to a replacement rather than a repair, the money question becomes the same as always: what’s the number before anyone picks up a tool. Our Driveway & Pavers in Homestead page shows the same written-price approach applied to outdoor hardscape replacement.
Common Mistakes to Avoid
- Reaching for WD-40 on window hardware. The most common maintenance mistake in Homestead, and the most expensive one. It’s petroleum-based and conflicts with the annual lubrication requirement in PGT and most manufacturer warranties.
- Pressure-washing the exterior frames. It drives water behind glazing tape and into the frame. A garden hose with a light spray is all you need.
- Caulking over failing sealant. Recaulk only after the old caulk is cut out and the joint is clean and dry. A caulk layer laid over failing sealant fails twice as fast.
- Ignoring a stiff lock. “It still works, so leave it.” That stiff lock is the gearbox telling you it’s running dry. Left alone, it becomes a $150 to $400 repair per door.
- Enlarging weep holes to drain faster. Weep holes are sized for the correct drainage rate. Enlarging them changes the frame geometry and can let water in.
- Skipping the December inspection. The post-season check is the only chance to document storm exposure while the evidence is fresh. Do it or lose the record.
- Storing photo records without dates. A picture without a date has almost no value in a warranty review. Name the file with the month and year.
See the difference
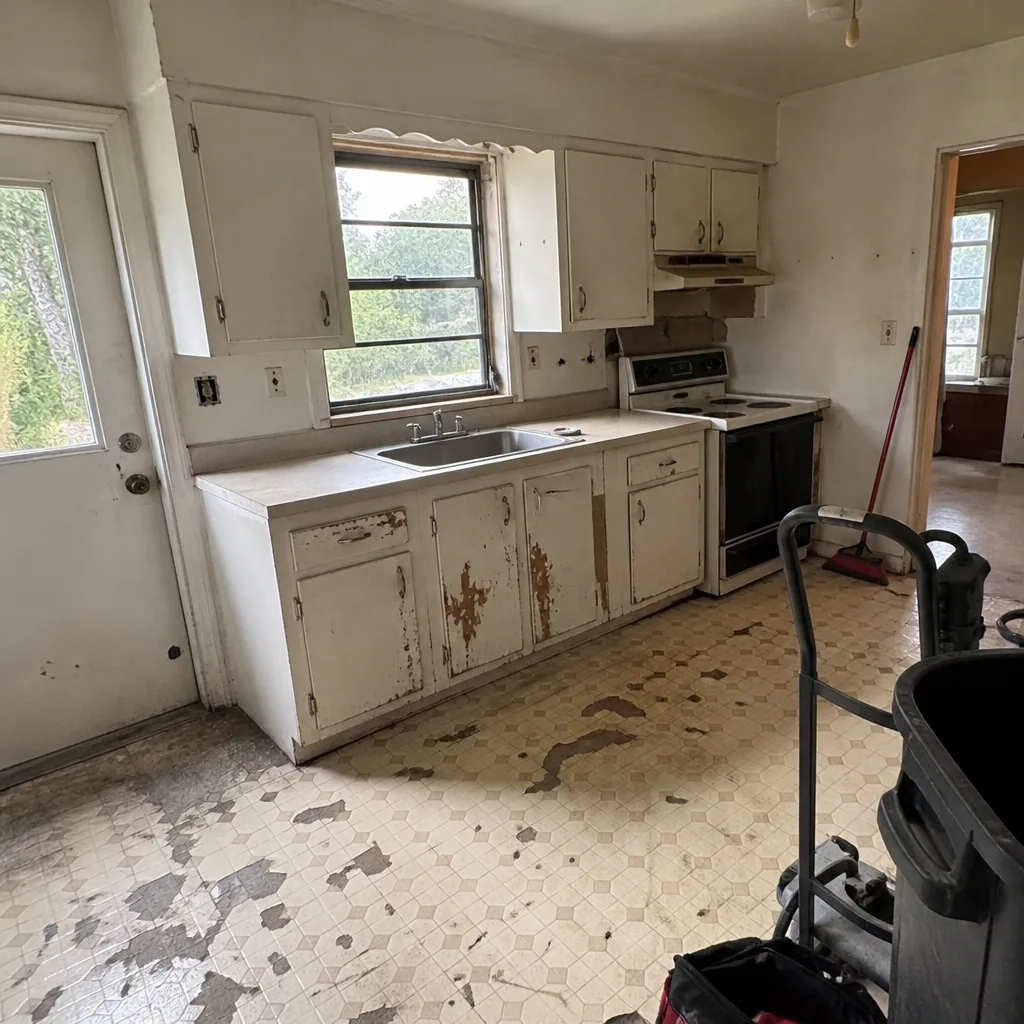 Before
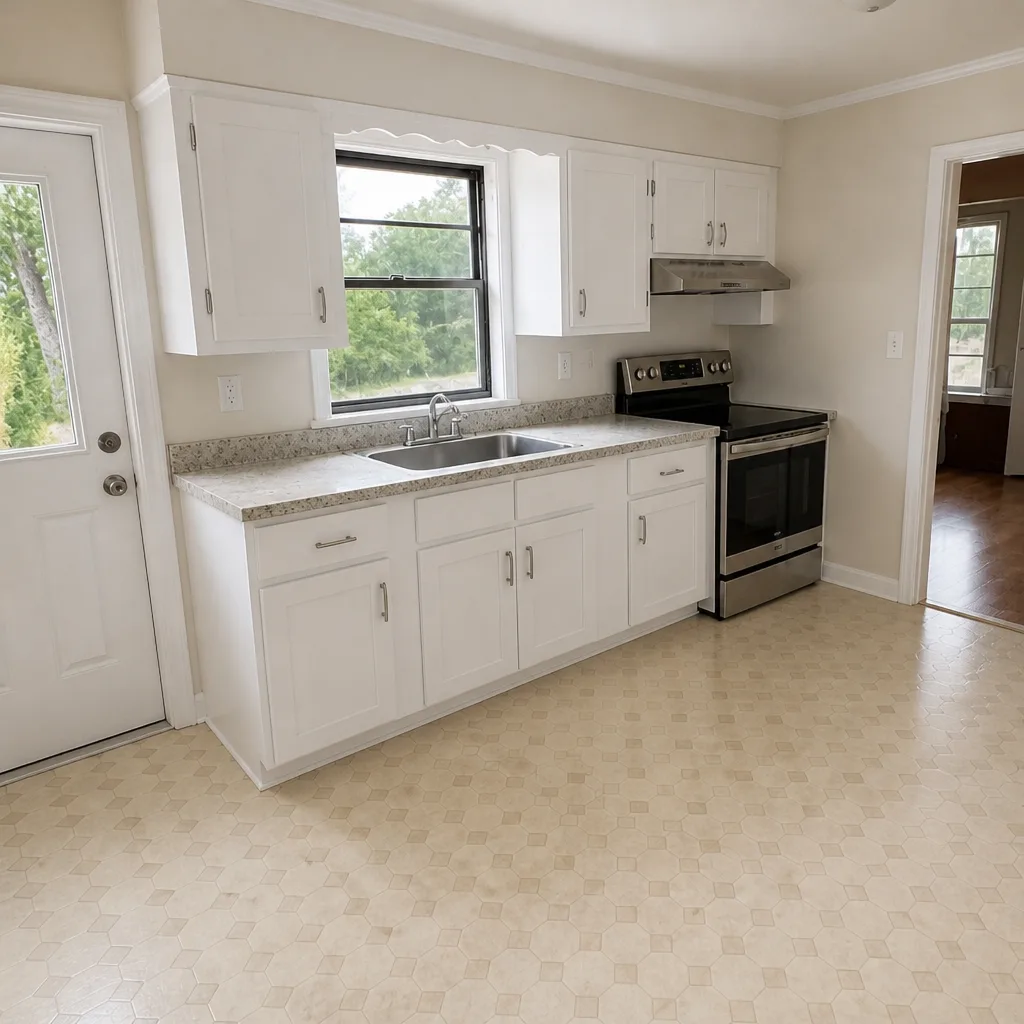 After
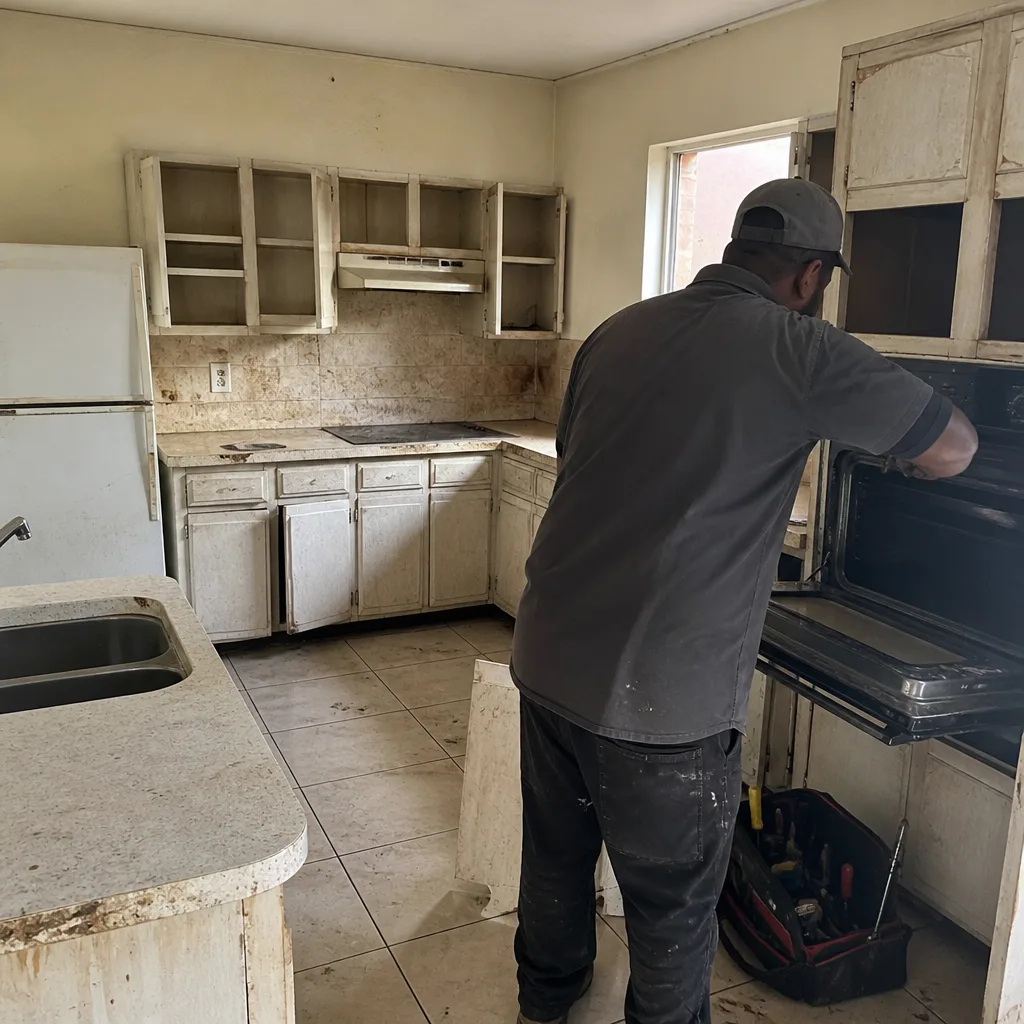 Before
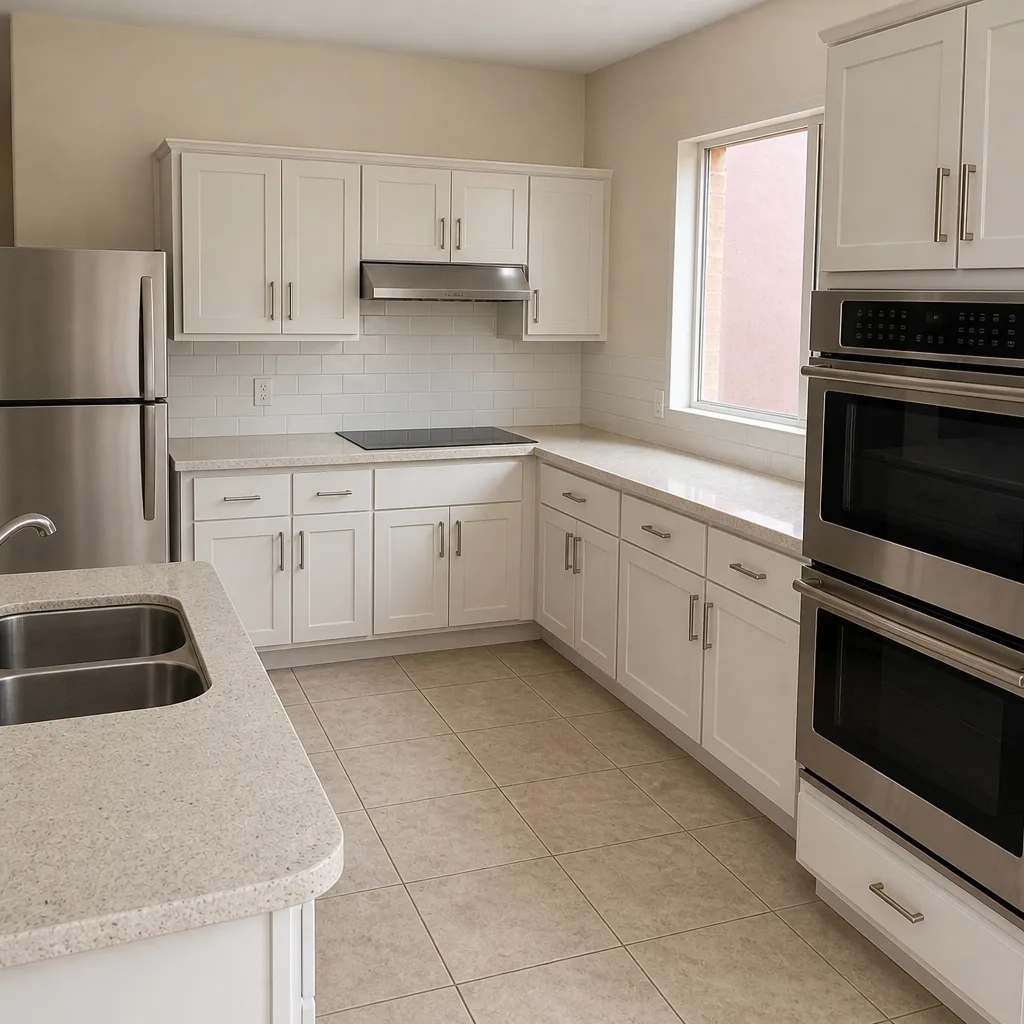 After
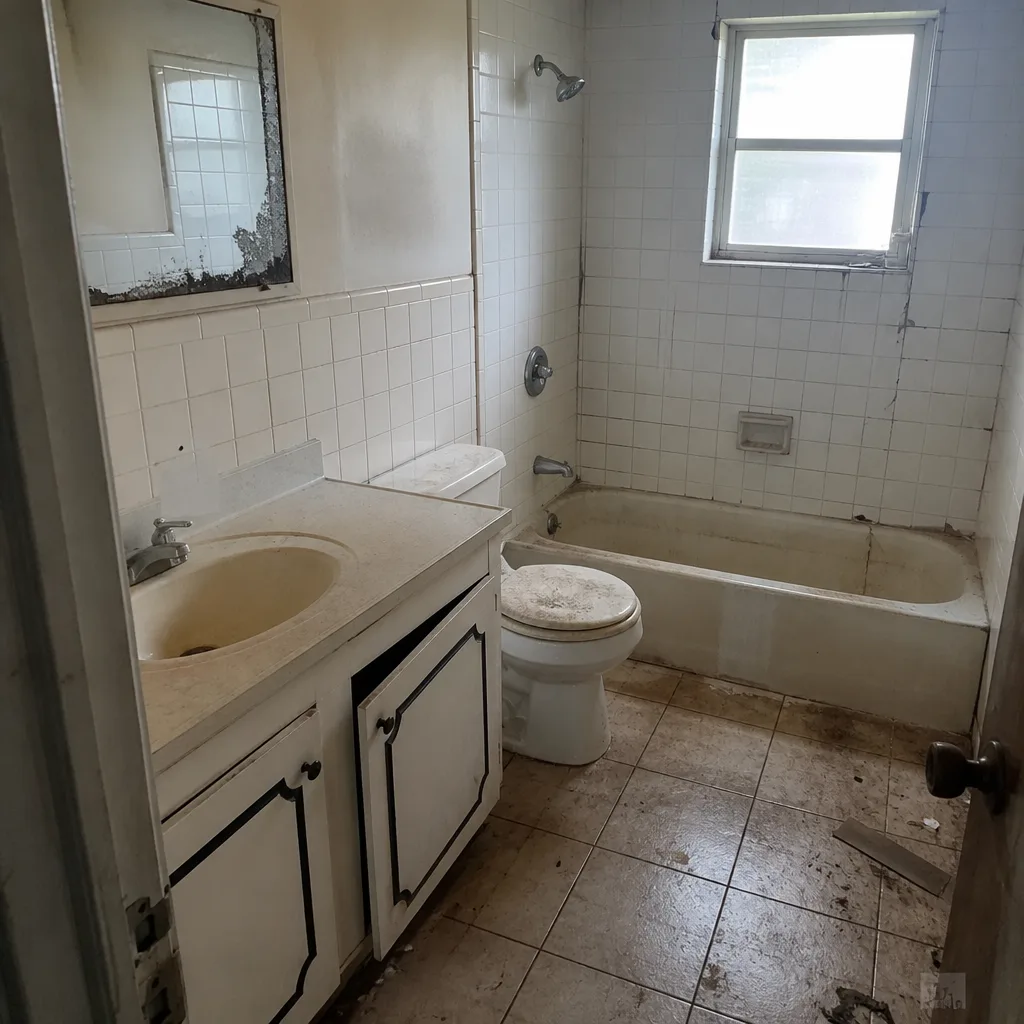 Before
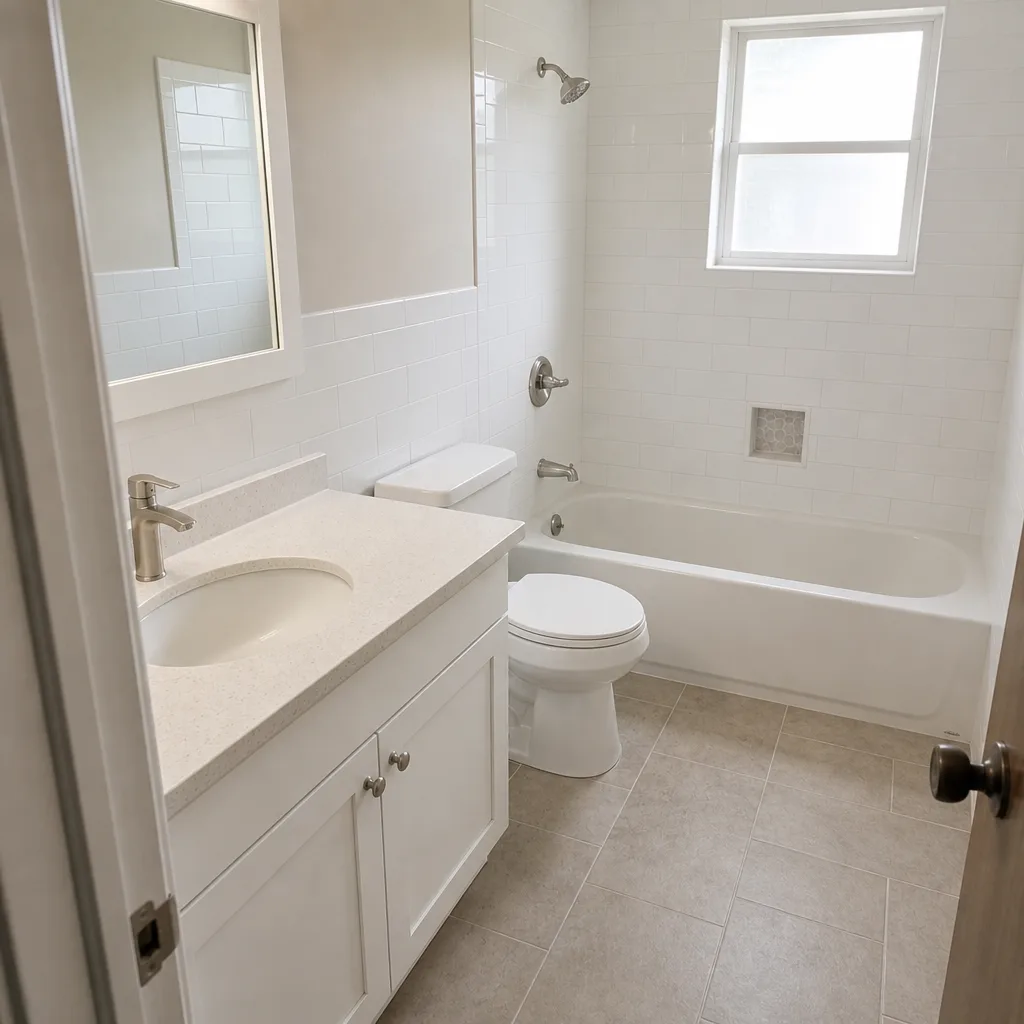 After
When to Call a Professional
A stiff lock, a small caulk joint, and a quarterly frame rinse are all things most homeowners can do. But some problems need a trained eye and an insurance policy. Call a professional when you find water intrusion behind a frame, when sealant replacement involves second-story openings, when a door needs realignment at the hinges or the lock mechanism itself, when glass seal failure (fogging between the panes) appears on an impact-rated unit, or when a storm has stressed any window and you aren’t sure whether the frame is square. Our technicians have up to 19 years of experience with impact-rated windows and doors in South Florida homes, and we bring a documented photo record on every visit as a standard deliverable.
Rowan Construction Group Homestead offers free estimates in Homestead. Call (844) 834-4248 to schedule a free estimate and a written price before any work starts.
Frequently Asked Questions
Once every 12 months at minimum, and quarterly for the hardware on homes within two miles of the coast. The annual requirement matches most impact-window manufacturer warranties, including PGT’s hardware maintenance requirement. Use a silicone spray such as Blaster, not WD-40. Our technicians have up to 19 years of experience and treat this as part of any written quote we review. Call (844) 834-4248 for an exact quote; estimates are free.
Yes. Within about two miles of Biscayne Bay or the Atlantic coastline, add a quarterly freshwater rinse of exterior frames and hardware and a reapplication of silicone spray after each rinse. Without it, aluminum finishes pit faster and stainless hardware spots within a few seasons. The rest of the schedule stays the same. Call (844) 834-4248 for a free second opinion on any contractor’s written estimate for replacement hardware or frames.
It can. PGT and most impact-window manufacturers require annual lubrication of hardware and specify against petroleum-based products. WD-40 is petroleum-based, so using it instead of a silicone or PTFE spray puts the hardware portion of your warranty at risk. The safer choice is Blaster silicone spray, which is the product we recommend in every maintenance quote we review.
Every window and door from the exterior at a distance and up close, the exterior sealant at each perimeter, the hardware close-up, and any water staining or damage observed. Date every file. Also photograph the lubrication product label. The photo record is the strongest evidence a manufacturer will review. Call (844) 834-4248 for a free second opinion if you’re preparing a warranty claim and want a professional’s written assessment.
Typically around $150 to $400 per door, depending on whether the gearbox needs replacing. A stiff mechanism that’s caught early is usually a spray-and-wipe fix. Once the linkage shears, the door needs parts. The cost of prevention is a $12 can of silicone spray; the cost of neglect is a mechanic’s bill.
Between December and April, before the next hurricane season. May and June are the busiest months for exterior work, and booking then means waiting. A December post-season inspection gives you four months to schedule a repair without pressure. Call (844) 834-4248 for a free estimate on getting work scheduled before the season.
The Bottom Line
Windows and doors in Homestead need more than the generic maintenance most guides list. The essentials: an annual lubrication with a silicone spray (never WD-40), a monthly fifteen-minute check of tracks and locks, a pre-hurricane-season inspection in May, a post-season inspection and photo record in December, and a quarterly salt rinse if you’re within two miles of the coast. Add up the schedule and it’s a few hours a year. That’s the cost of protection against $1,500 repairs, failed warranties, and the domino effect of one neglected seal. Written pricing, documented visits, and a 365-Day Done Right Promise – that’s how Rowan Construction Group Homestead works with homeowners who prefer to know the number before anyone picks up a tool.
Ready to look at your windows and doors with a trained eye? Call (844) 834-4248 for a free estimate. Under Clause 1 of the Haven Standard, the price is written before any work starts, and it holds.
Written by the team at Rowan Construction Group Homestead.